How to Edit a Portrait to Create a Great Image
In the old days, you took an image, the film got developed and unless you really knew what you were doing that was that. Yes, retouching did take place but most of the time it was for high end photographers and for magazine publication.
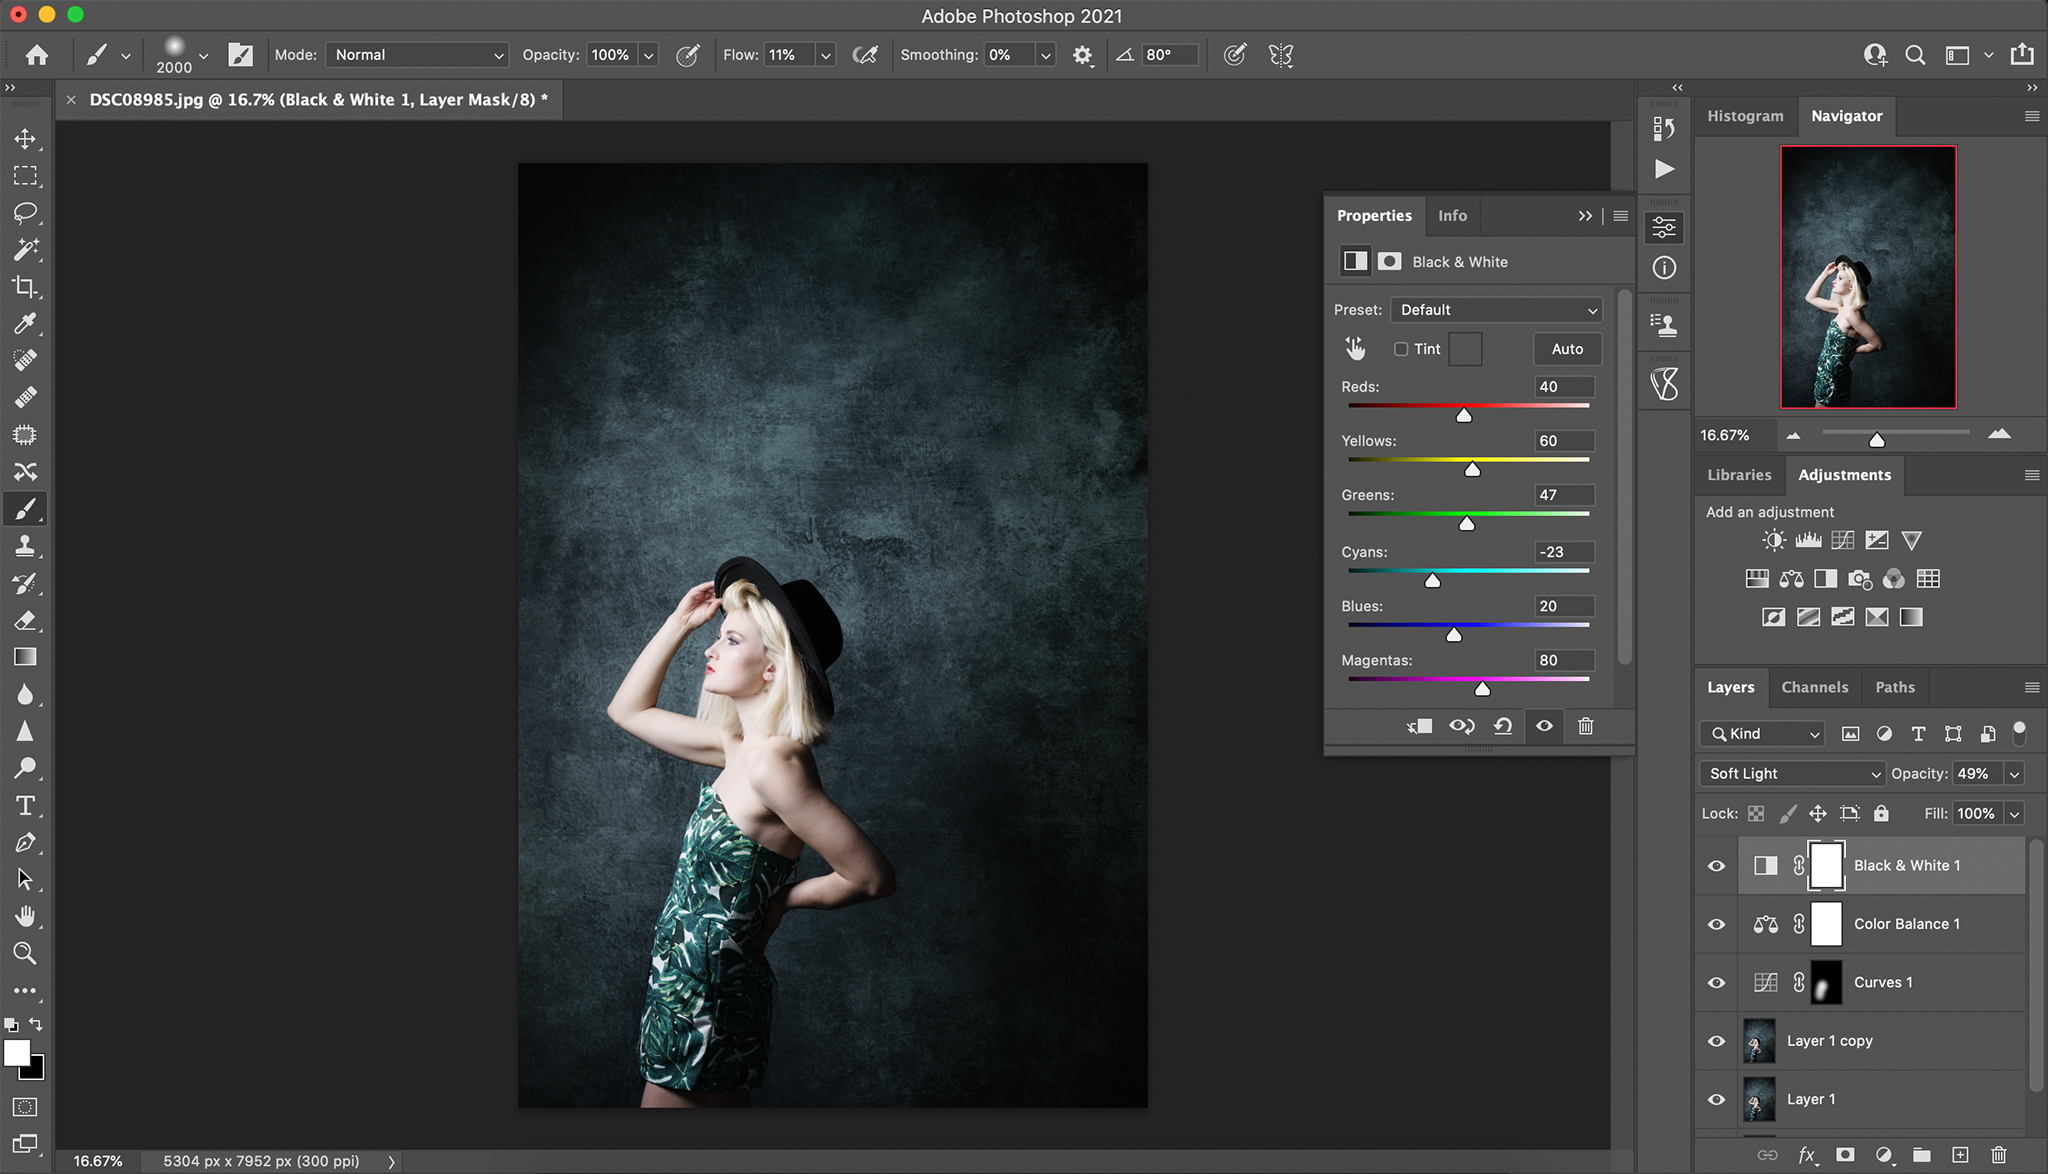
Fast forward to 2021 and my phone has apps that can retouch better and faster than I could ten years ago. We have to accept that retouching, usually meaning photoshop, is part and parcel of daily life as a photographer. Clients know what is possible, and they expect it! So if you want to be up there with the good ones, you have to retouch.
I’m running an online editing workshop to demonstrate how to edit well. You can find out more about this, and book your place, in my online shop.
1. Skin Retouching
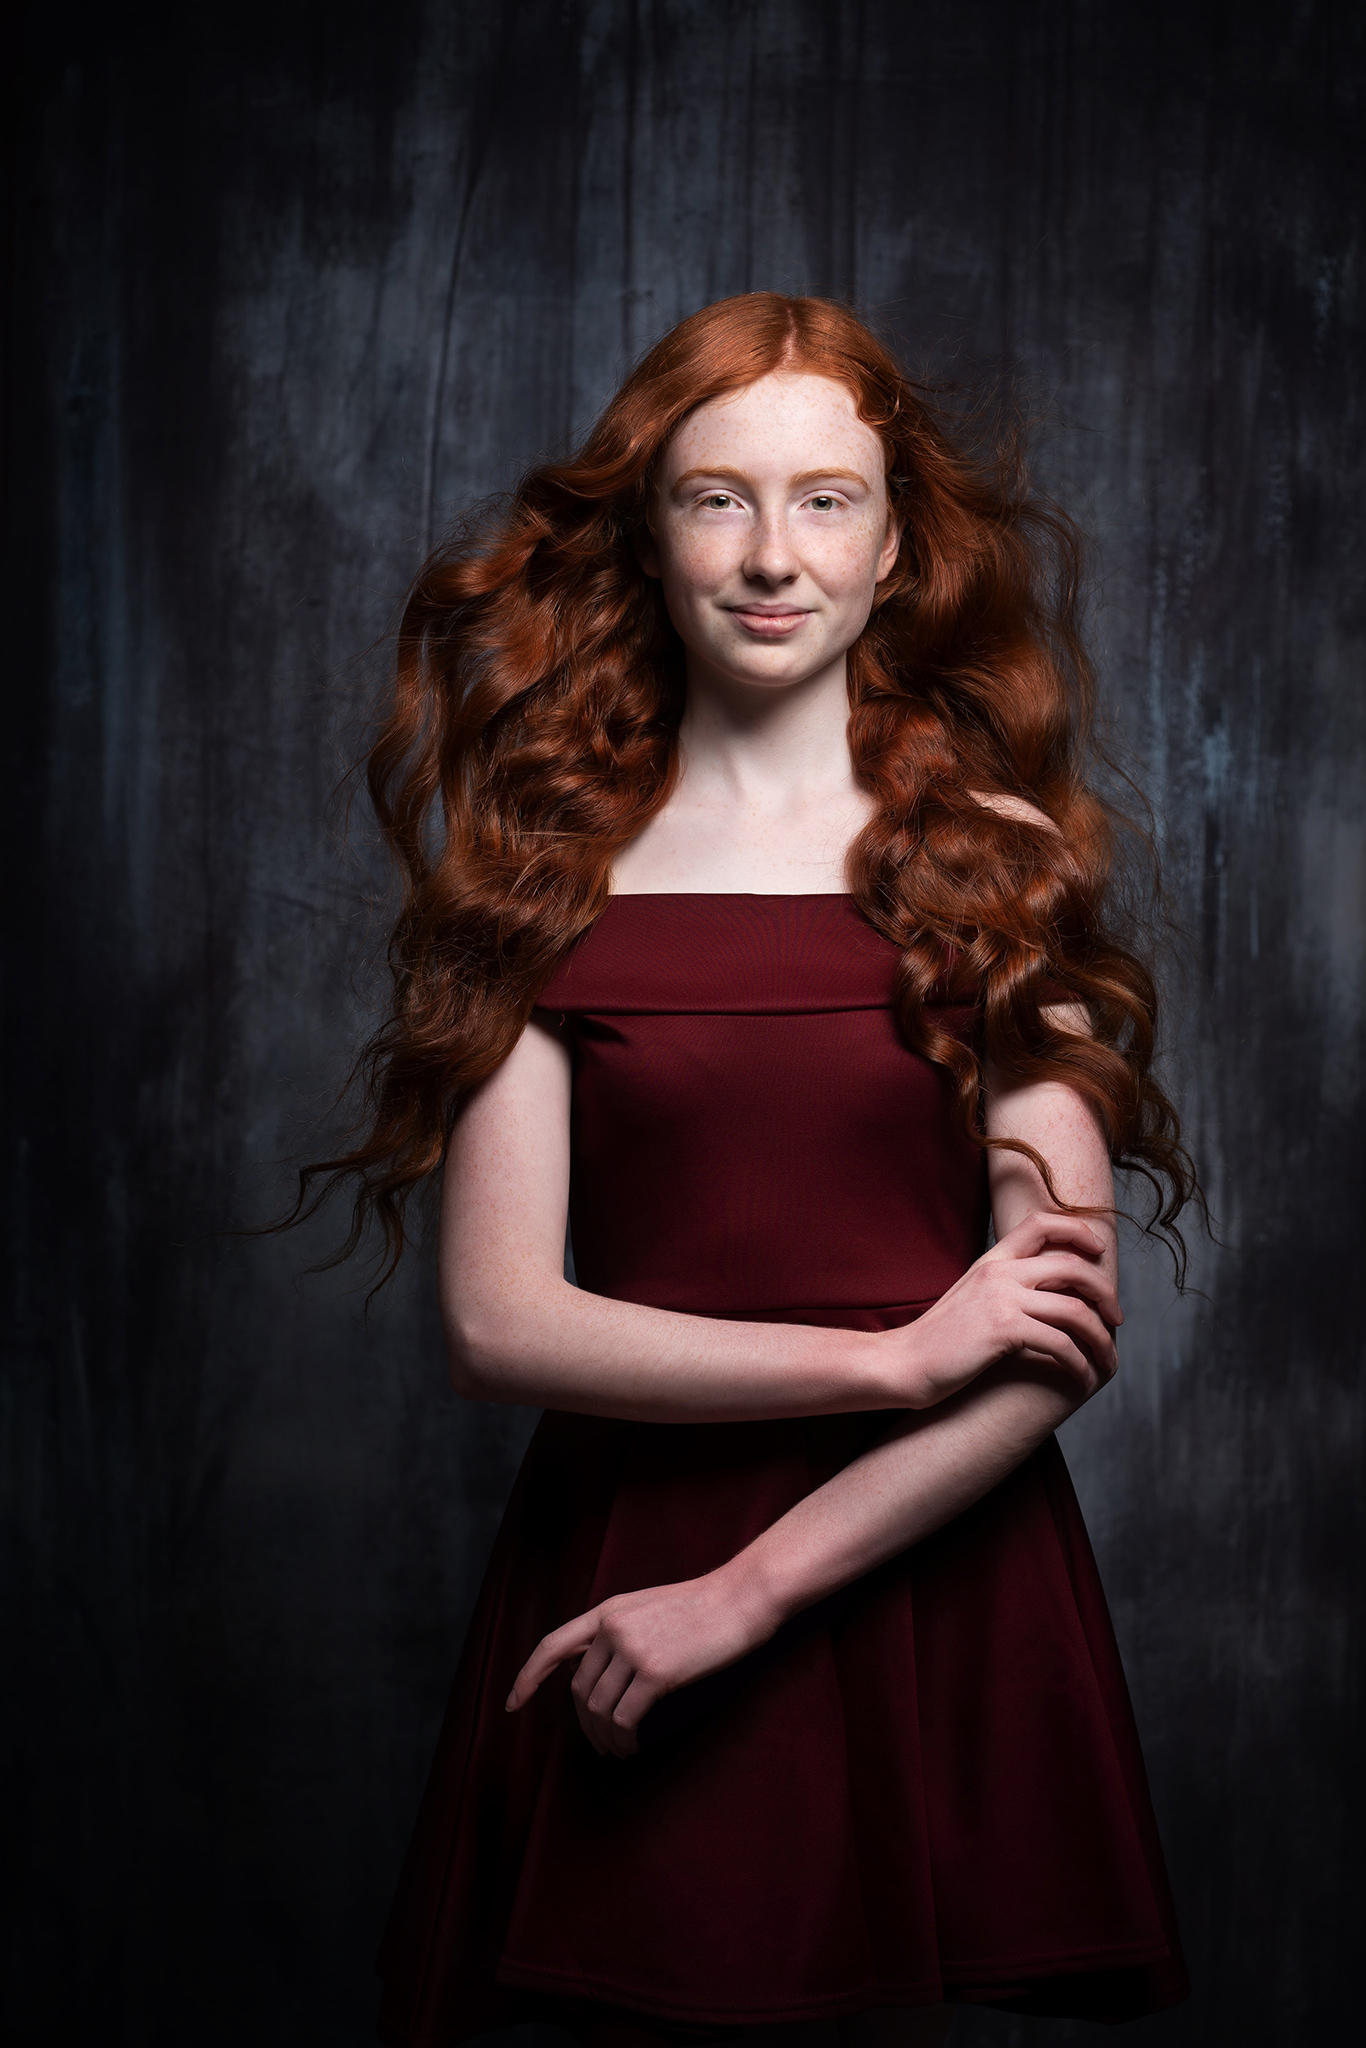
I always say that a good retouch is one where you don’t know what the retoucher has done. There should always be skin texture in the final edit. Yes we smooth skin and remove imperfections, but guess what – people have pores, they have wrinkles, they have texture. We can soften them but they shouldn’t be removed completely. As a judge in photographic competitions and qualification panels, I will mark down any image that doesn’t allow me to see texture in the skin. So, be sympathetic with the skin work but leave it looking realistic.
2. Use Liquify Carefully
About 4-5 years ago ( I’m old so I forget how long things have been around) Adobe added face featured liquify into photoshop, where it automatically selects the parts of the face and you can liquify them easily. This led to a lot of googly eyed people, massive eyes photoshopped to death and un natural looking ‘fine art ‘children images. Honestly, if the eyes are bigger than half the face, it’s not normal. Unless you are aiming for a surreal effect, your subject should look like themselves, with naturally proportioned features.
Liquify certainly has its place and believe me, the fact I can add to a smile has saved me a few times with a difficult child in a session. I also use it to rectify clothing creases and too tight underwear. Using big brushes in liquify means I can smooth clothing without leaving puckering.
3. Be Gentle with the Paintbrush!
The painterly look is another thing. It’s become a part of the ‘fine art’ genre and people think it can be achieved by using the oil paint filter, stacks of dodge and burn ( usually with a neutral grey layer which leads to my biggest bug bear, saturation issues in skin) and over use of textures.
What fine art really is, is an understanding of colour theory, of styling and the use of colour to create tonal harmonies, most of which can be achieved in camera rather than in the edit. Fine art is not making hair look like it is carved out of wax, or faces that glow due to over lightened cheeks.
4. Adding Texture to Enhance a Portrait
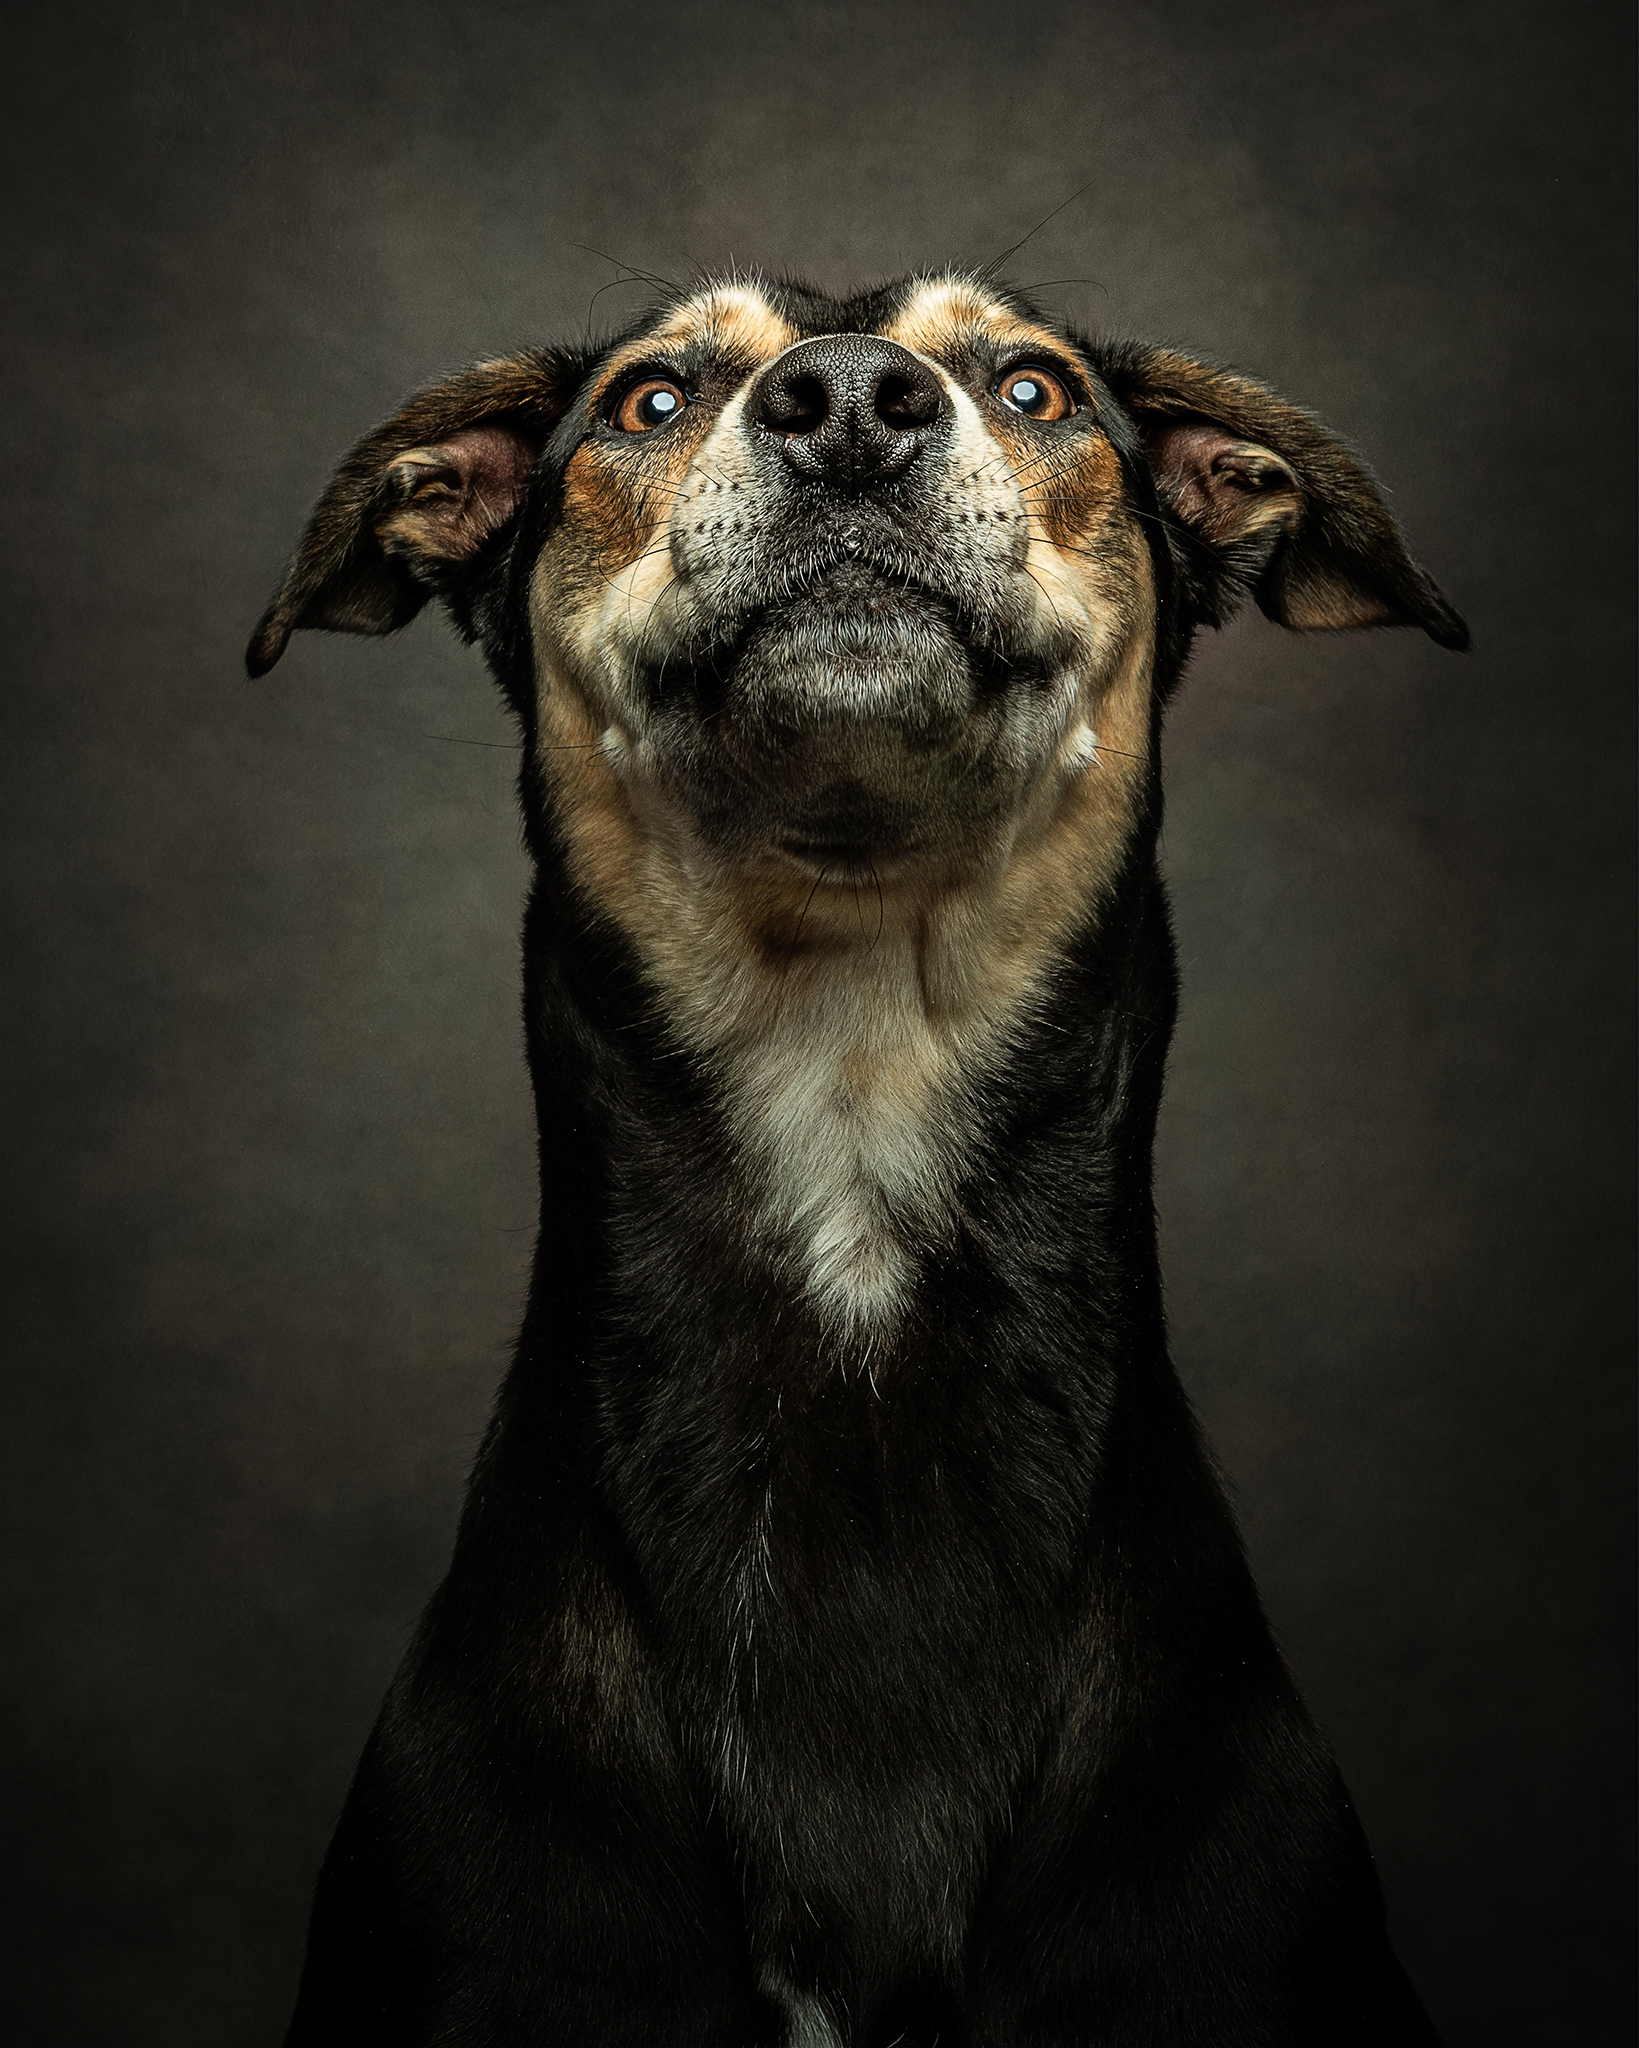
I love the use of textured backgrounds, which is why I have created a range of studio backdrops for Click Props Backdrops. Using a backdrop with a texture means one less thing to do in retouch!
I do still add textures in edits, and Lauren at LSP Actions makes the best I have used (check out her photoshop actions too). If you add a texture, please make sure that you remove it completely from areas you don’t want it to be! Leaving a texture on an elbow or prop where there shouldn’t be, it stands out massively. Also while we are at it, consider depth of field when using textures. I love shooting shallow, so do others. But don’t have hair going out of focus on a portrait but then a super sharp texture in the background, it just doesn’t work that way. I often add my texture then blur it to match the depth of field in the image. Like I said in a good retouch you shouldn’t know the texture wasn’t there originally.
These are just a few things I see time and time again when mentoring or judging, guess what, I have made those mistakes too and that’s why I wrote this to try and point them out. I love a good retouch and love seeing others transforming images with great retouching, So just pay attention to details and enjoy making great imagery.
You hit every nail on the head here! Especially about the neutral gray layer with dodging and burning. The saturation issues frustrated the hell out of me and I am glad you pointed this out because now I know I’m not crazy for thinking that method is shit! I agree with you on the big eyes and over photoshopping “fine art”. Loving your blog so far! Thank you for your insight!
https://virtual-local-numbers.com/countries/1432-montana-virtual-phone-number.html
https://european-sailing.com/yacht-charter-mallorca
https://european-sailing.com/yacht-charter-barcelona
It is a pity, that now I can not express – it is very occupied. I will be released – I will necessarily express the opinion.
It seems brilliant idea to me is
What necessary phrase… super, magnificent idea
Your idea is useful
https://heylink.me/rentacarturincom/