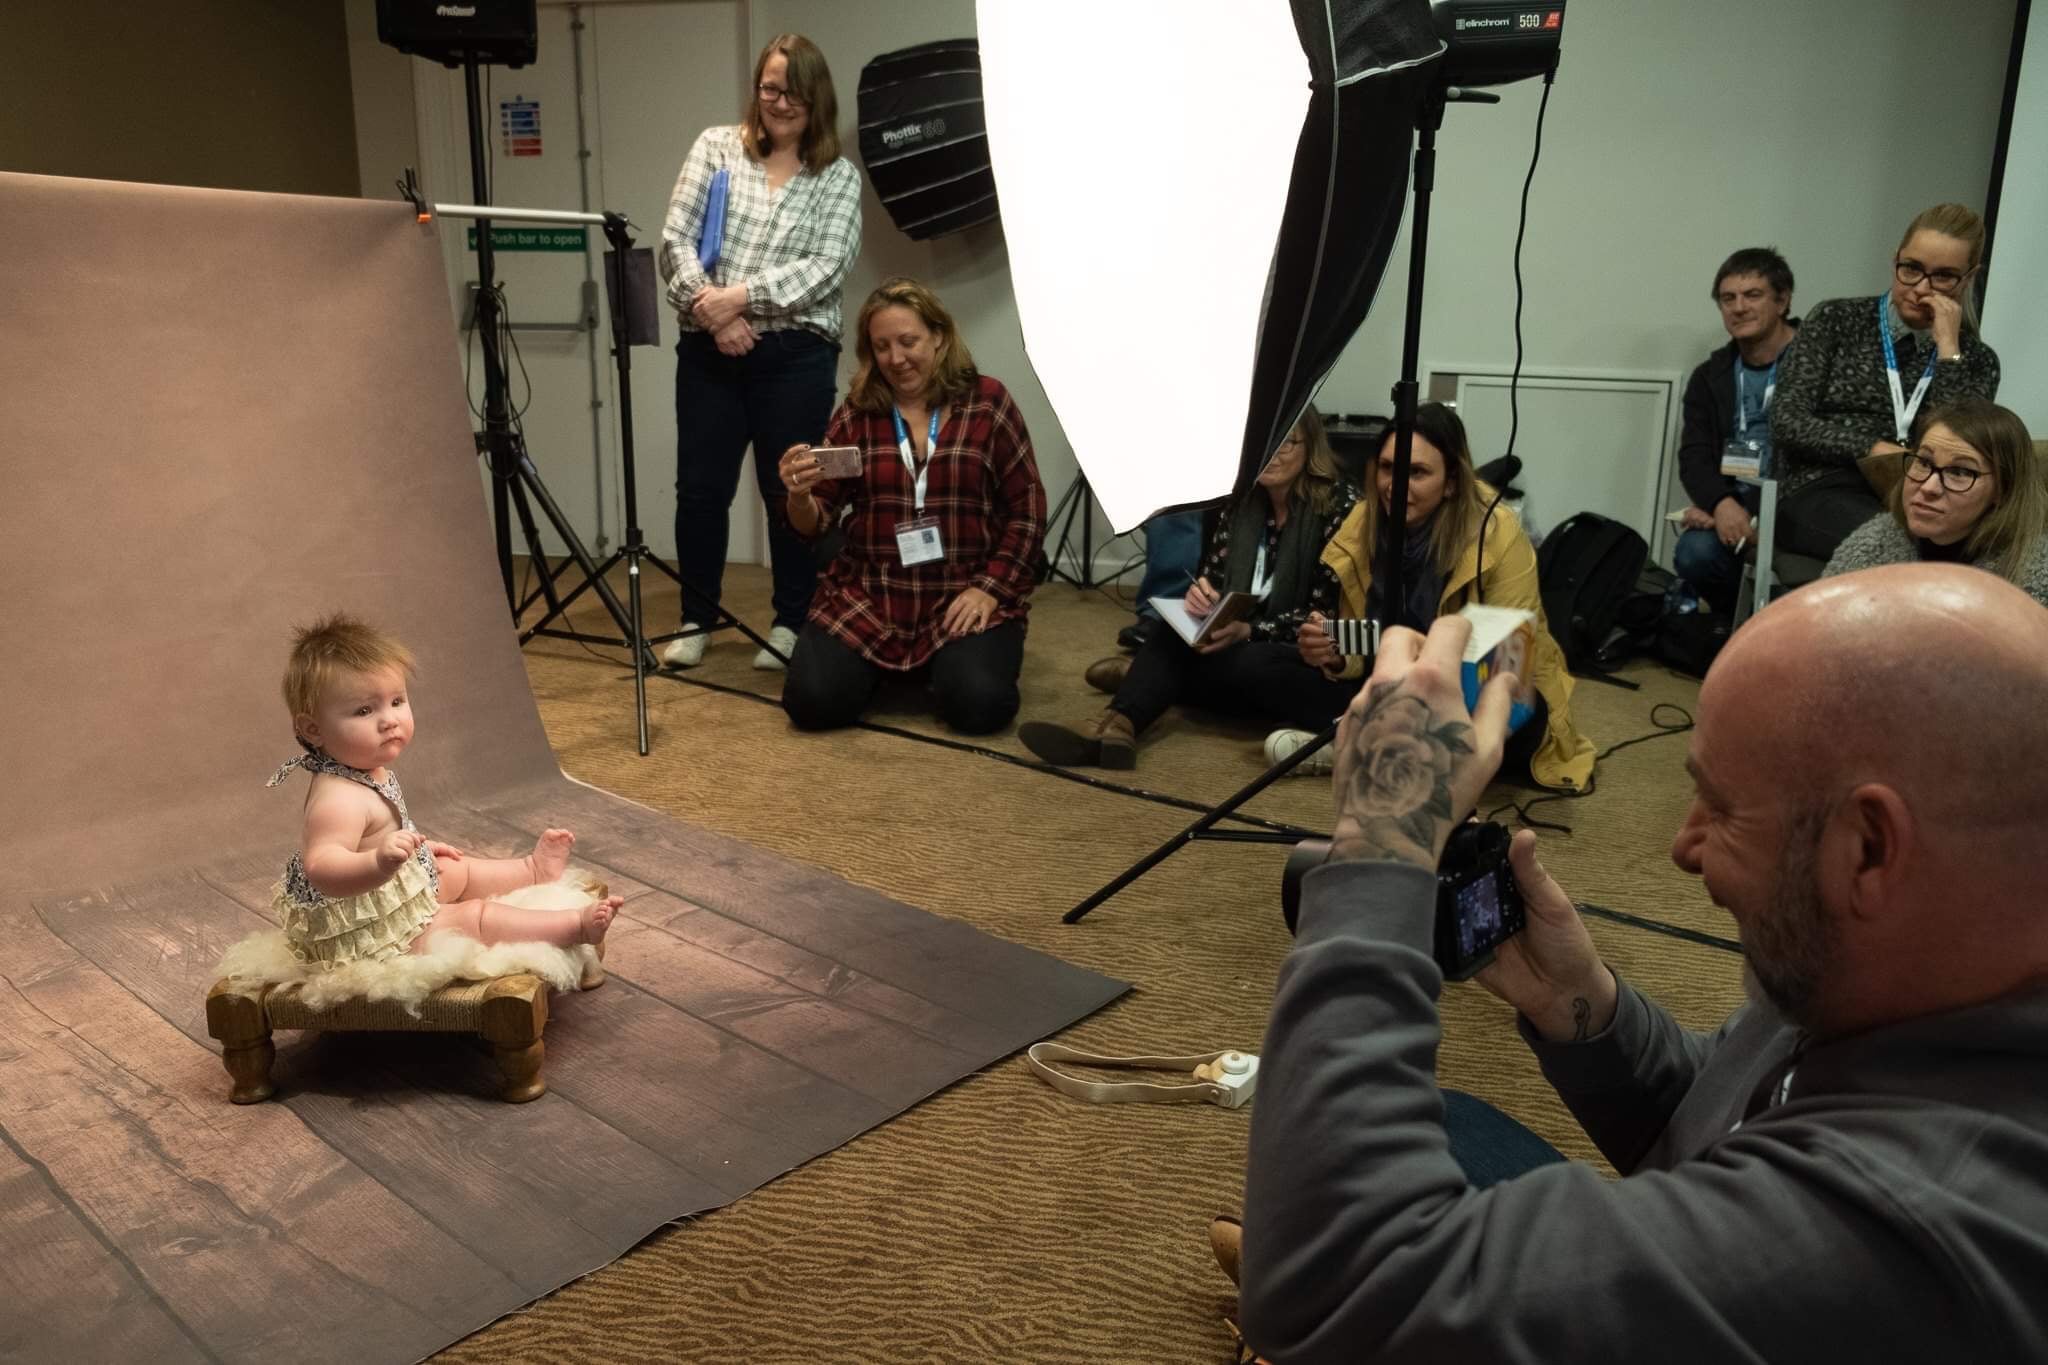
Learning to use studio lighting can be a minefield at first, it takes practice to get it right but it helps if you stick to the basics. Would you believe I still use only one light approximately 90% of the time, for the first two years of my photography career, It was all I used for clients, one light and a big octobox. I practiced, I refined and eventually mastered that one light to get it to do what I want, but now ten years on, these are my tips for anyone starting out with studio lighting or who is looking for studio lighting training. If you are interested in learning in-person, check out my upcoming studio lighting workshop. Five Important Rules for Studio Photography Lighting

1. Light comes down
I regularly provide studio lighting training for photographers at all different stages. The first rule is that all photography light patterns rely on the shadow from the nose coming down, so get that light higher than the head, golden rule for me, softbox up to 1m in diameter, bottom level with top of the head if possible. Over 1m, bottom level with top of the shoulders. We get used to seeing those nose shadows going down with the sun in the sky and ceiling lights so, while we might not always understand why low lights look wrong in an image at first glance, we will see it as wrong. Light coming from below the face is often referred to as “horror lighting” – imagine telling a horror story with a torch pointed at your face from below the chin, and you will understand!
2. Light should be soft
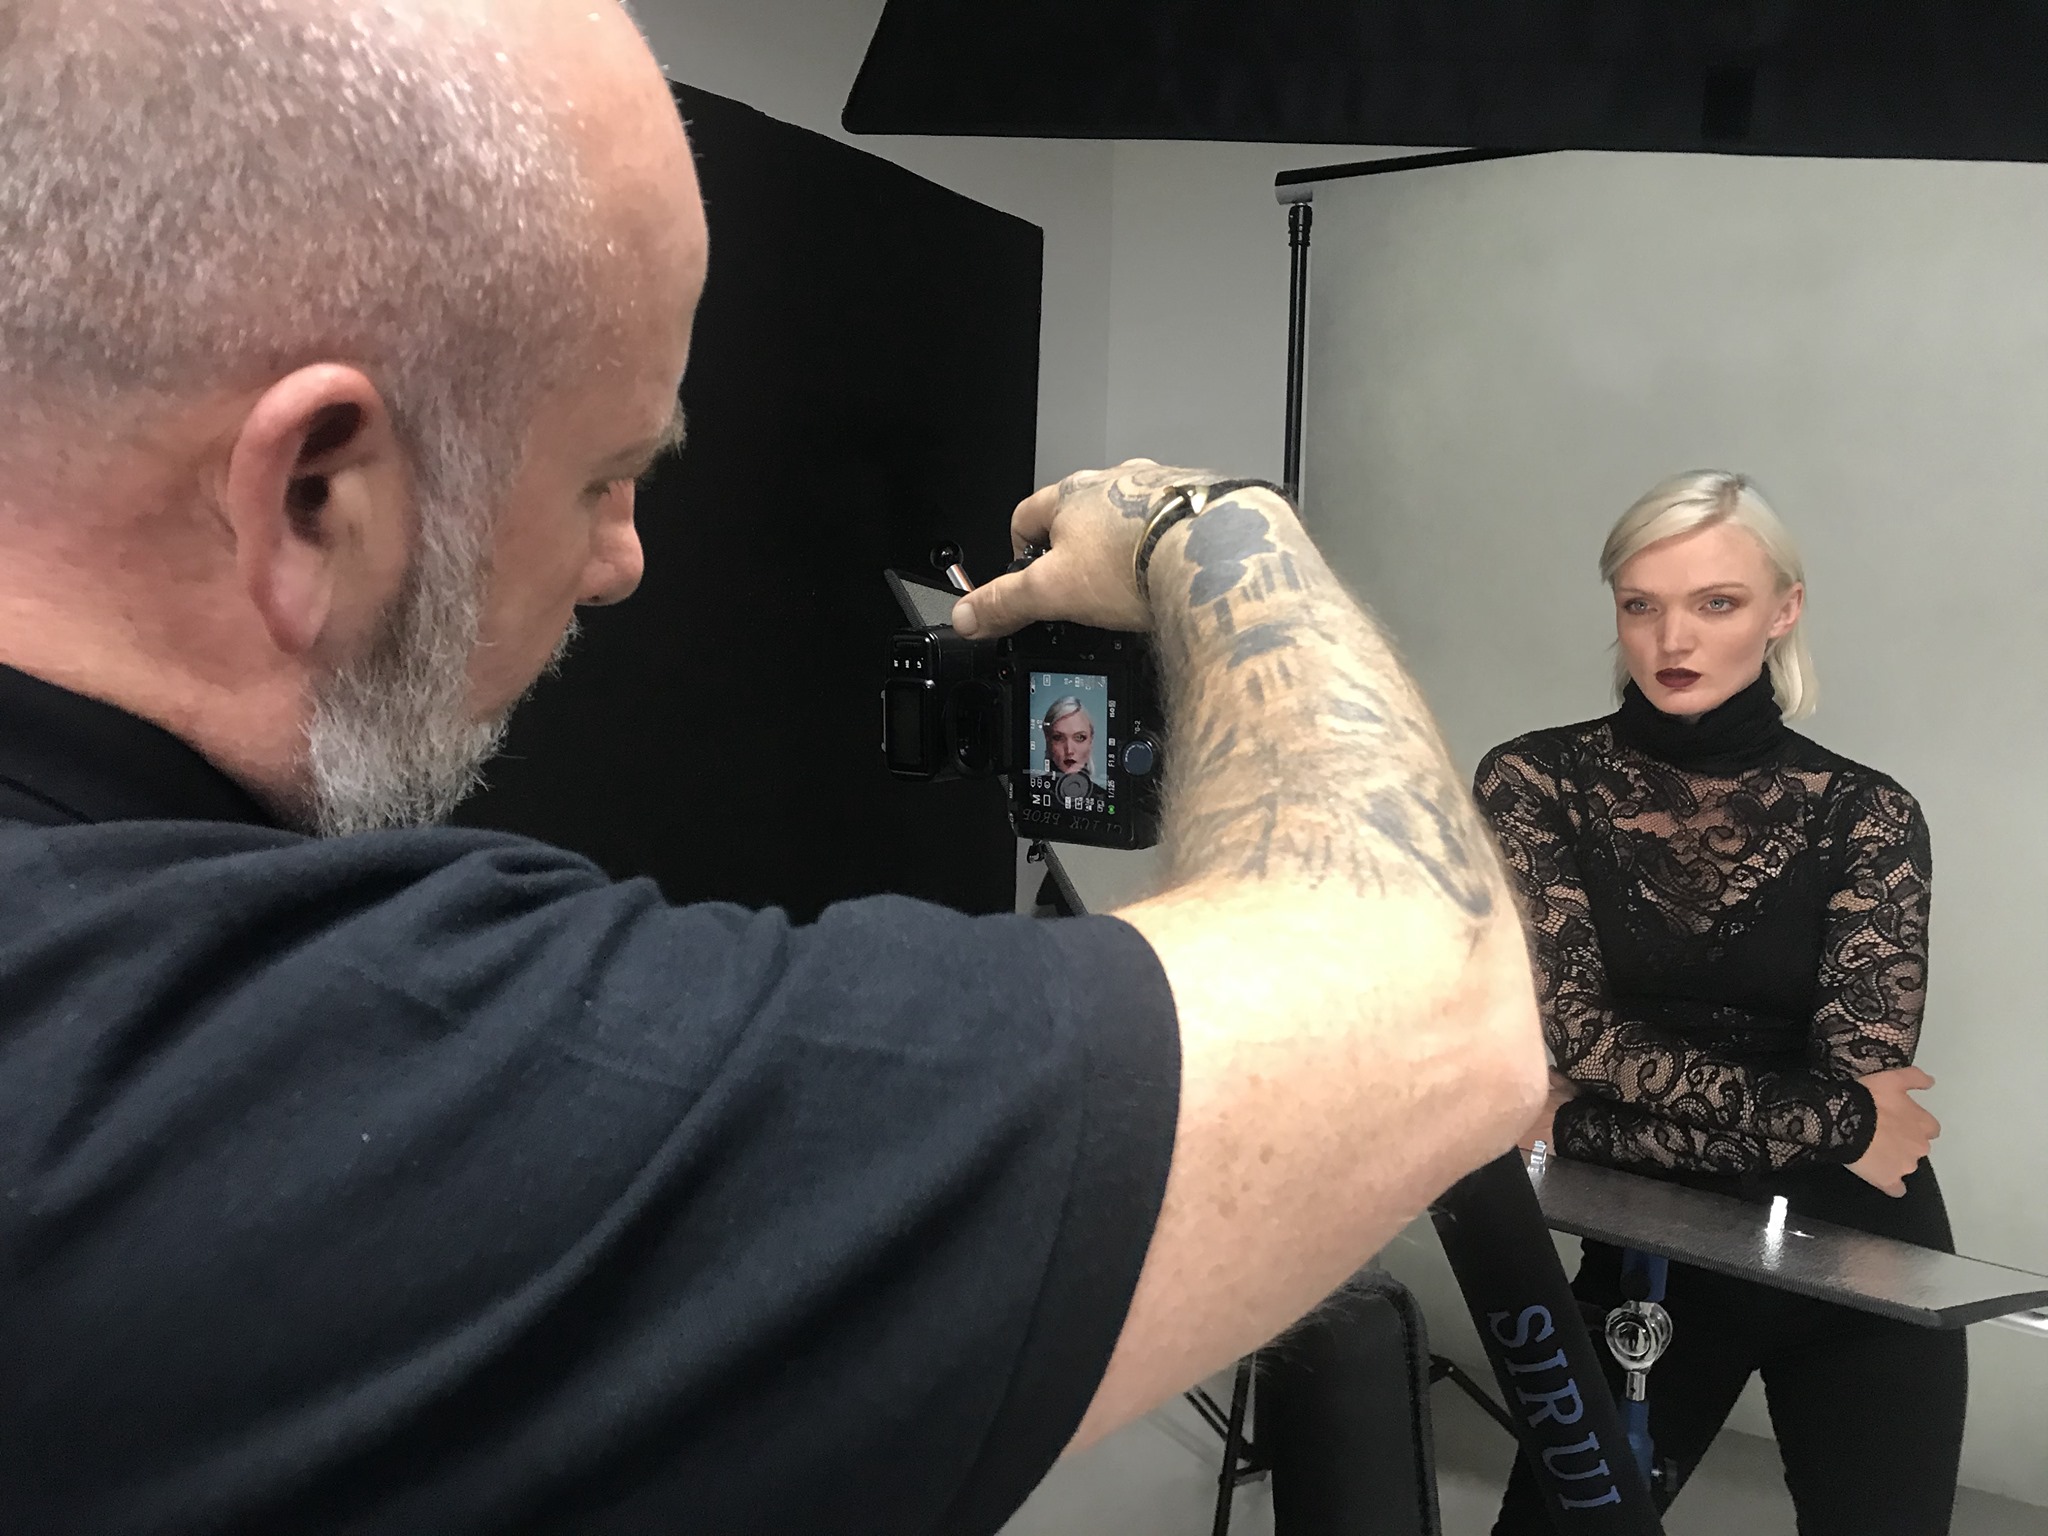
Unless you are deliberately going for an edgy, high-fashion look, clients will always look best in soft light. So master a big soft modifier and if you haven’t got one, consider a scrim in front of your small modifier to make it bigger. Hard light can work well in the right situation but if in doubt, soft light it out.
3. Get your exposure right
When I’m running studio lighting training, it’s important to get a good exposure – get it right in camera. Yes, you can alter it in post production but, changing exposures always degrades the file so if you can get it right in camera, do. My own preference is to use a light meter, so you know everything looks good and is correctly exposed before you press your shutter. You can find out more about why and how to use a light meter in this blog
4. Learn to use a grey card
It’s such a tiny tool in a shoot but it really helps you with consistency. If you are doing multiple set ups and different backdrops, especially with babies, it will just help you get those skin tones the same. The two minutes it takes to get a grey card shot in every set up will save you hours of editing and adjusting when your client wants to purchase a multiple aperture frame.
5. Buy good modifiers
A light that is inexpensive can give you great results if you put a good modifier in front of it. Good diffusion will make that light lovely and soft and help with hot spots. So, if funds are tight, spend it on a good modifier. Be aware also of mixing brands, in particular at the cheaper end of the market. I’m lucky to be an Elinchrom and Flash Centre Ambassador so exclusively use those as they are great kit, but I have been to studios where they have had different brands in their modifiers and have caused issue with colour balance in images when using two or more lights. Buy right and buy once.