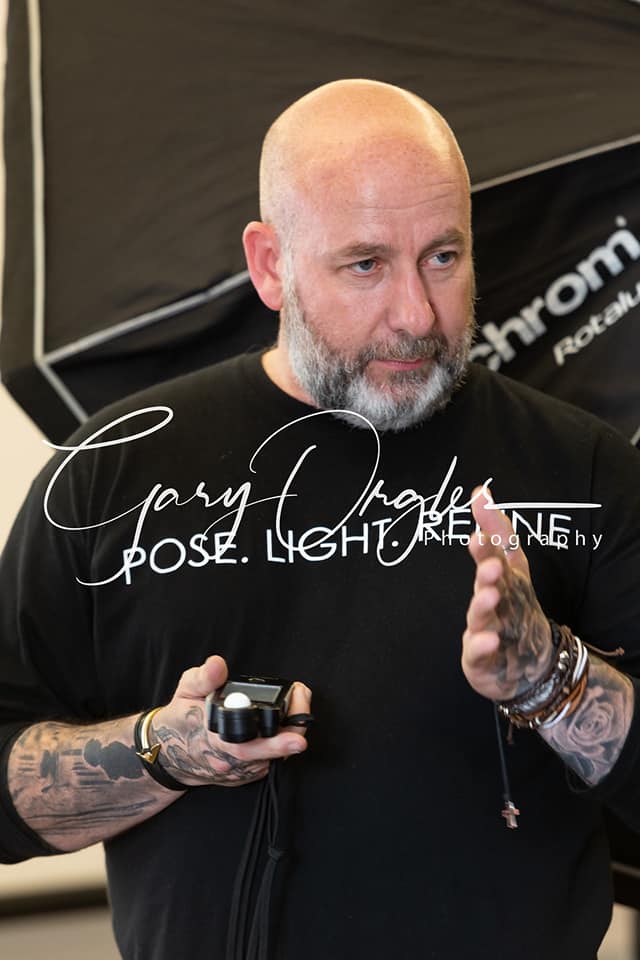
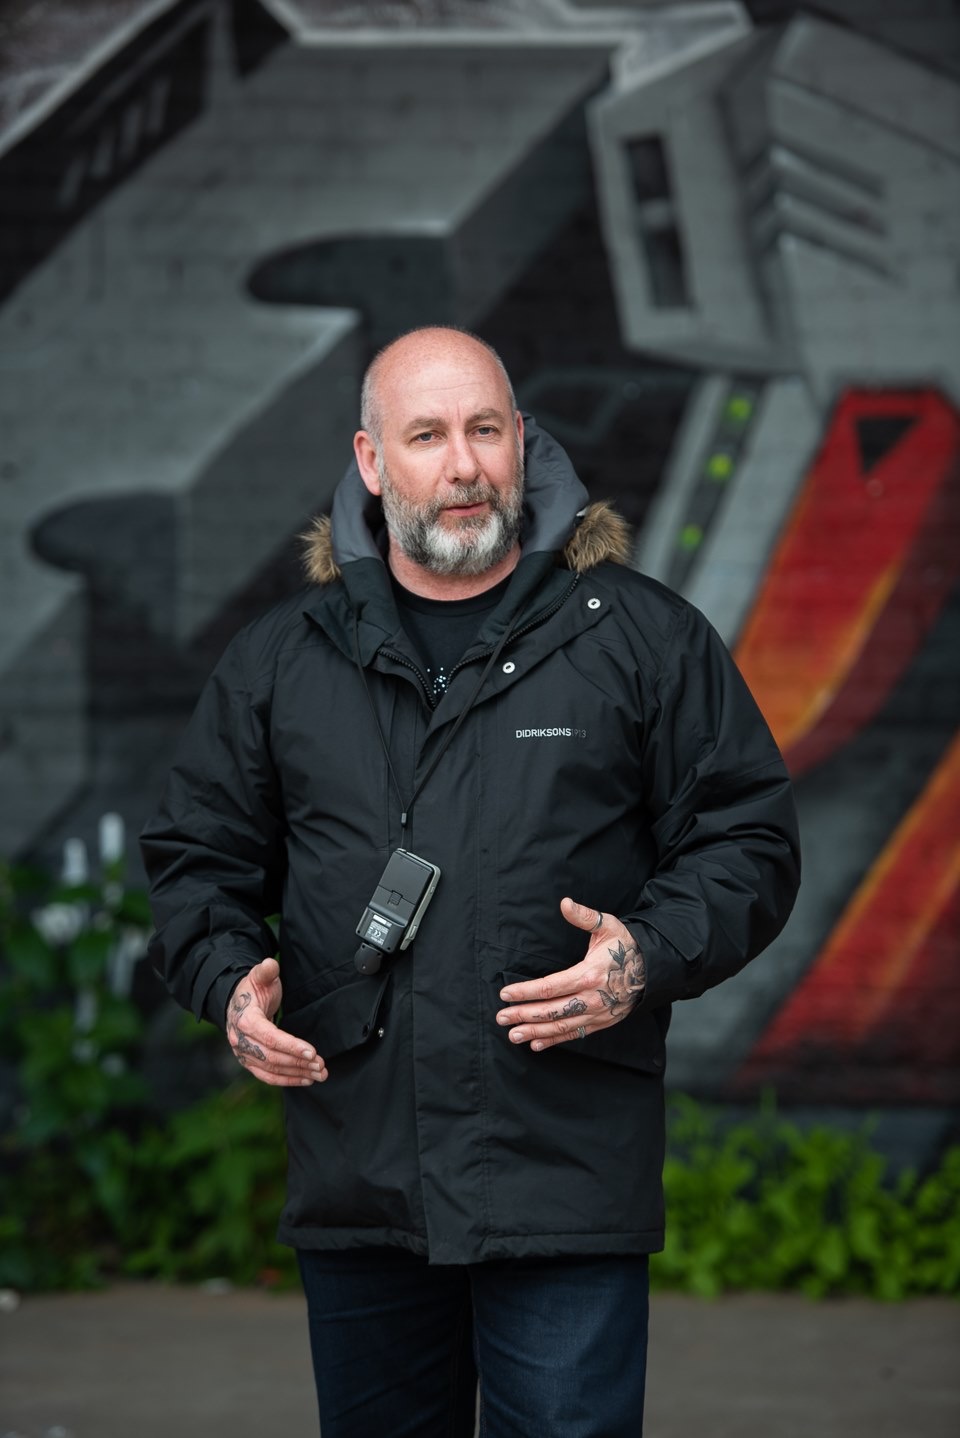
As everyone who has had photography training with me will attest, I am a little obsessed with my light meter. It is one of the most important bits of my kit bag and I would feel lost without it. Let me address the excuses I’ve heard for not using one; I don’t need one. I can judge it in the back of the camera. Digital is free so I just adjust and re shoot until I get it right. Close enough will do, I can fix it in post…
Camera screens are all over the place, I can take the same shot on ten different cameras and review on the screen, they will all be different. Firstly, they are all displaying the embedded jpeg, not the raw file – I assume you are shooting raw so will have applied some processing to the file. Whatever your picture style set up is, will affect the jpeg preview. So, in essence it isn’t accurate. Secondly, everyone has their screen set up differently. My own preference to set my camera screen is to load up an image onto the computer (on a calibrated screen), then pop the card back in the camera and pull it up on screen. I then adjust my screen on the camera brightness until it is as close as I can get it to the calibrated screen. That gets me the best preview I can. The same with the histogram, it is read in the camera from the jpeg so isn’t totally accurate.
Why you should ALWAYS use a light meter in portrait photography
I can use the back of the camera
Digital is free, I’ll fix it later…
Digital is free right? Well, it isn’t going to cost you more to shoot 50 images over ten in money, but it will cost you time. time reviewing, time loading into the computer and time culling, time is money to a professional so it does cost.
Fixing it in post, again, takes time and time is money and secondly, any exposure changes is going to degrade the file, so getting it right in camera is better for the final product, always.
How do you use a light meter?
Ok, so what do you do with it? Once you have your meter, have a read of the manual, learn how to change modes, set shutter and iso. When you have done that, in available light, just point it towards the light source and then press the button. If it doesn’t give you the f stop you want, change shutter speed or iso until it does. Simples.

Using a light meter with a flash
With flash, it’s slightly different. Firstly you set it to flash mode, then on most meters you press the trigger button and it will make the flash sign blink, that means it is ready to receive a flash signal to read. You then point it from subject towards the light and then press the flash trigger. It should then give you a f stop (set iso to what you want and shutter speed on meter to 1/125th of a second). The number it gives you tells you how much light is being measured. You then decide if it is what you want to shoot at. Think of it like a measuring jug. If you say decide you want to shoot at f5.6 and the meter is saying f4, you need to turn the light up until when you test it on the meter it gives 5.6, if it said f8 then it needs turning down, just like filling or emptying a measuring jug.
If you want to learn in person studio lighting, take a look at my upcoming workshop which will cover light meters, lighting patterns and much more
It helps you to be precise
The meter also allows me to measure individual lights to control the relationship or ratio between them. If I want an accent light to blend seamlessly with my main or key light then it needs to be at least one stop less as light from the rear appears one stop brighter than it really is. Only using the meter can I measure this accurately. It’s this precision I love the meter for.
Last reason I like it is that it makes me look professional. I often get asked what it is with clients, I tell them and show them what it does, they understand then that I care about precision and getting things right. I also, as an educator, often get asked to speak at conferences to train photographers. I love the fact that the meter allows me to, under pressure, set up a lighting set on stage, shoot tethered to the projector and have it straight on screen out of the camera and get it right. It builds people’s confidence in my skillset.


[…] When I’m running studio lighting training, it’s important to get a good exposure – get it right in camera. Yes, you can alter it in post production but, changing exposures always degrades the file so if you can get it right in camera, do. My own preference is to use a light meter, so you know everything looks good and is correctly exposed before you press your shutter. You can find out more about why and how to use a light meter in this blog […]
[…] a previous blog post, I explained WHY I use a light meter, and why you should, too. Now I’ll show you exactly how to use a light meter in this video […]