Light Modifiers - How and Why We Use Them
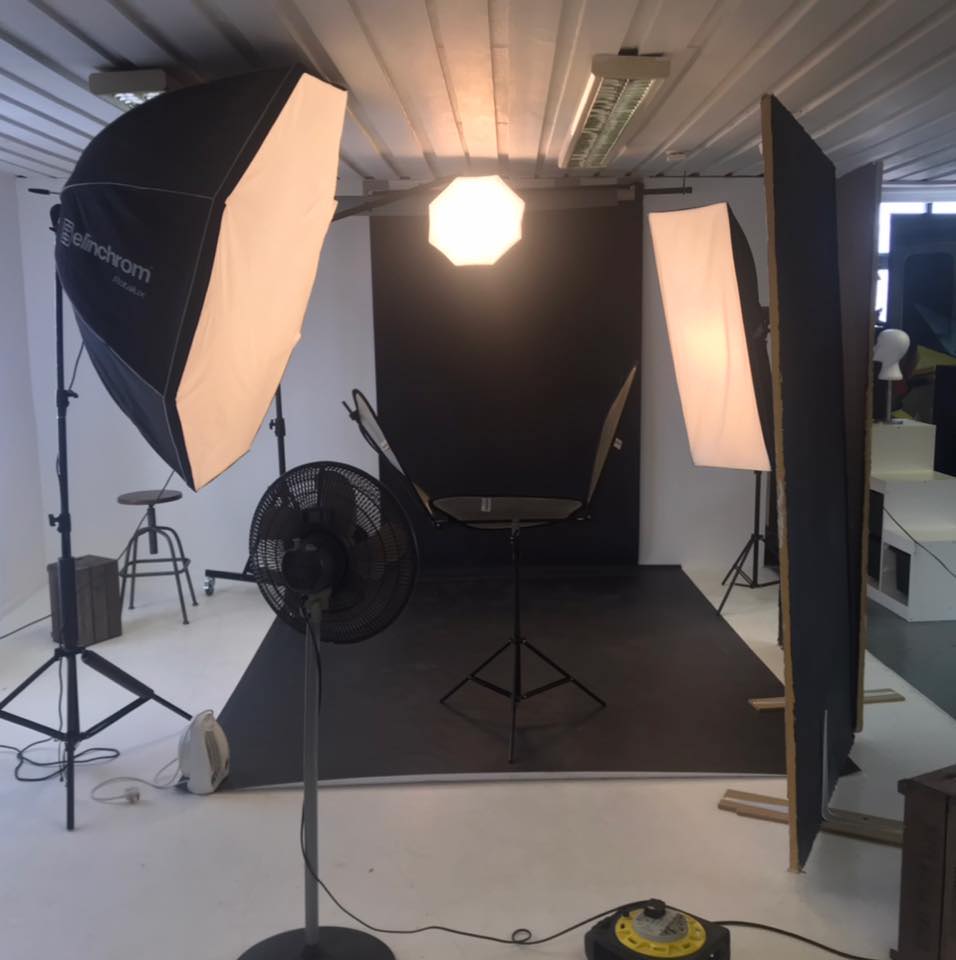
Softboxes, reflector dishes, umbrellas and beauty dishes are just some of the modifiers that we have available to us as photographers to attach to our lighting to change the way it works for us. In this article I will go through the basics of modifiers and the how and why they are used. Before we talk about actual modifiers, we perhaps need to check that we totally understand how light is affected by simple rules when it comes to the quality of the light. Now, the word quality is an interesting one. What we mean by quality and the quality of light needed for one situation may be different to another situation. When I discuss quality of light to my mentoring students, I usually split it into two main characteristics with another secondary one as well. The first thing I talk about is hardness of the light. This relates to the edge of the shadow and how that presents itself. If the light source is small relative to the subject, then the edge of the shadow will be a more solid line, and clearly defined so we call that light “hard”. If the shadow is diffuse at its edge due to the light source being large compared to the subject then the light is usually referred to as “soft”. Obviously there are different levels of hardness, all dependant upon the light size to the subject. The next characteristic I talk about is contrast, which relates to the difference in stops between the highlight side and the shadow side in a portrait. The bigger the difference, the more contrast there is. Now people often call the combination of contrast and hardness as harsh light but contrast is often influenced by light position and closeness to subject and a little by the modifier. You can have soft light that is both contrasty or not and hard light that is also contrasty or not, all depends on positions and the modifier. The third characteristic that modifiers affect is the specularity or shininess of the highlights. In simple terms the lining of the modifier if silver will give off shinier highlights than if it is matt white. What modifiers should you use?
Bare Flash
The design of most studio lights is to use a round flash tube to throw the light as evenly as possible in all directions in front of the head. This is great as it helps get it more evenly spread but a nightmare to control as it does indeed go everywhere.So, bare bulb has the odd use but generally not what we use as portrait photographers
Reflector Dishes
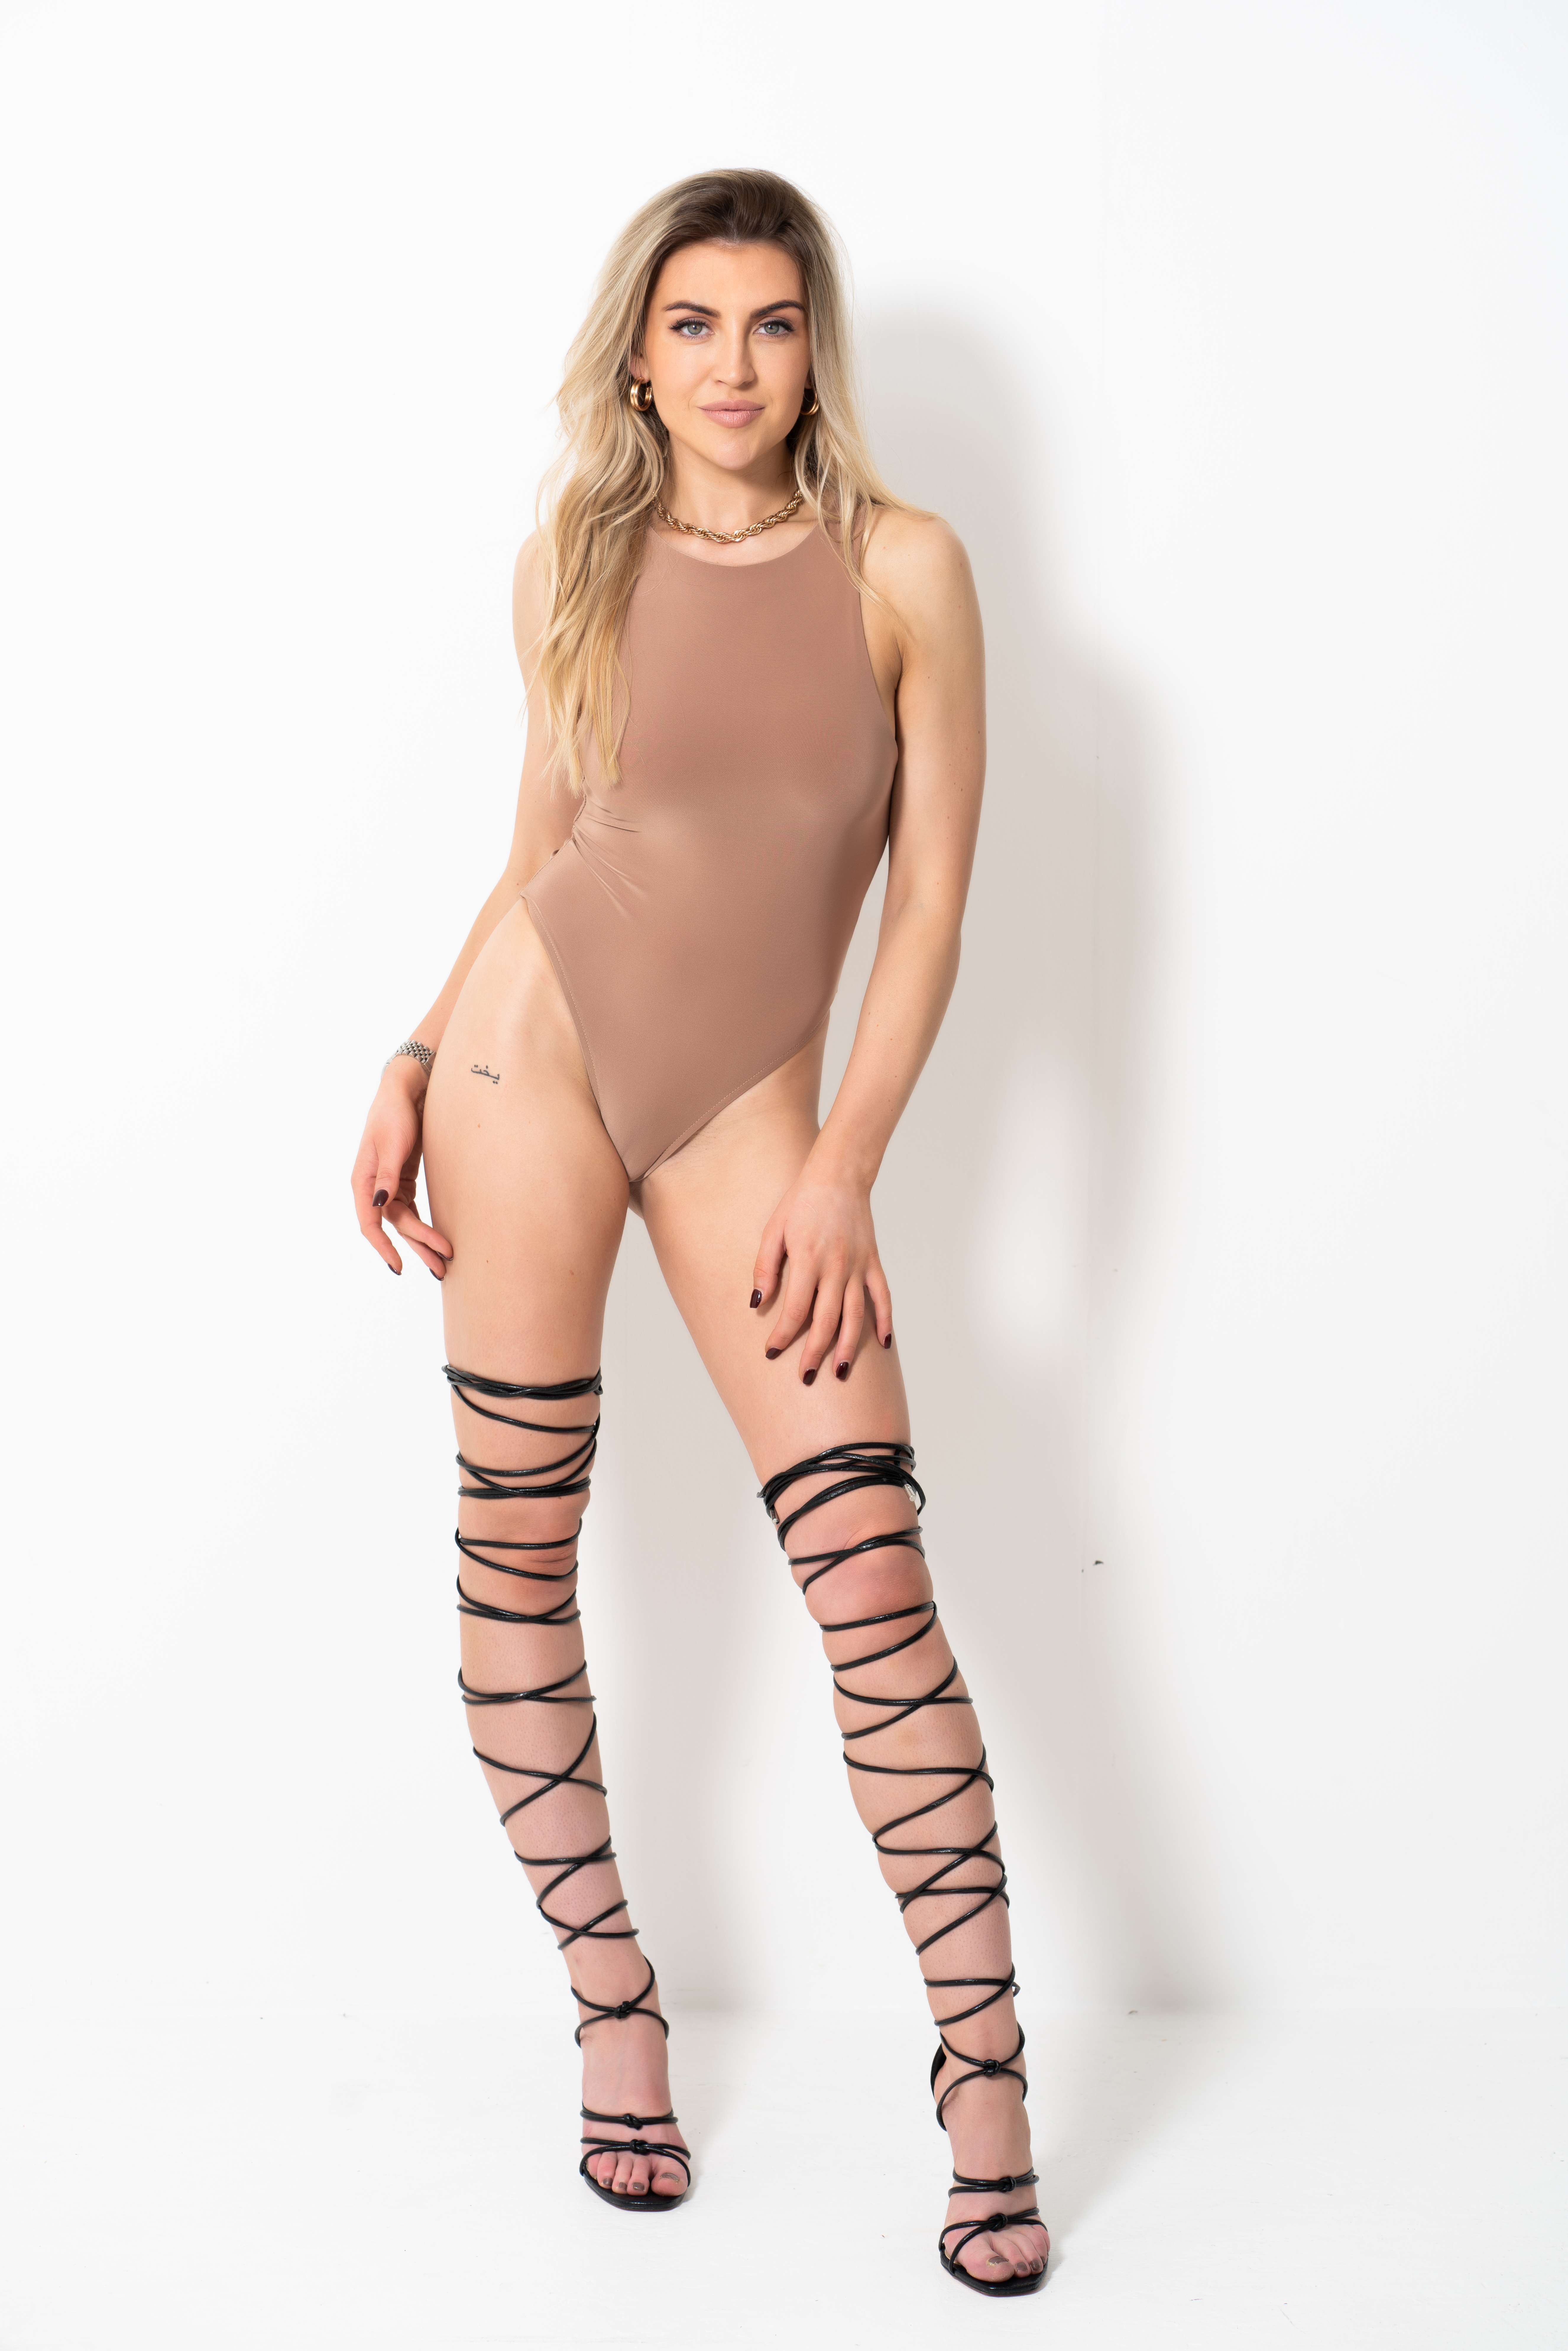
Next up is reflector dishes. These go from tiny to fair sized. From little five inch spill kills to 18 inch maxi reflectors. They are usually silver on the inside and fit direct to the head with no diffuser, their job is to control the spill of light and funnel it all straight forward. They are very efficient and give great output to the light but unless the largest ones they are small sources and produce very hard light when used in portraiture, Great for putting spots on backgrounds but I would rarely use for normal portraits unless recreating the hard lightlooks of Hollywood in the 30’s and 40’s or punchy fashion images with models. Reflector dishes are great for maximising the power of the light if used with low powered lights.
A beauty dish is a modification of the reflector dish, comes in various sizes and with a central deflector which prevents the flash coming straight out, it hits the deflector then bounces back into the dish to then come forward again. The point of this is to reduce the hot spot in the middle. Used a lot in fashion and beauty photography, they can provide beautiful semi hard light with crisp edges to it. They work well with good make up and clear skin but can show up blemishes and skin defects a lot. For general portraiture I find personally I use mine very little though I know others that do. I prefer, using my Elinchrom system to use a 70cm deep octobox with deflector disc and single layer of diffusion to give a similar but more gentle effect. In short, reflector dishes can be useful but they are hard light unless used really really close with the larger ones.
Softboxes
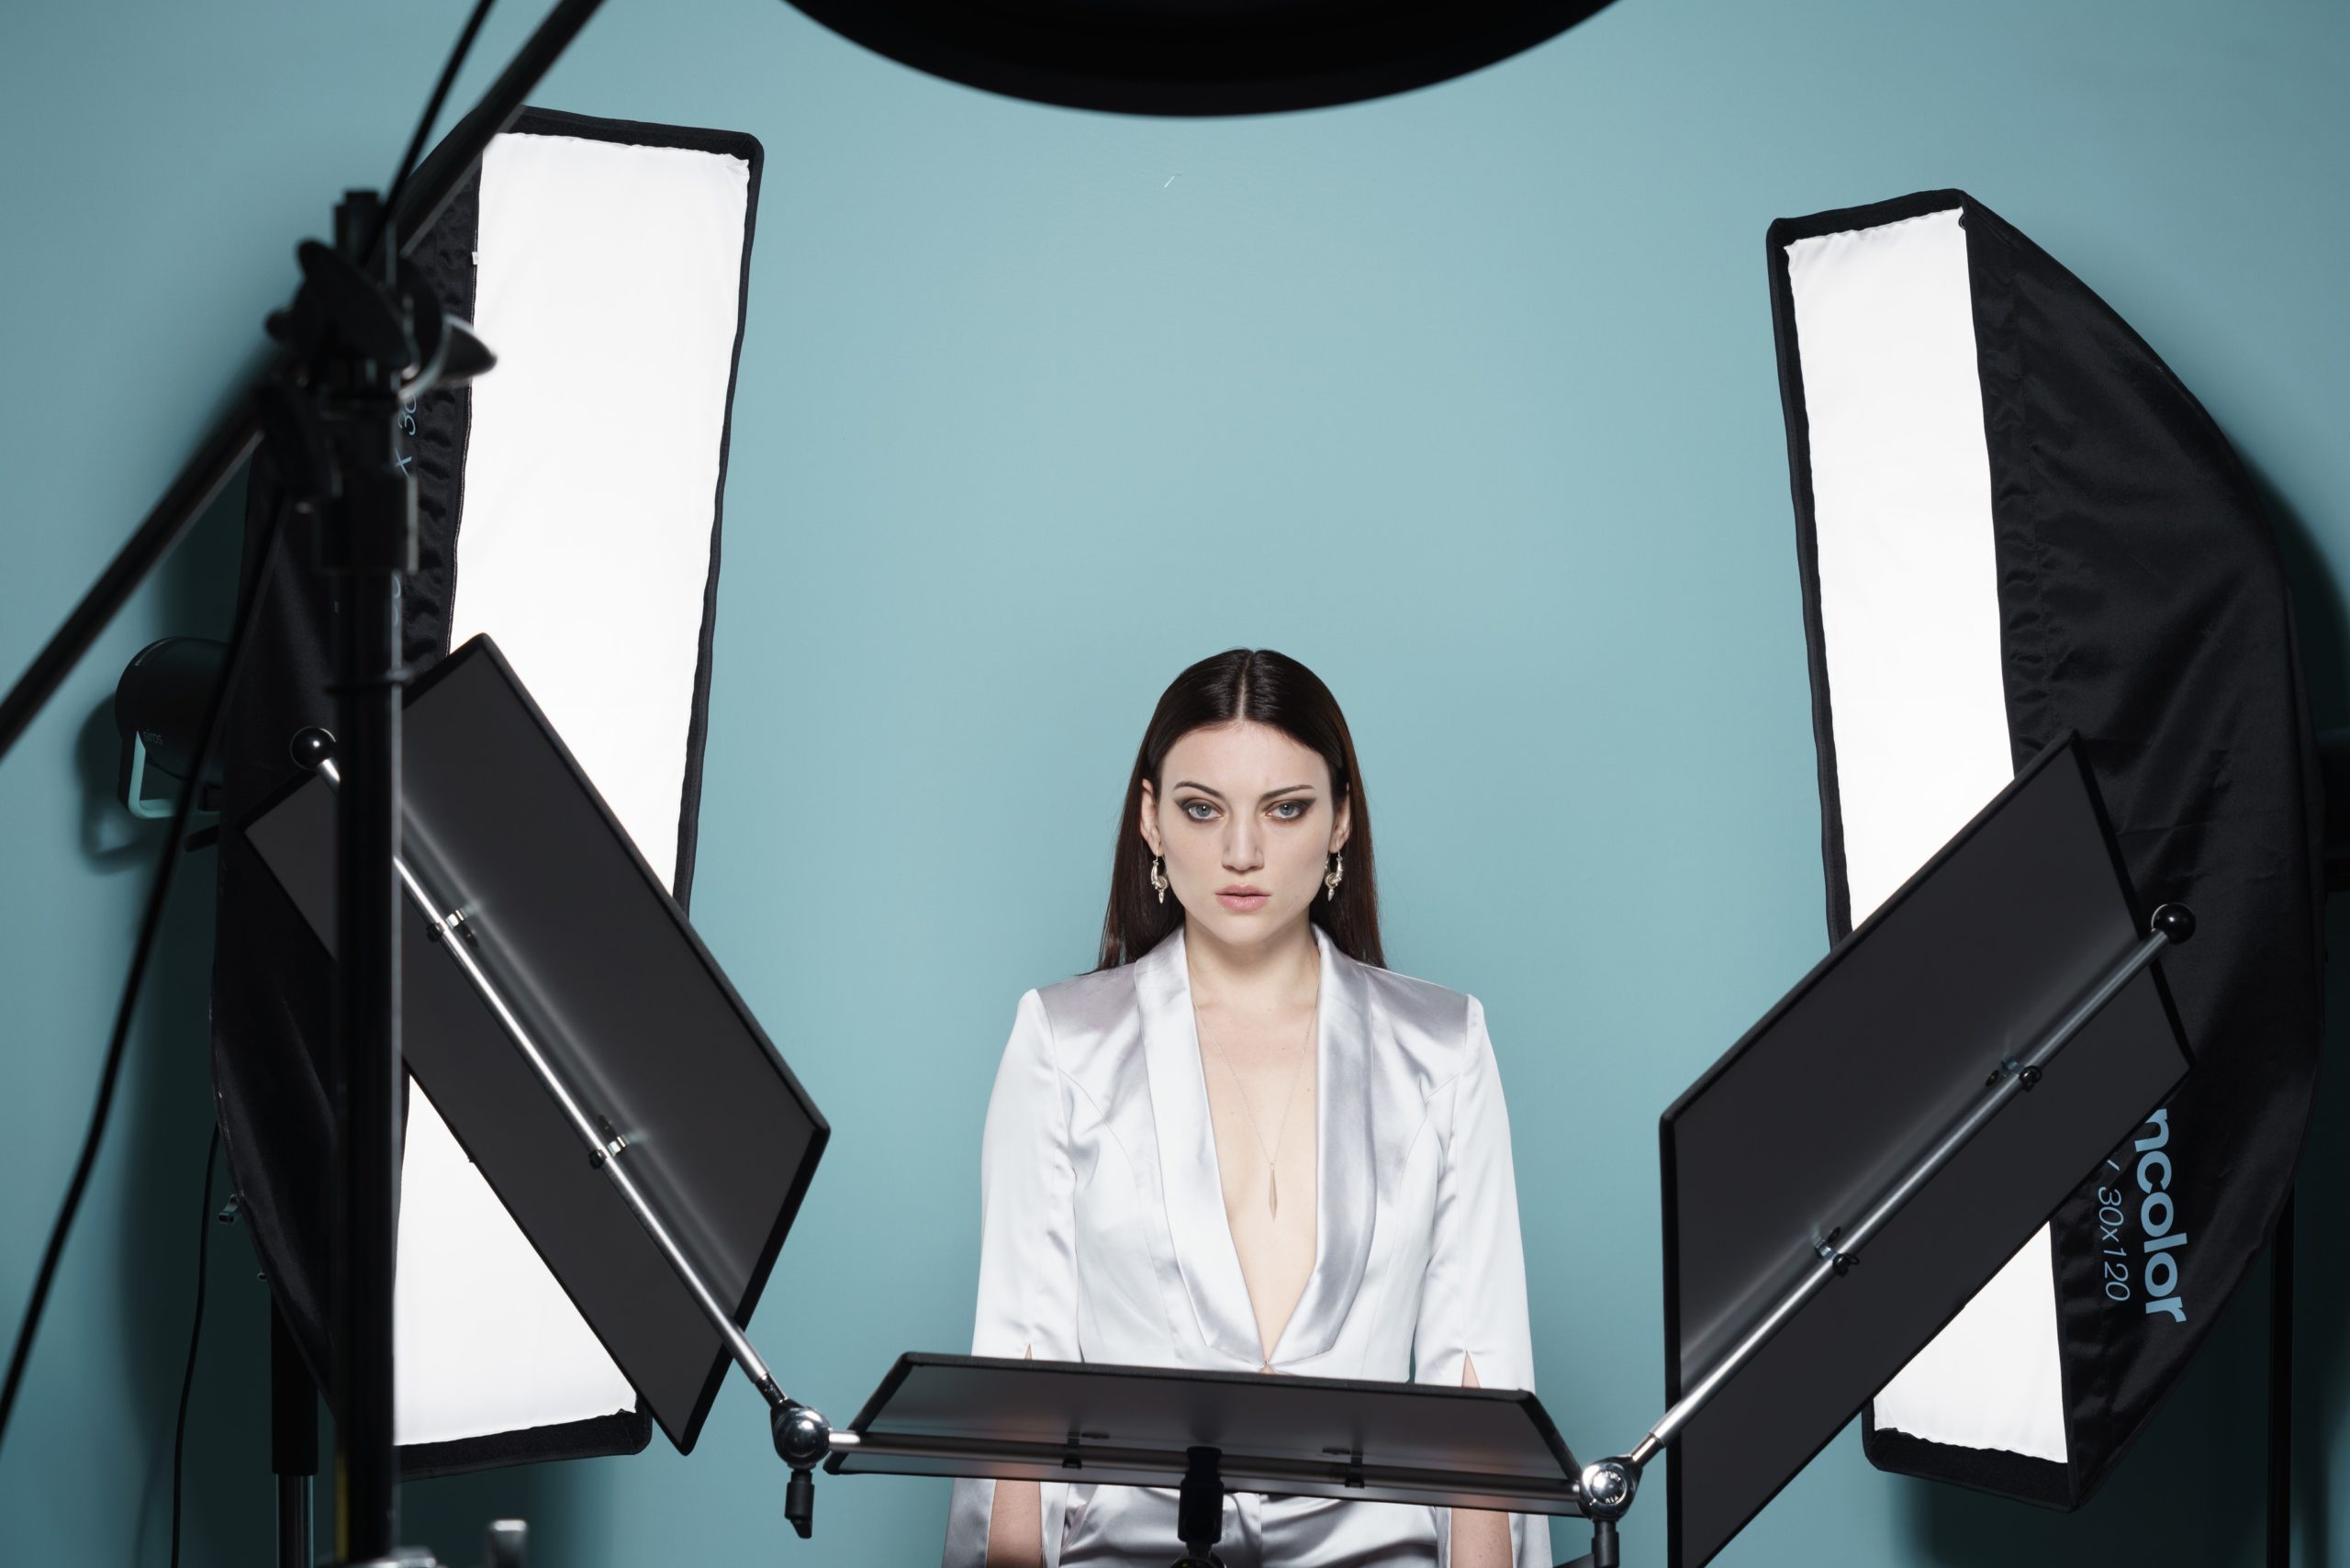
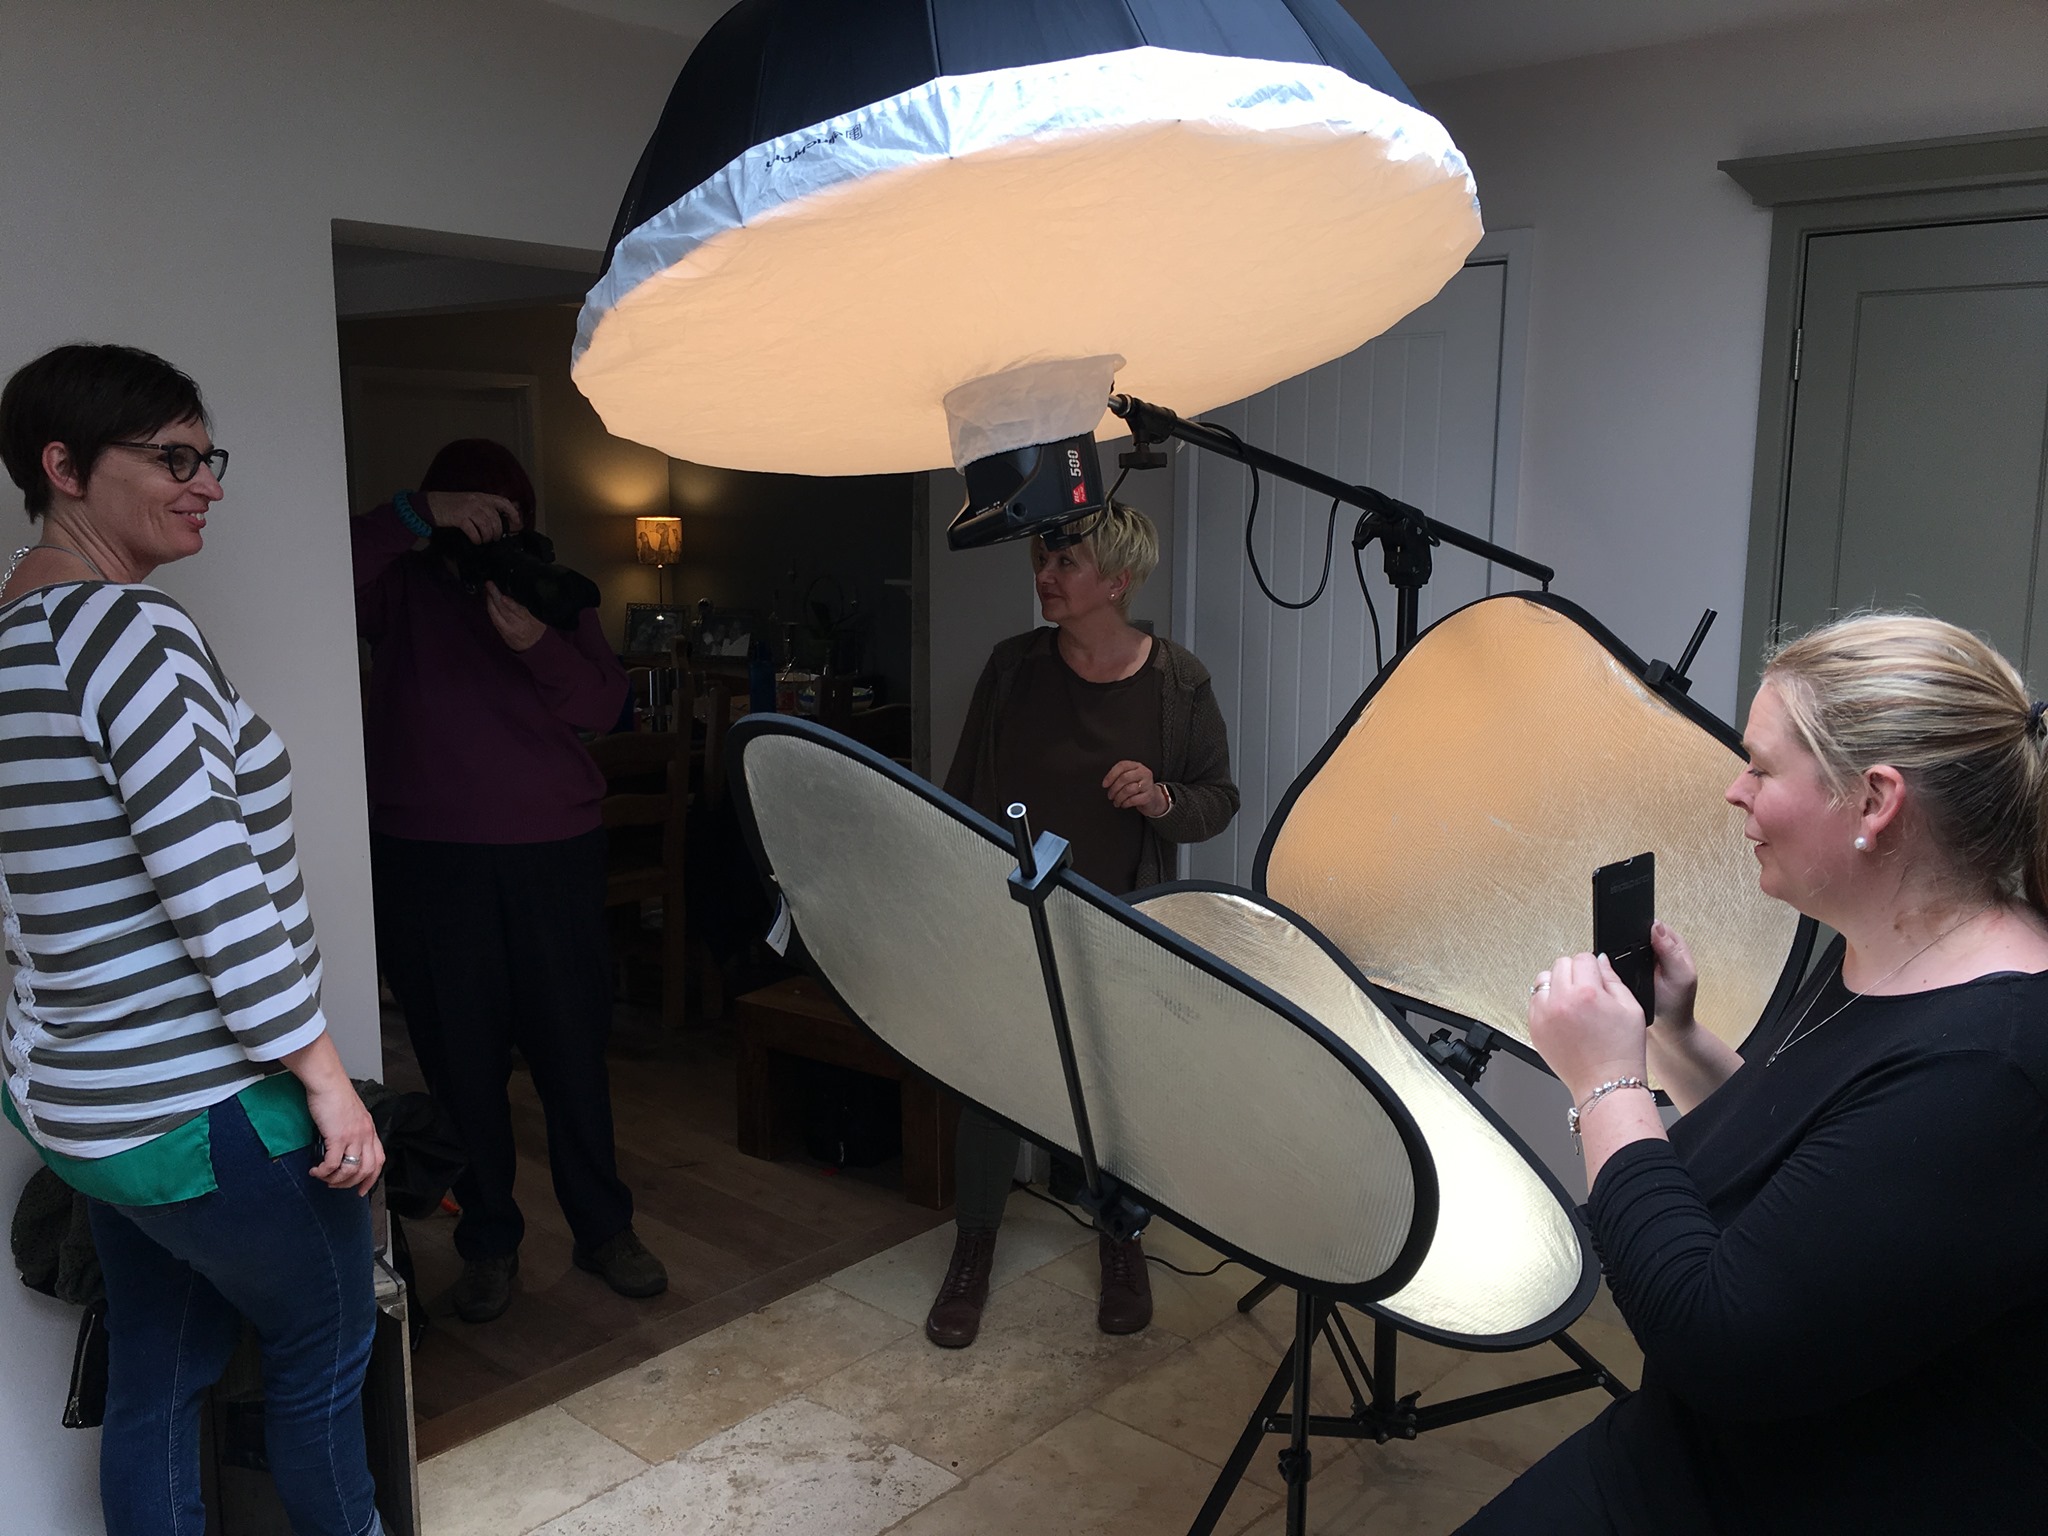
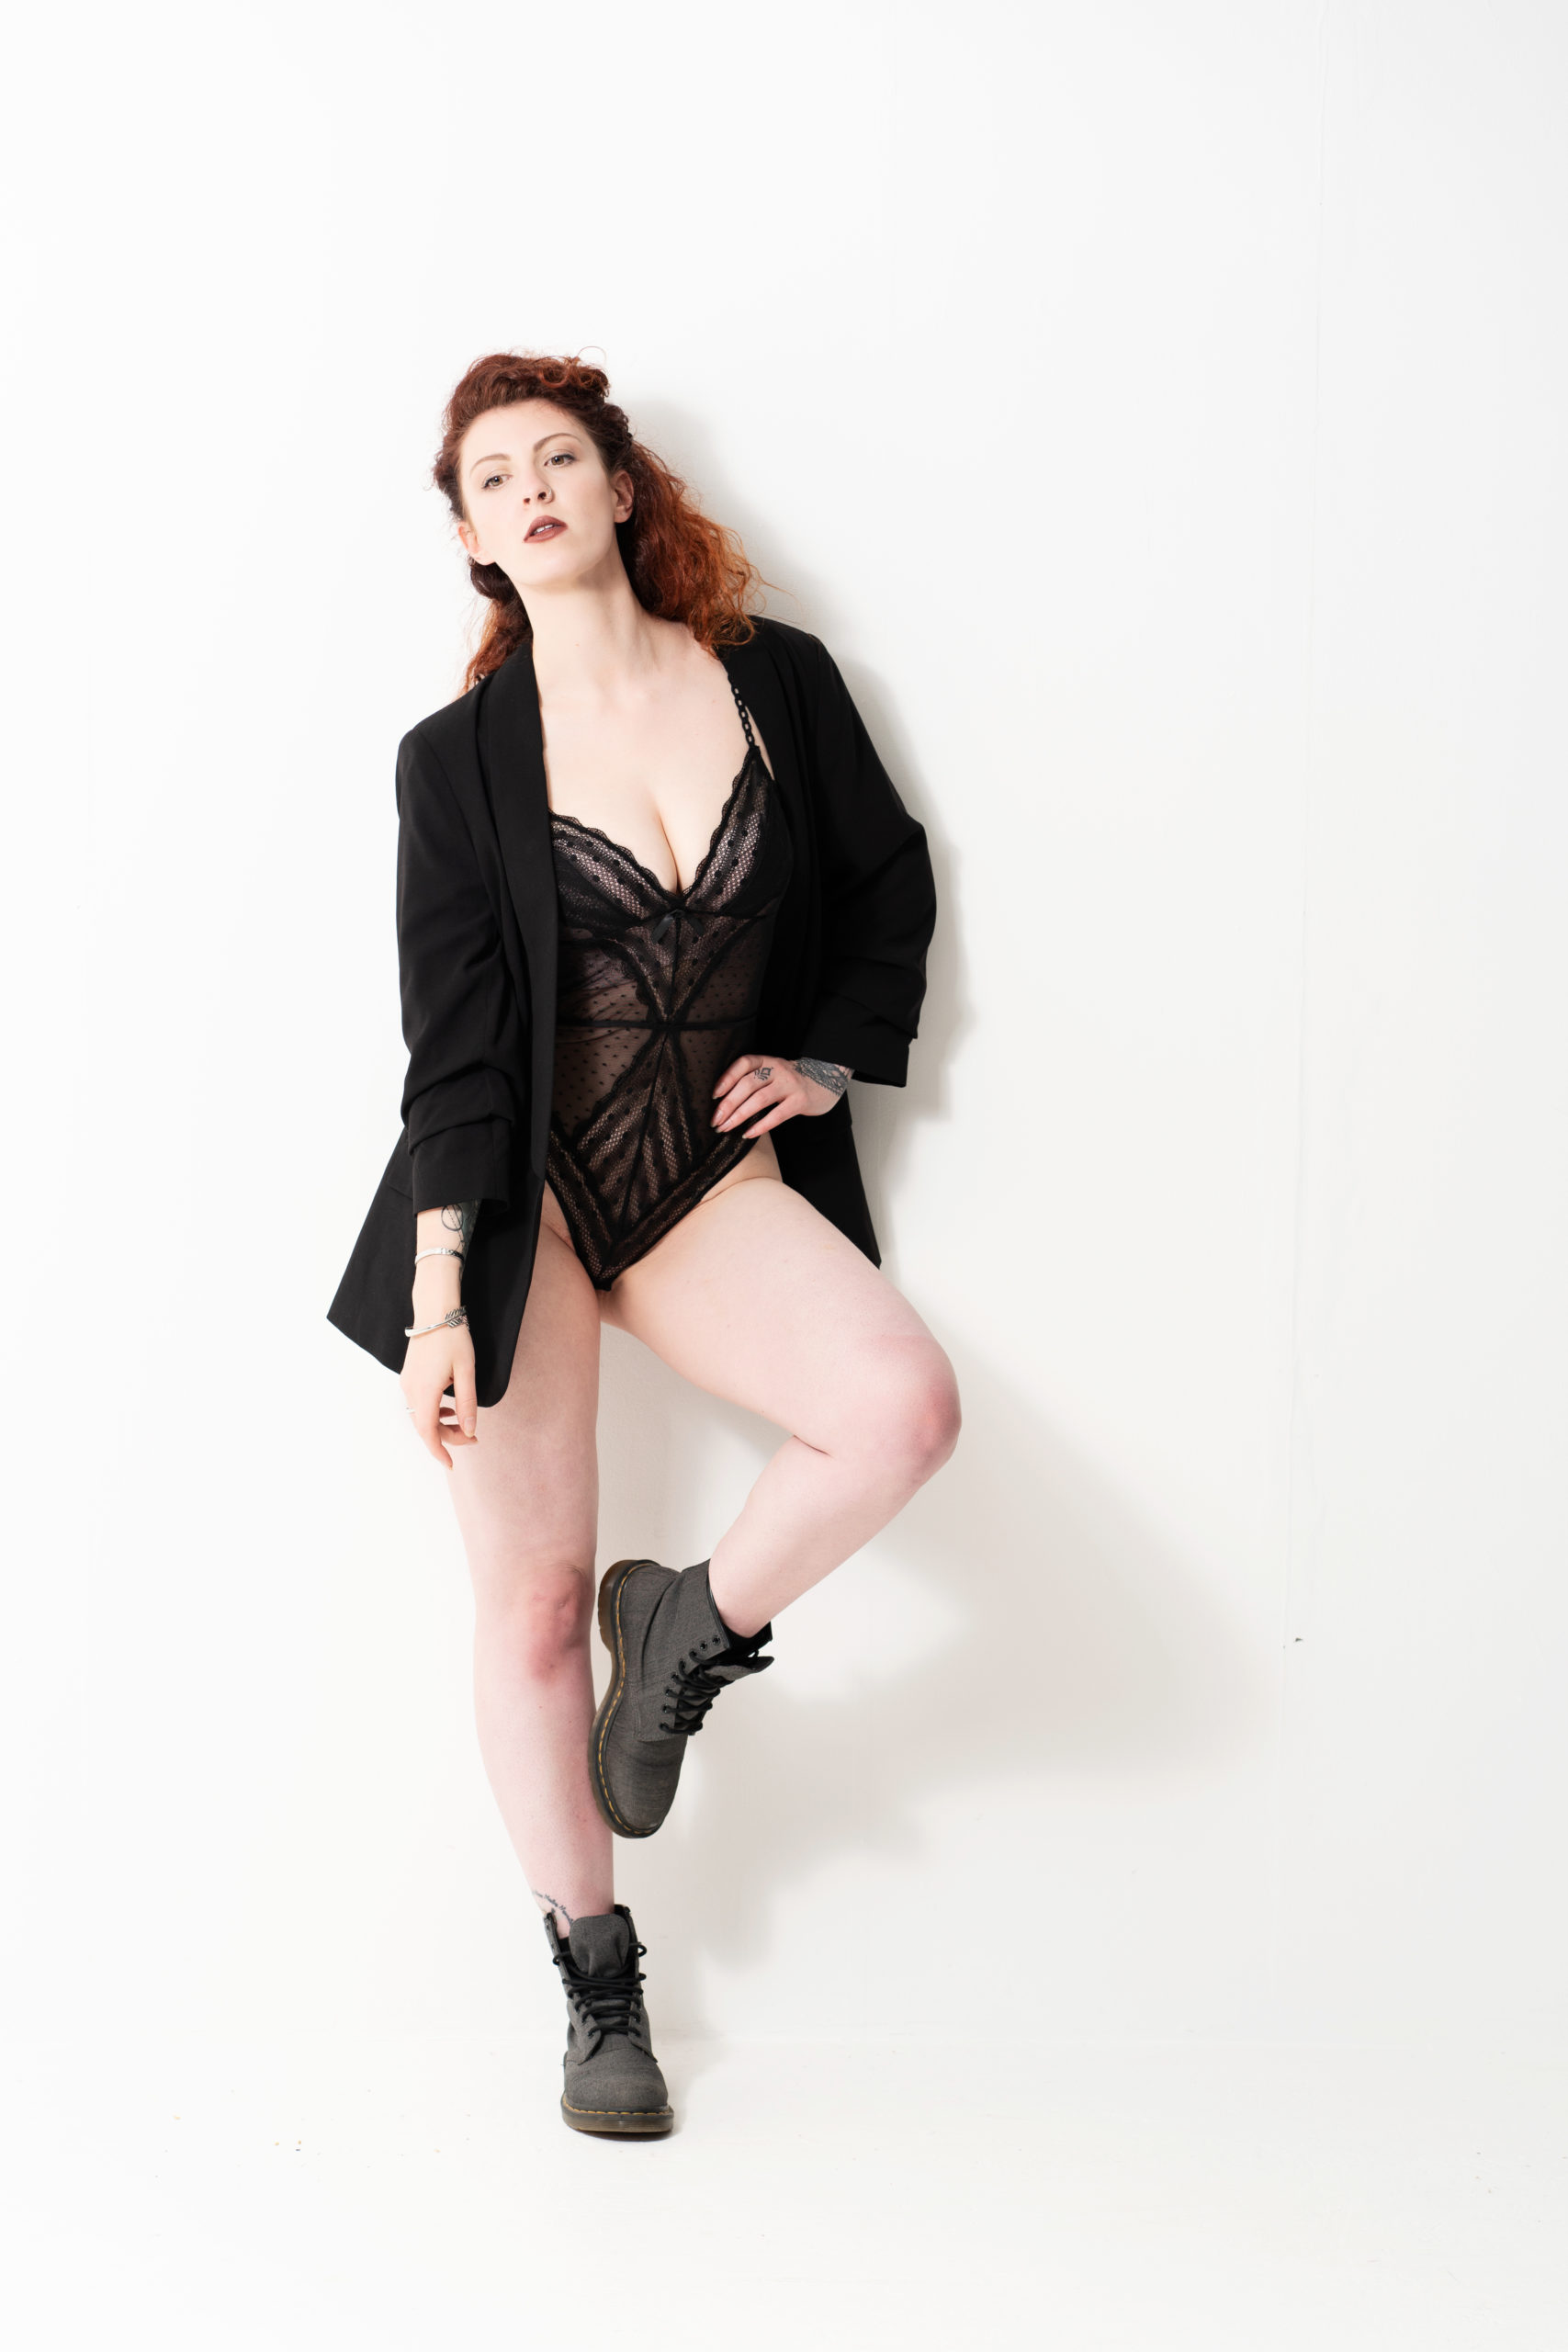
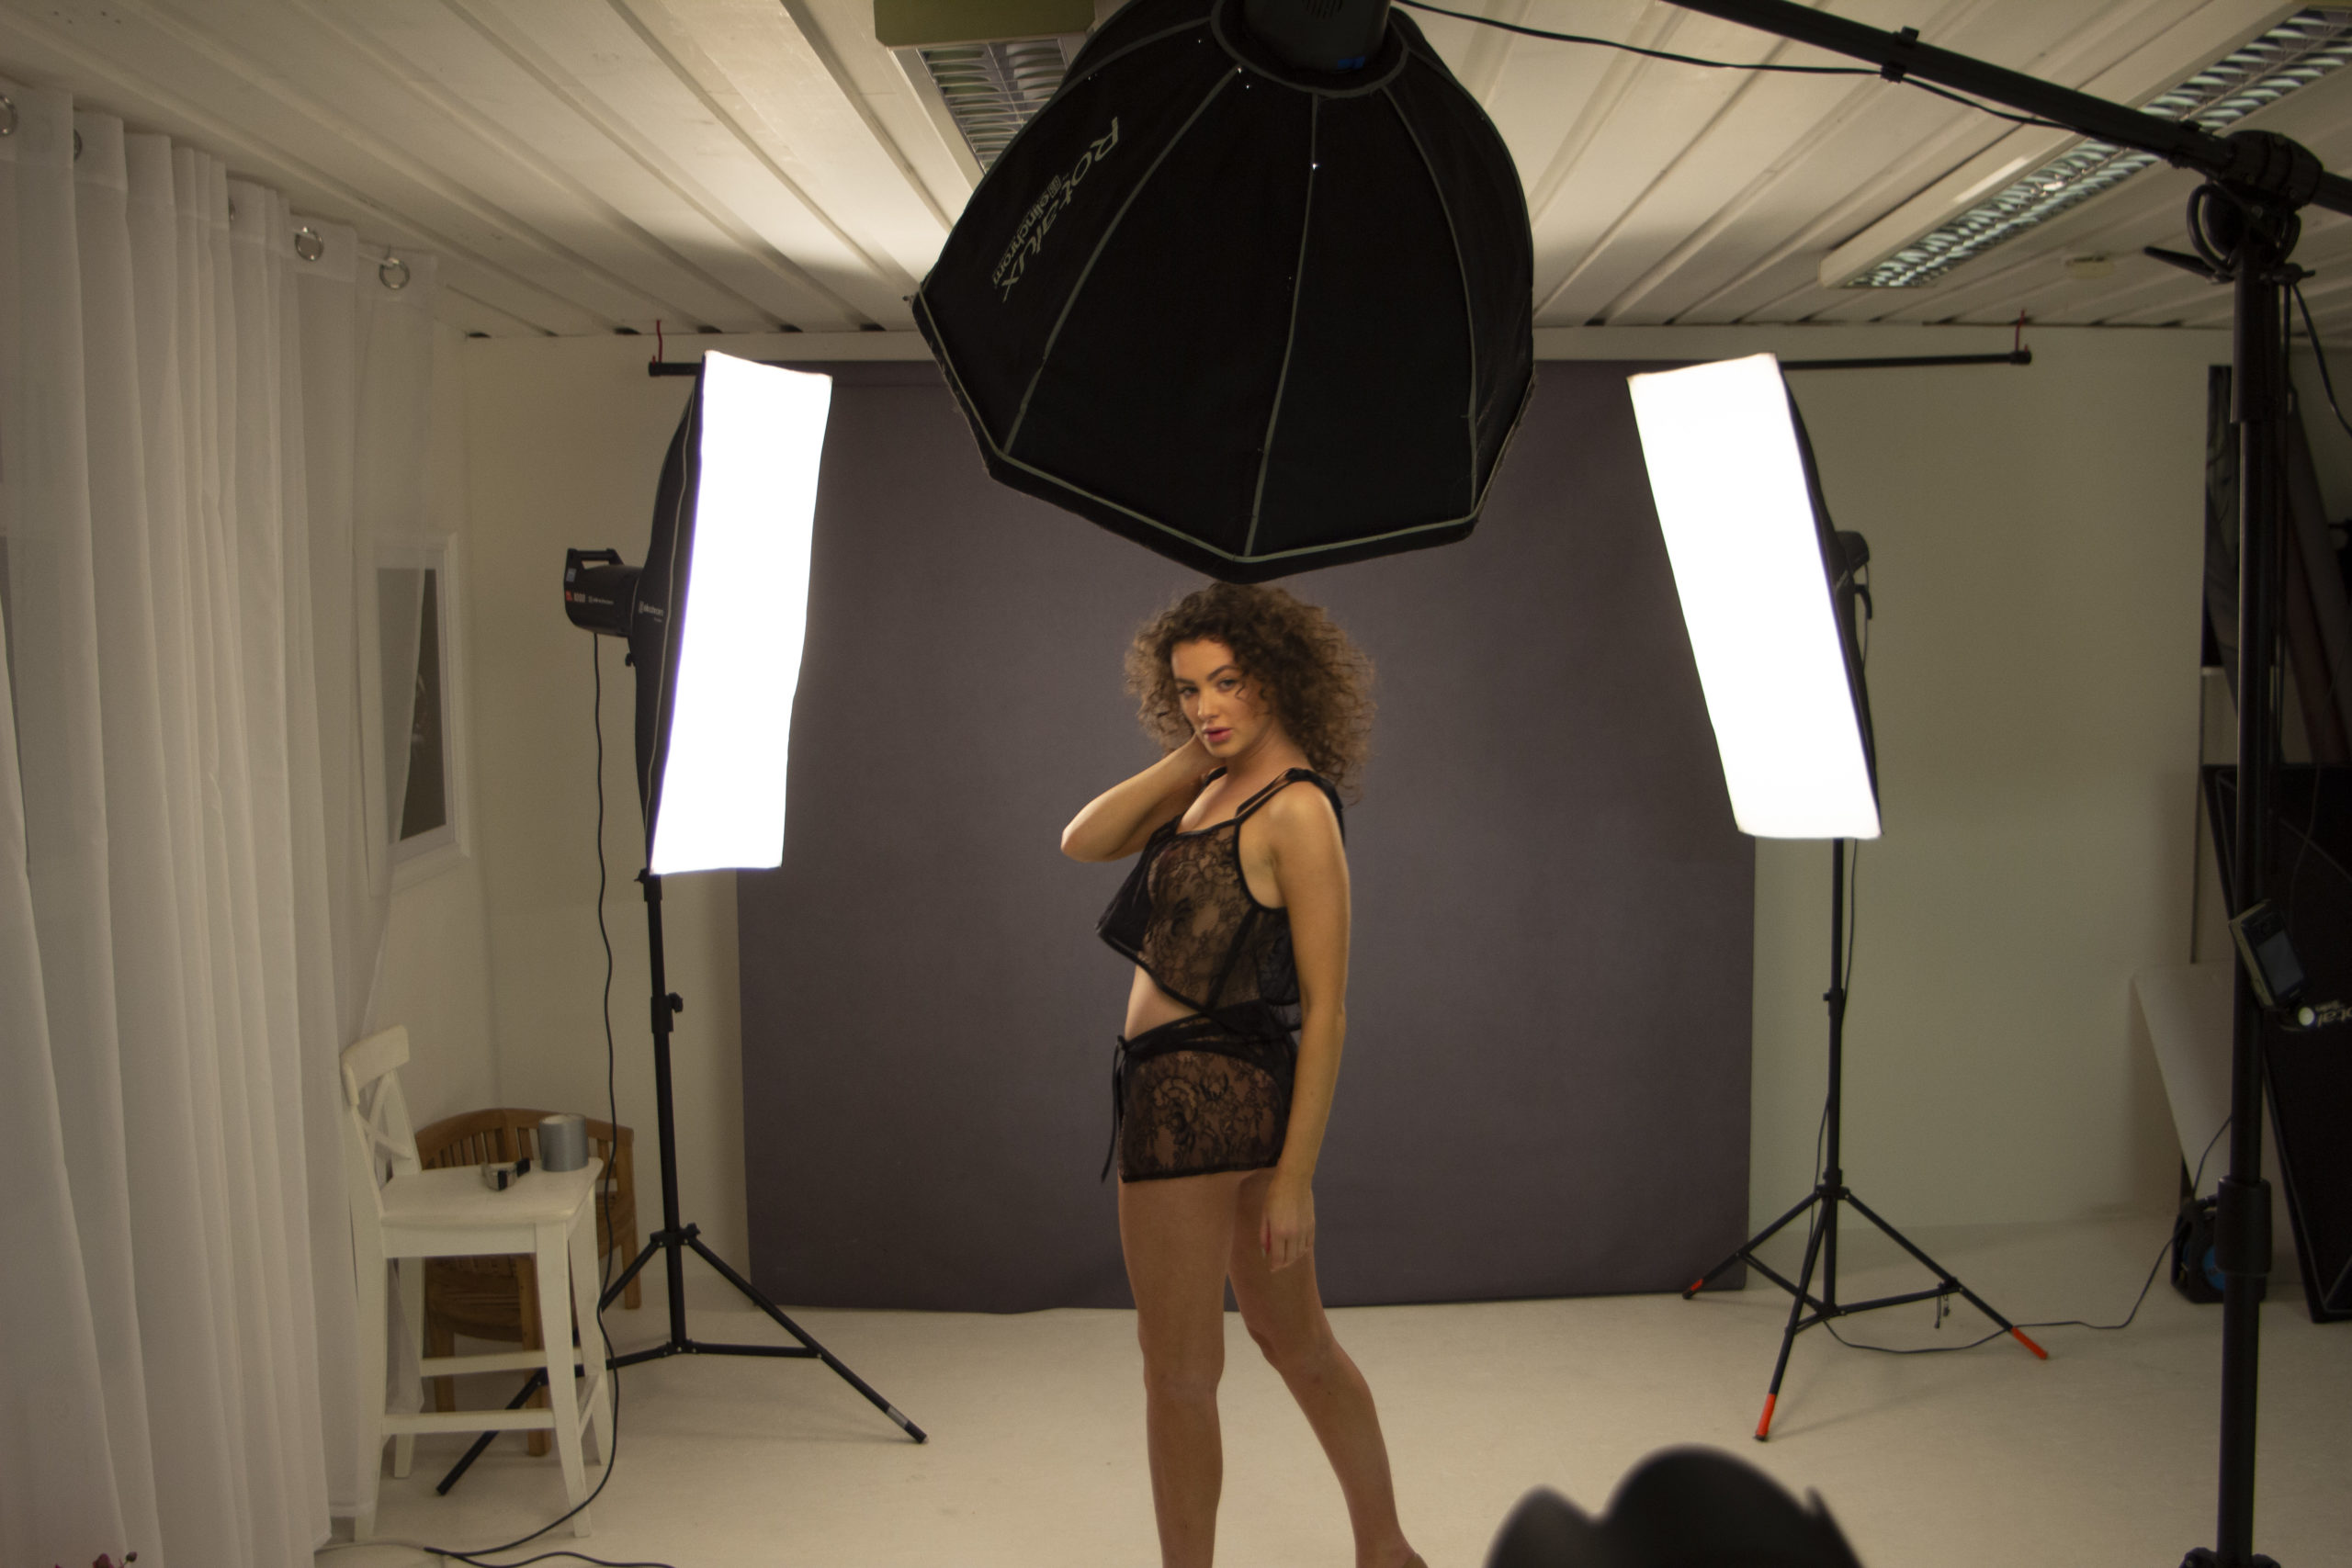
Softboxes are what most people think of when they thing of modifiers. They come in all shapes and sizes from small to huge, and their purpose is to increase the size of the light source to soften and spread it. The shape affects the spread and the size affects the softness ( though you can make them softer or harder by moving closer or further away). The ones I use the most are large octoboxes and strip boxes. As you can guess, octoboxes are octagonal in shape and strips are long and narrow. The strips allow me to precisely control the spread of the light and prevent spill. The big octobox or similar is a really versatile source. It can be pulled back a little to light a family or big group or brought in really close to get super soft light, bringing it in close makes it bigger relative to the subject and bigger is softer when close.
Umbrellas
Umbrellas come in many sorts, sizes and finishes. They can be “shoot through” where the fabric is diffuse and the flash is fired directly though the umbrella towards the subject and the umbrella acts as a diffuser. The other type is indirect where the flash fires into the umbrella and bounces off the inside before coming back out. They can be white or silver or even gold to give different effects to the light. The silver or gold will give a punchier more specular light. The white inside of a bounced umbrella can be a really useful modifier as it is easy to transport, put up and position. Some come with an outer diffuser which adds another layer of softness due to diffusing the light some more. I use these a lot – in particular the Elinchrom deep white 125cm and outer diffuser. It’s easy to get a beautiful quality of light from it in close to the subject. The only downside to umbrellas at times is they are not as easy to control as a softbox and have more spill. Once mastered they are a great modifier.
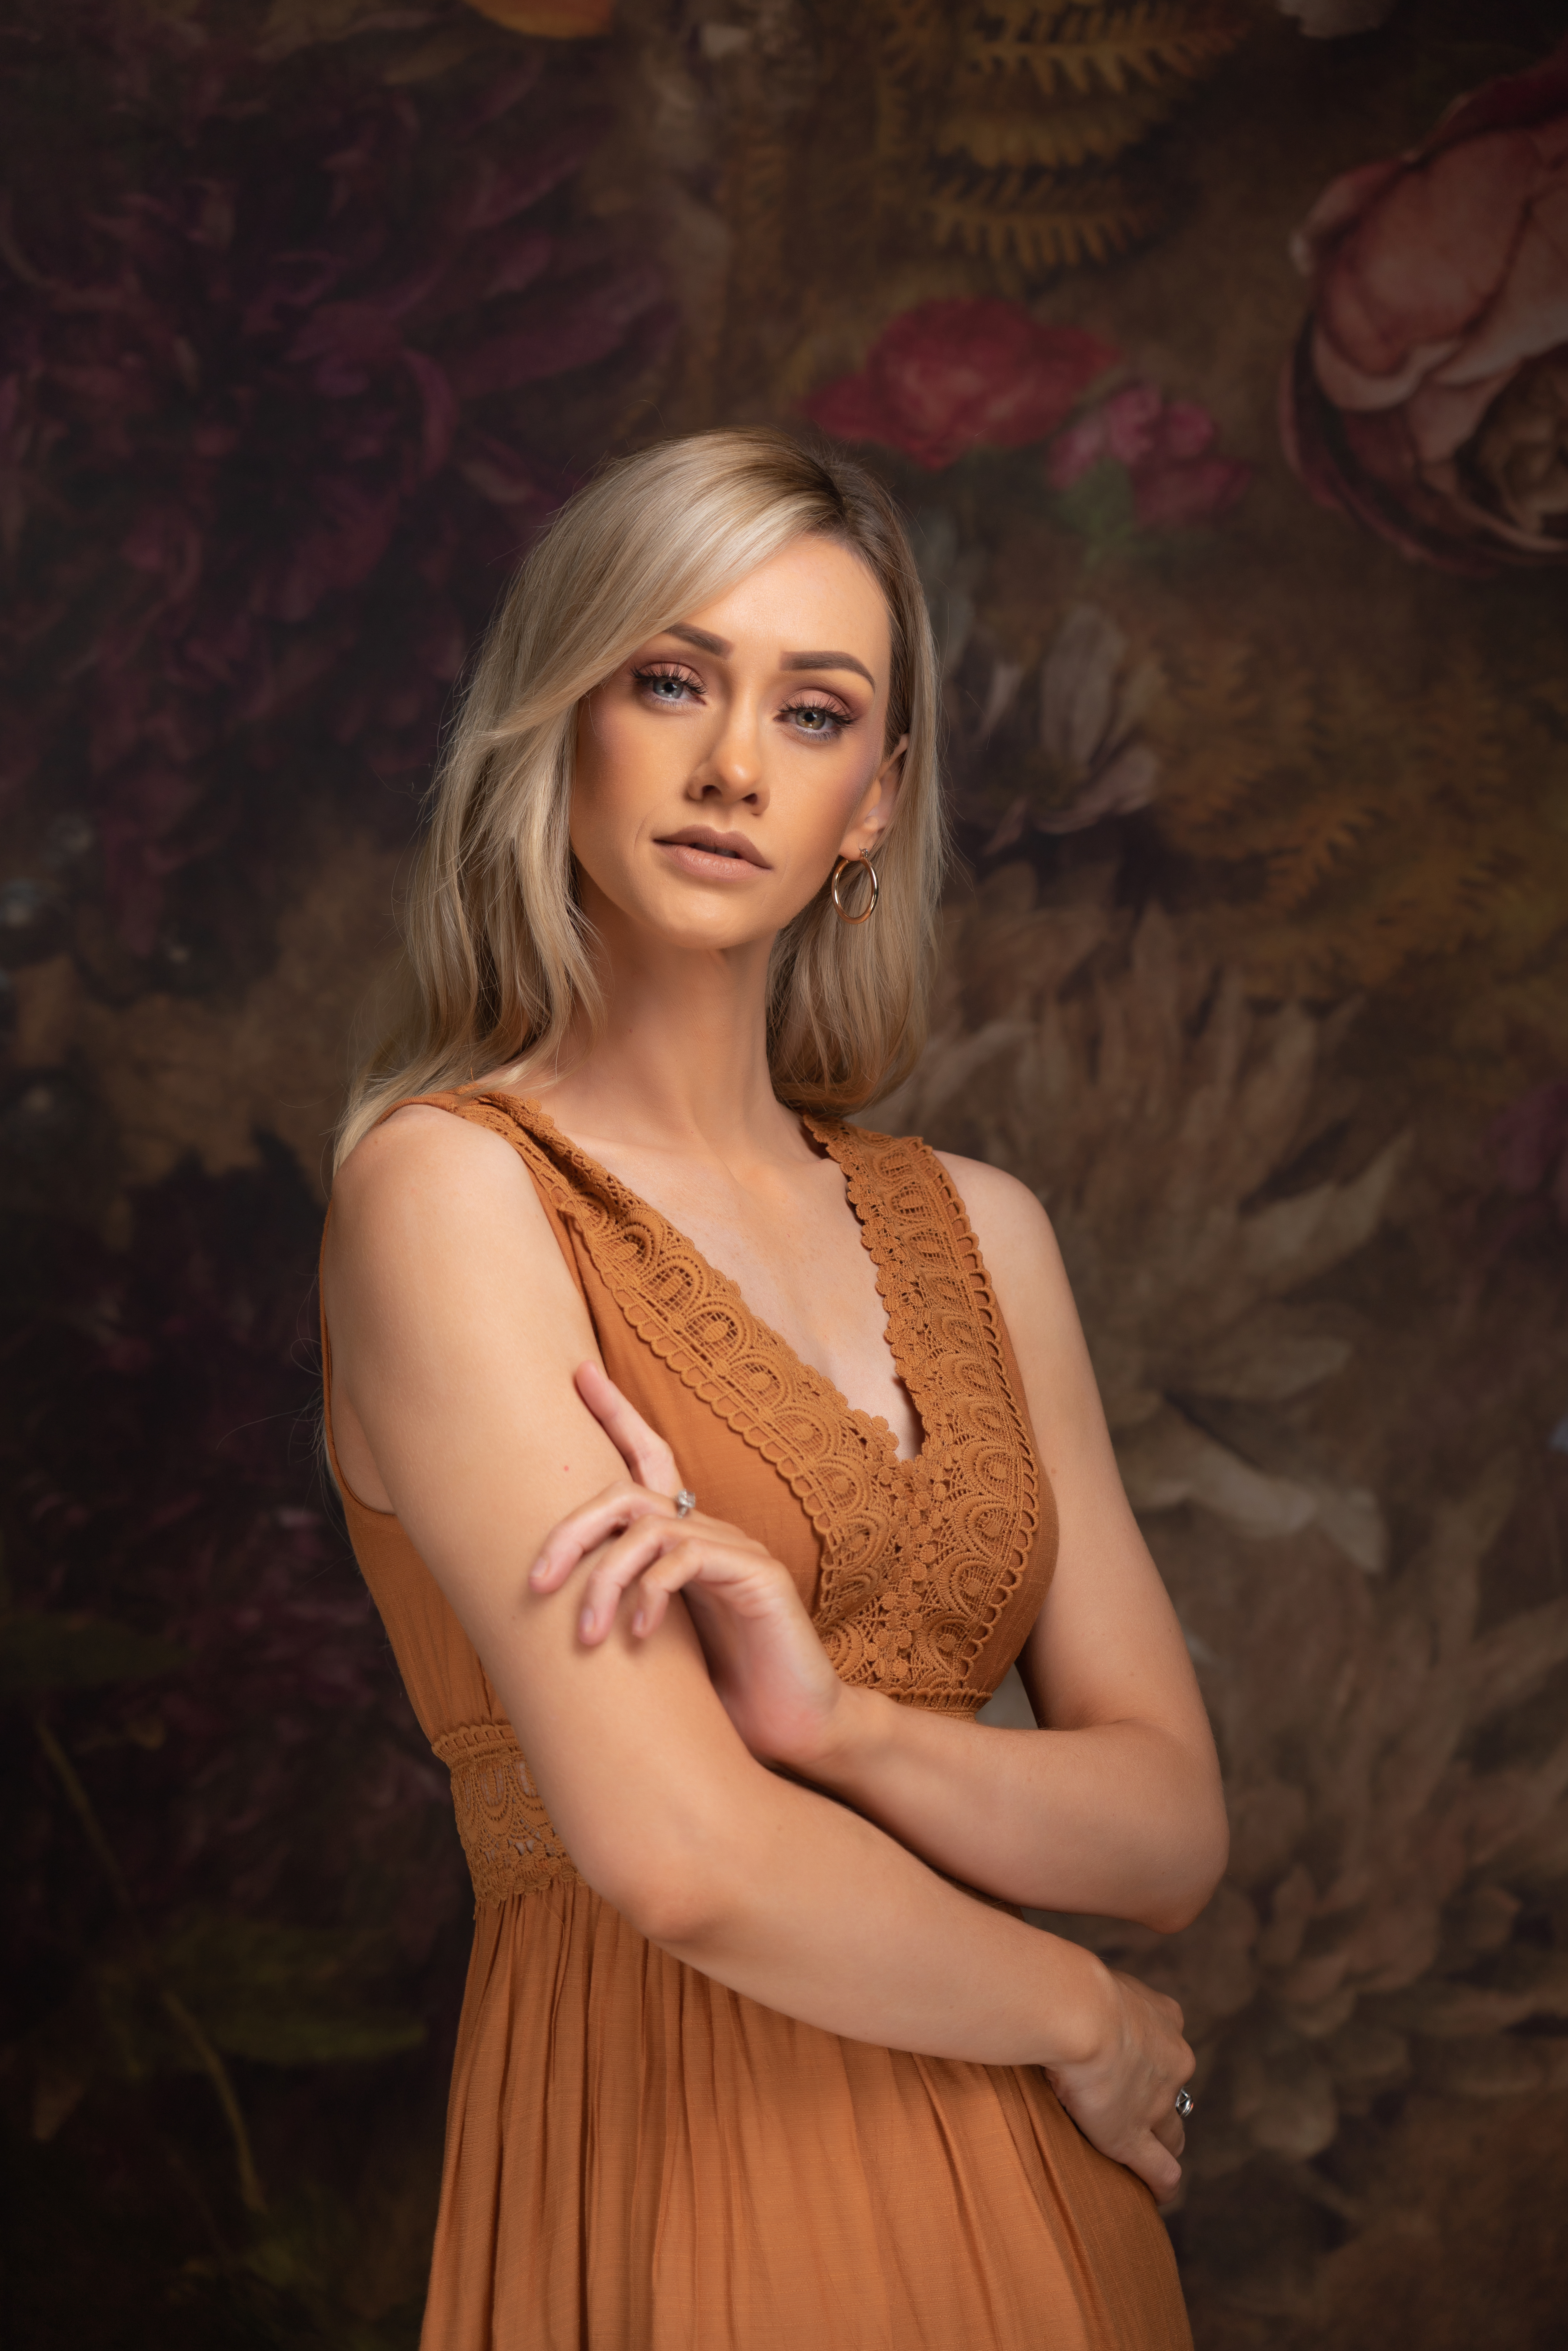
What to wear for your family photographs
In my last blog I spoke about why you should have family portraits – beautiful timeless photographs around the home. But what should you do before the session to ensure they are as good as can be? Firstly, think where you are going to put your portraits. Having those amazing, printed images on your wall is what I want for you, so that you will walk past them every day and see them, the family all together and connected. If you are looking at these images every day for years to come, you want them to stand the test of time. While something might seem really great now in an image, if it is sat there in ten years’ time will you still love it? Those logos, stripes etc will date, so it is something to think about.
Ask the Photographer - What to wear for family photographs
What clothes to wear for your family photography
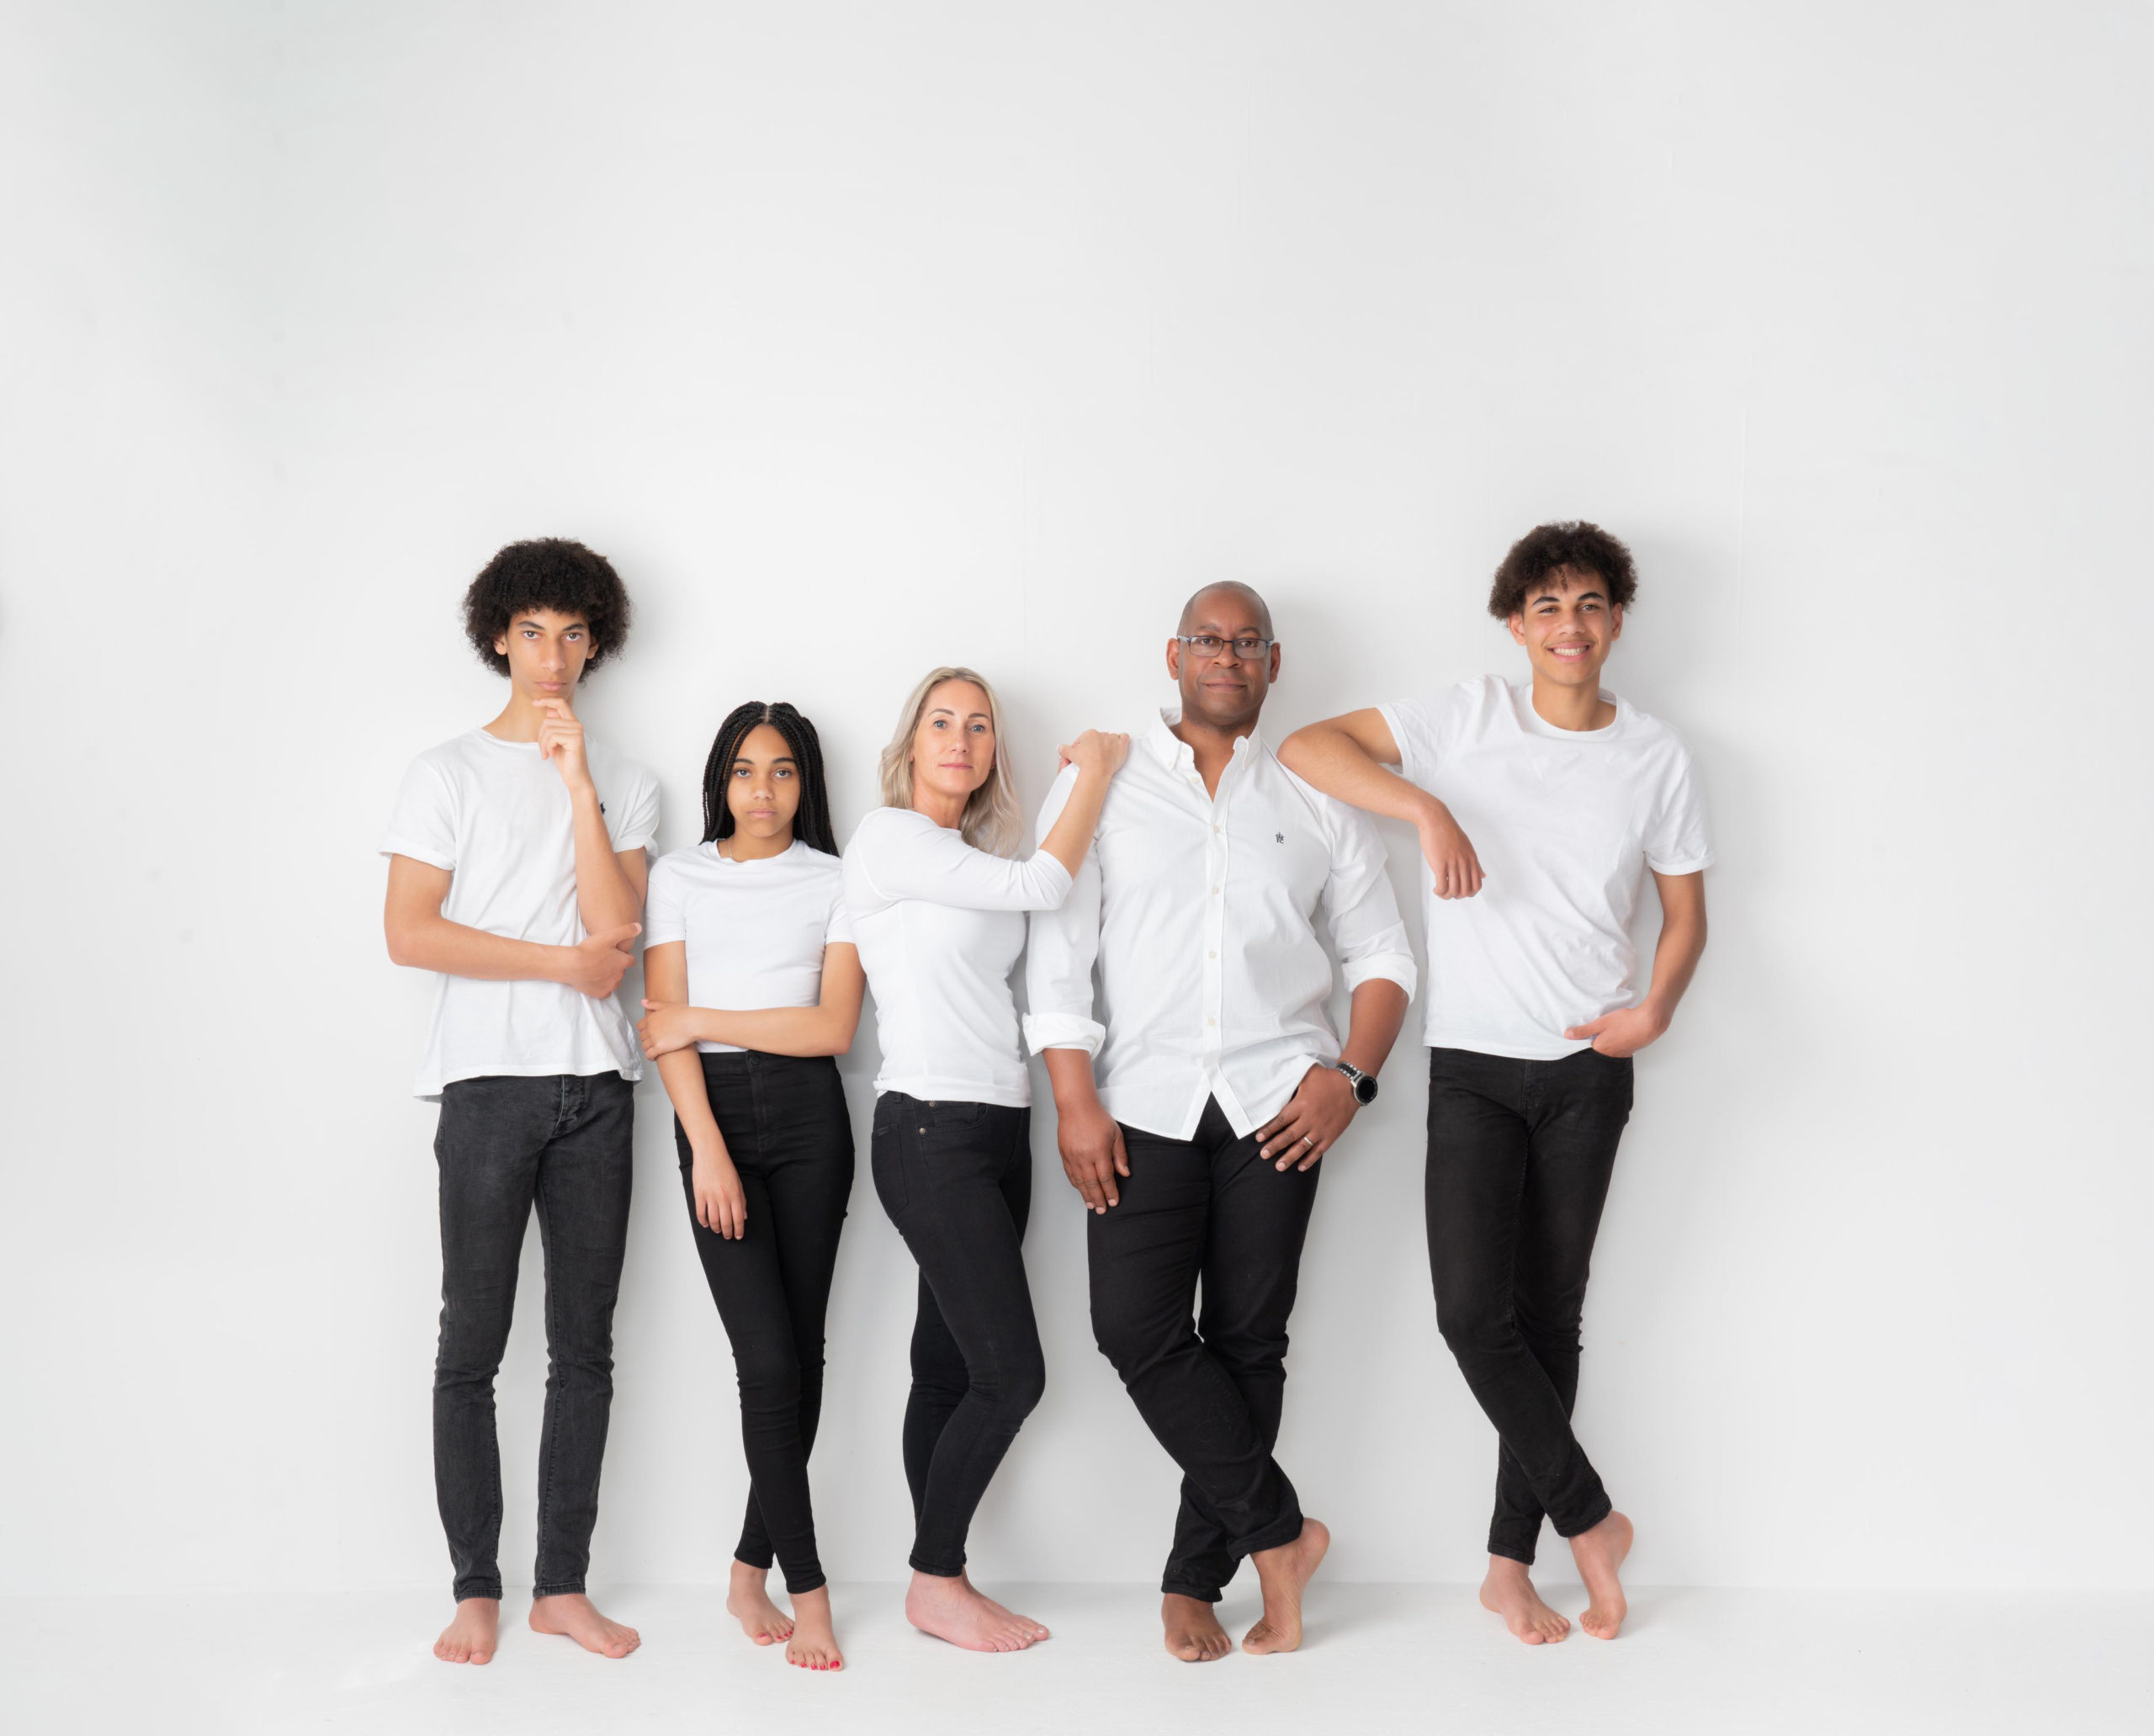
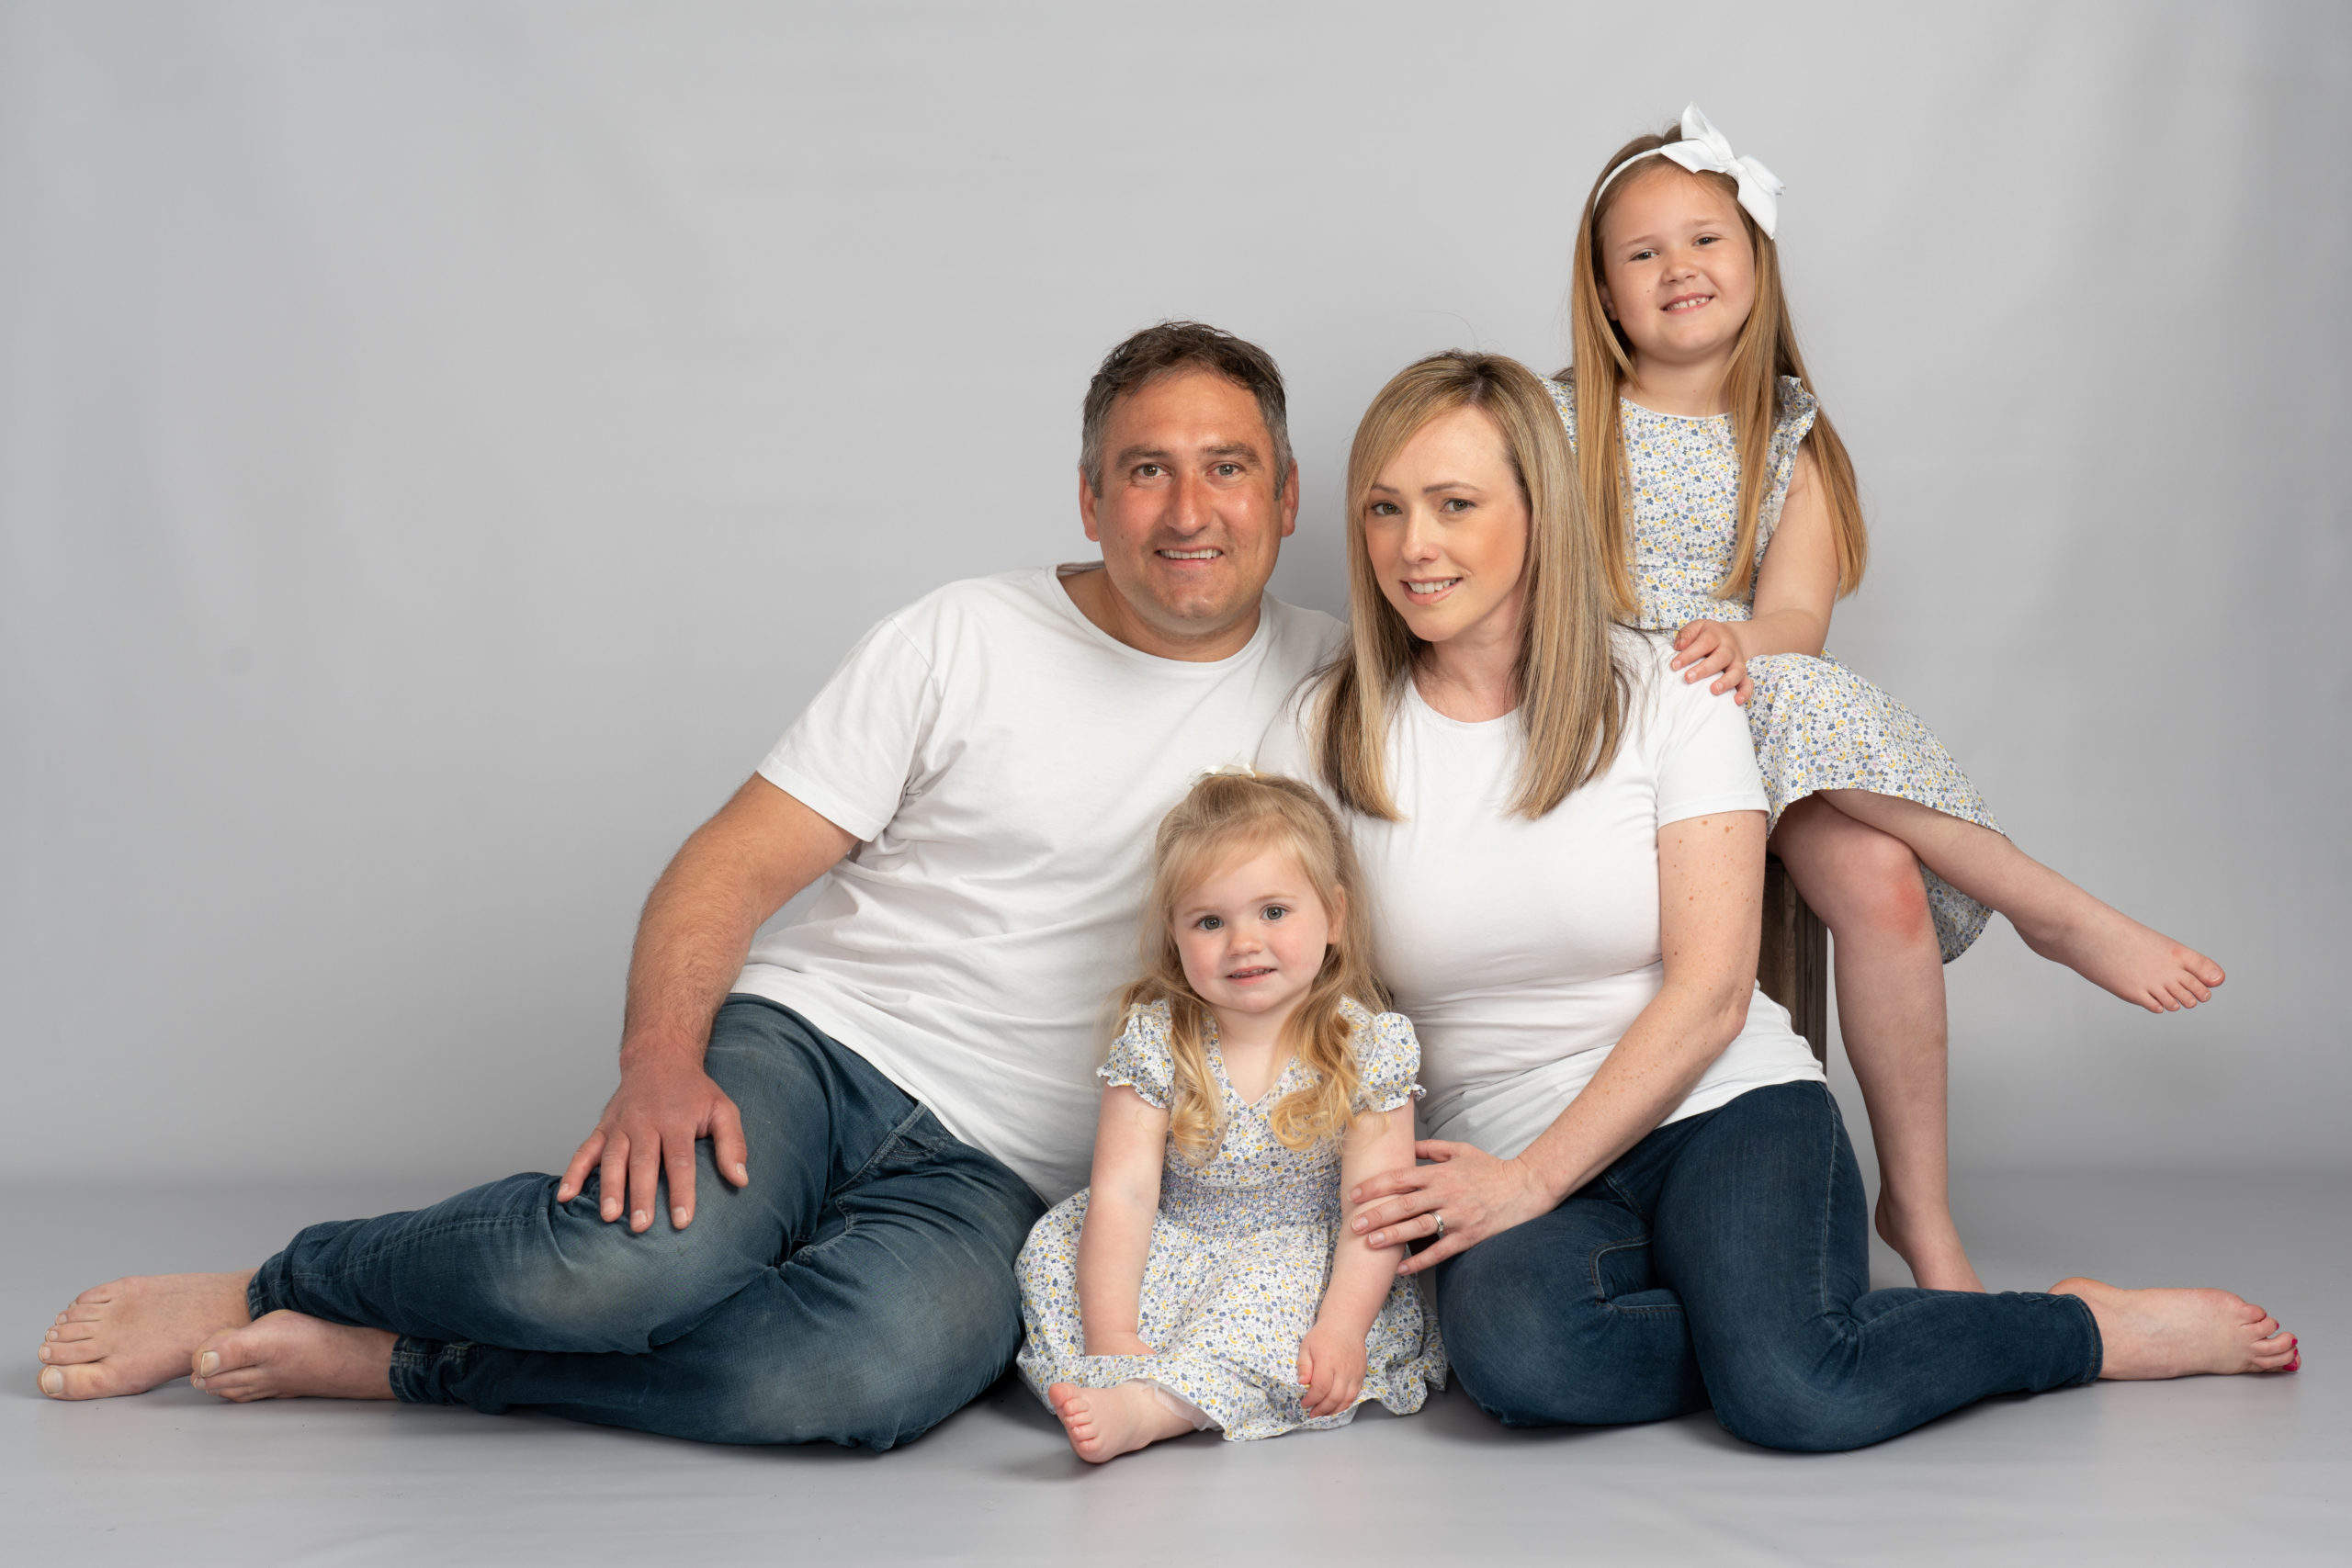
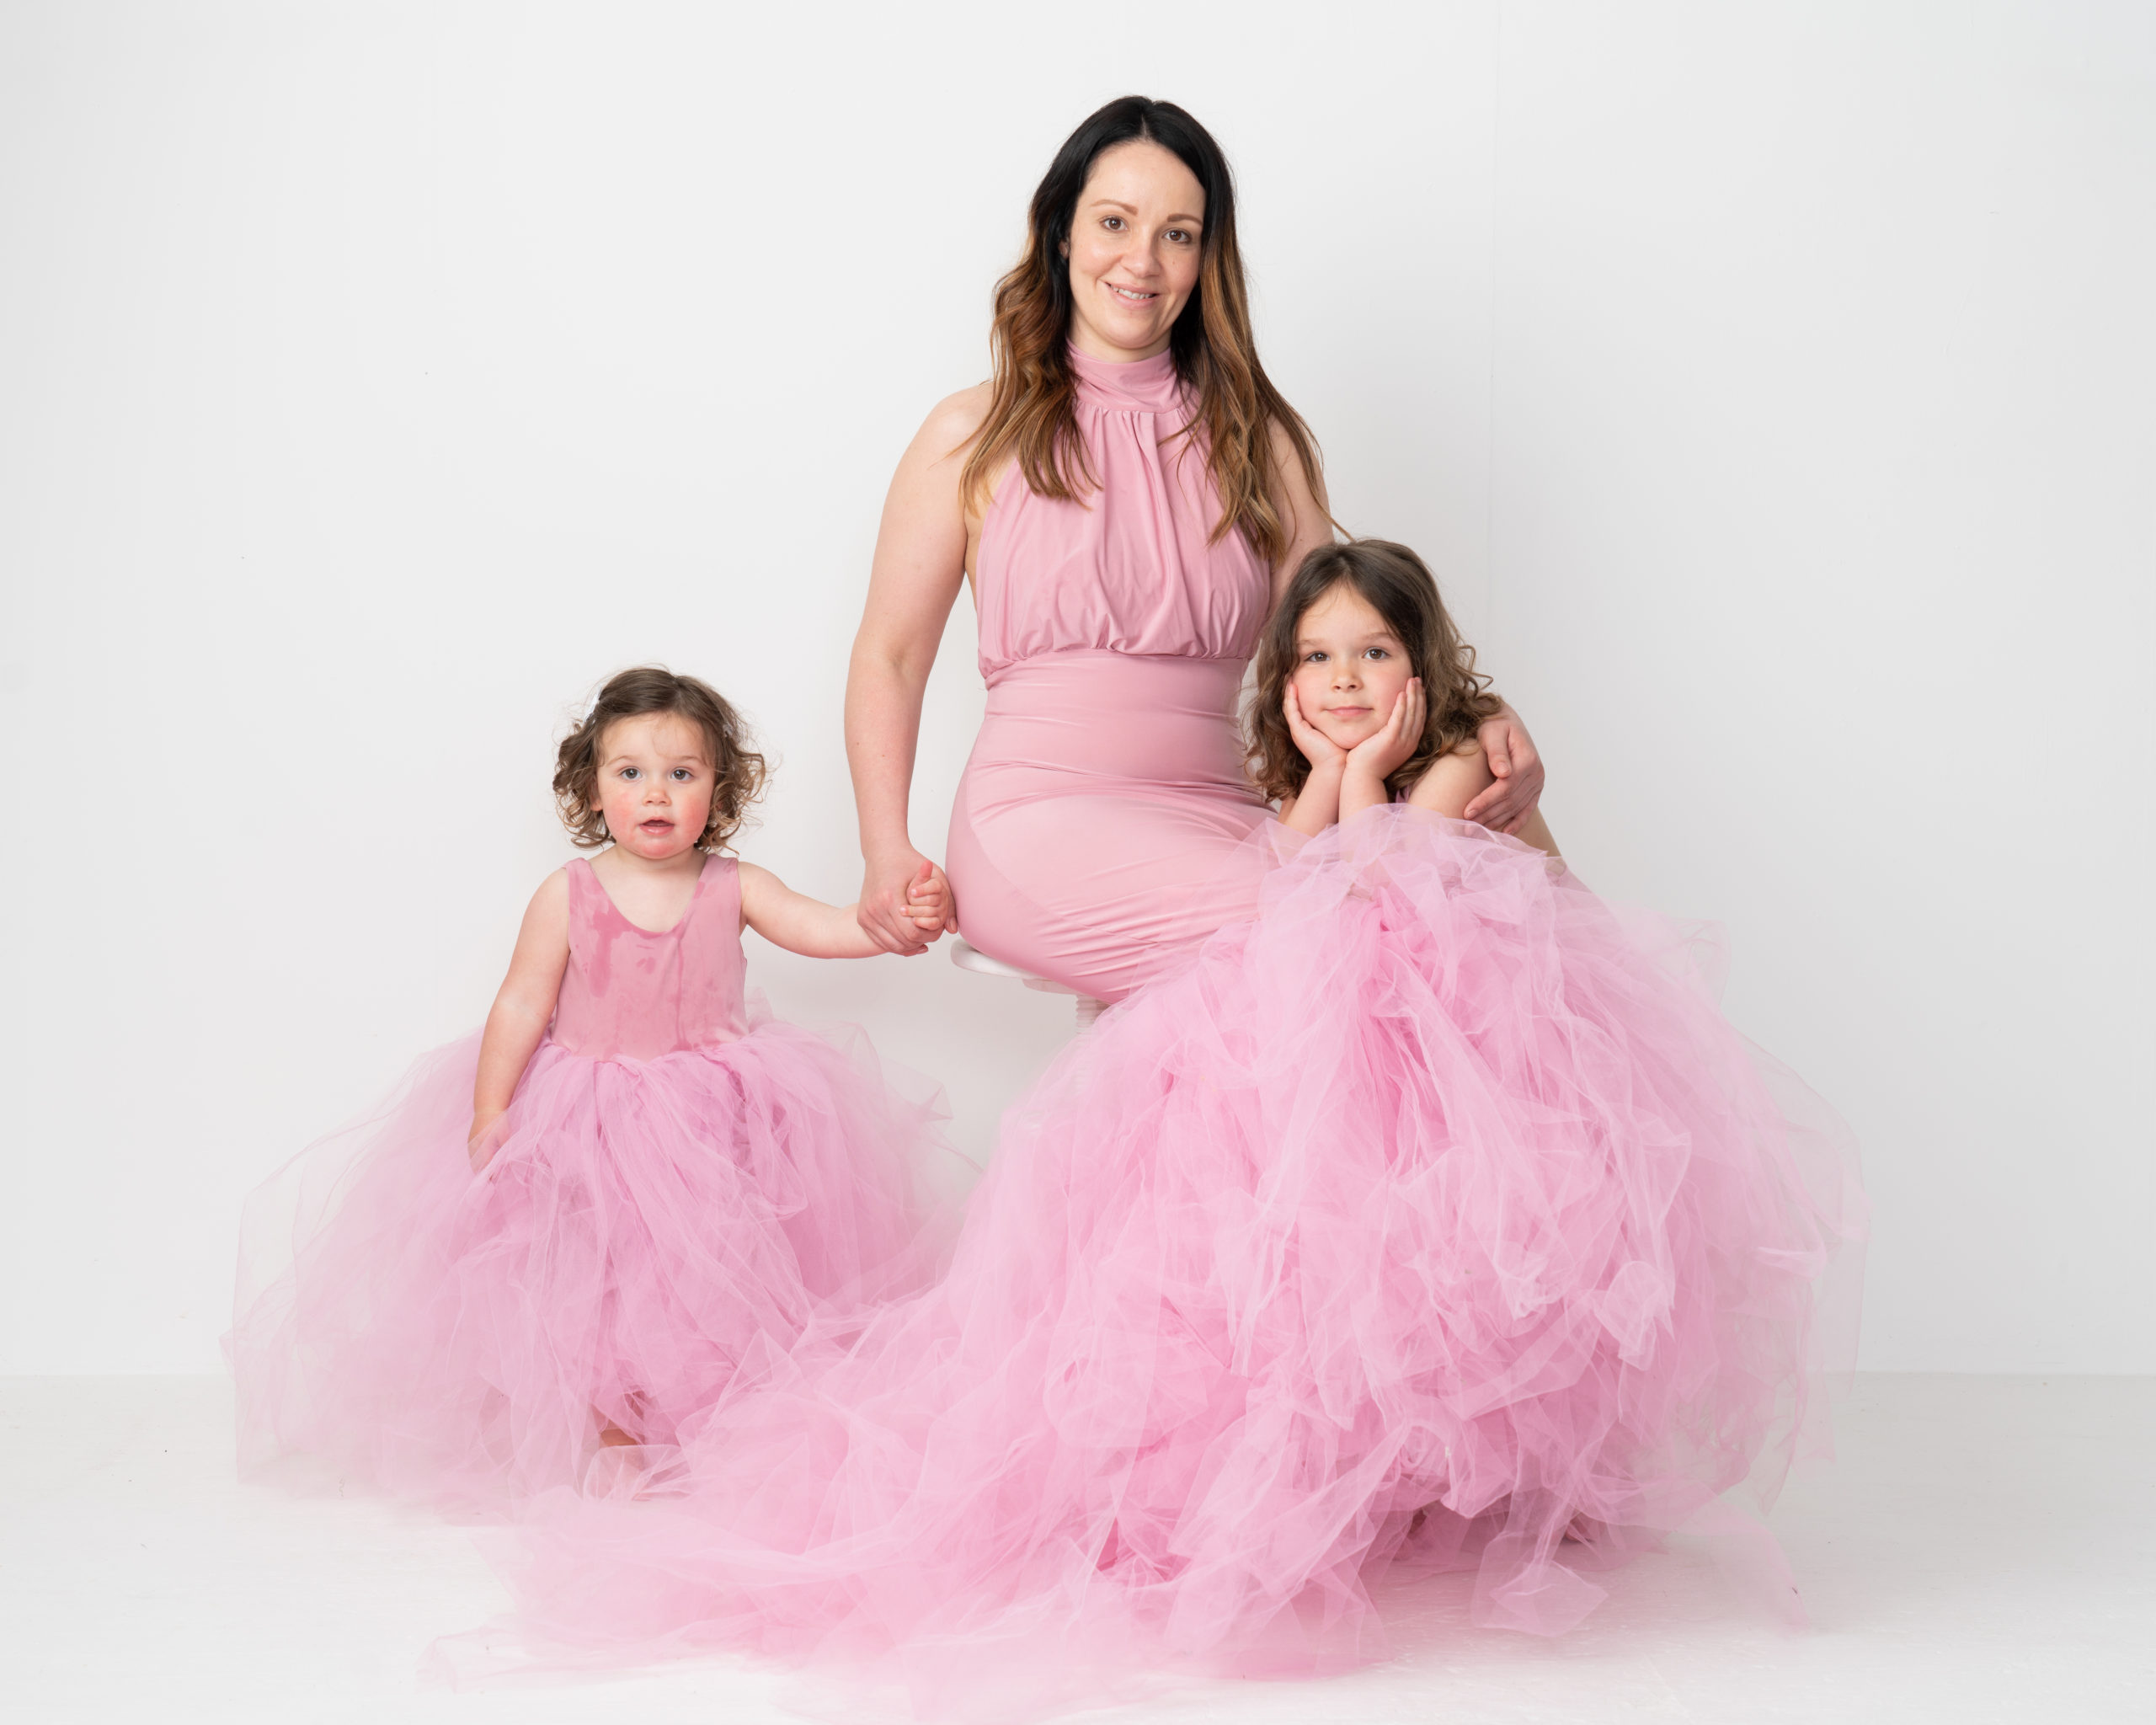
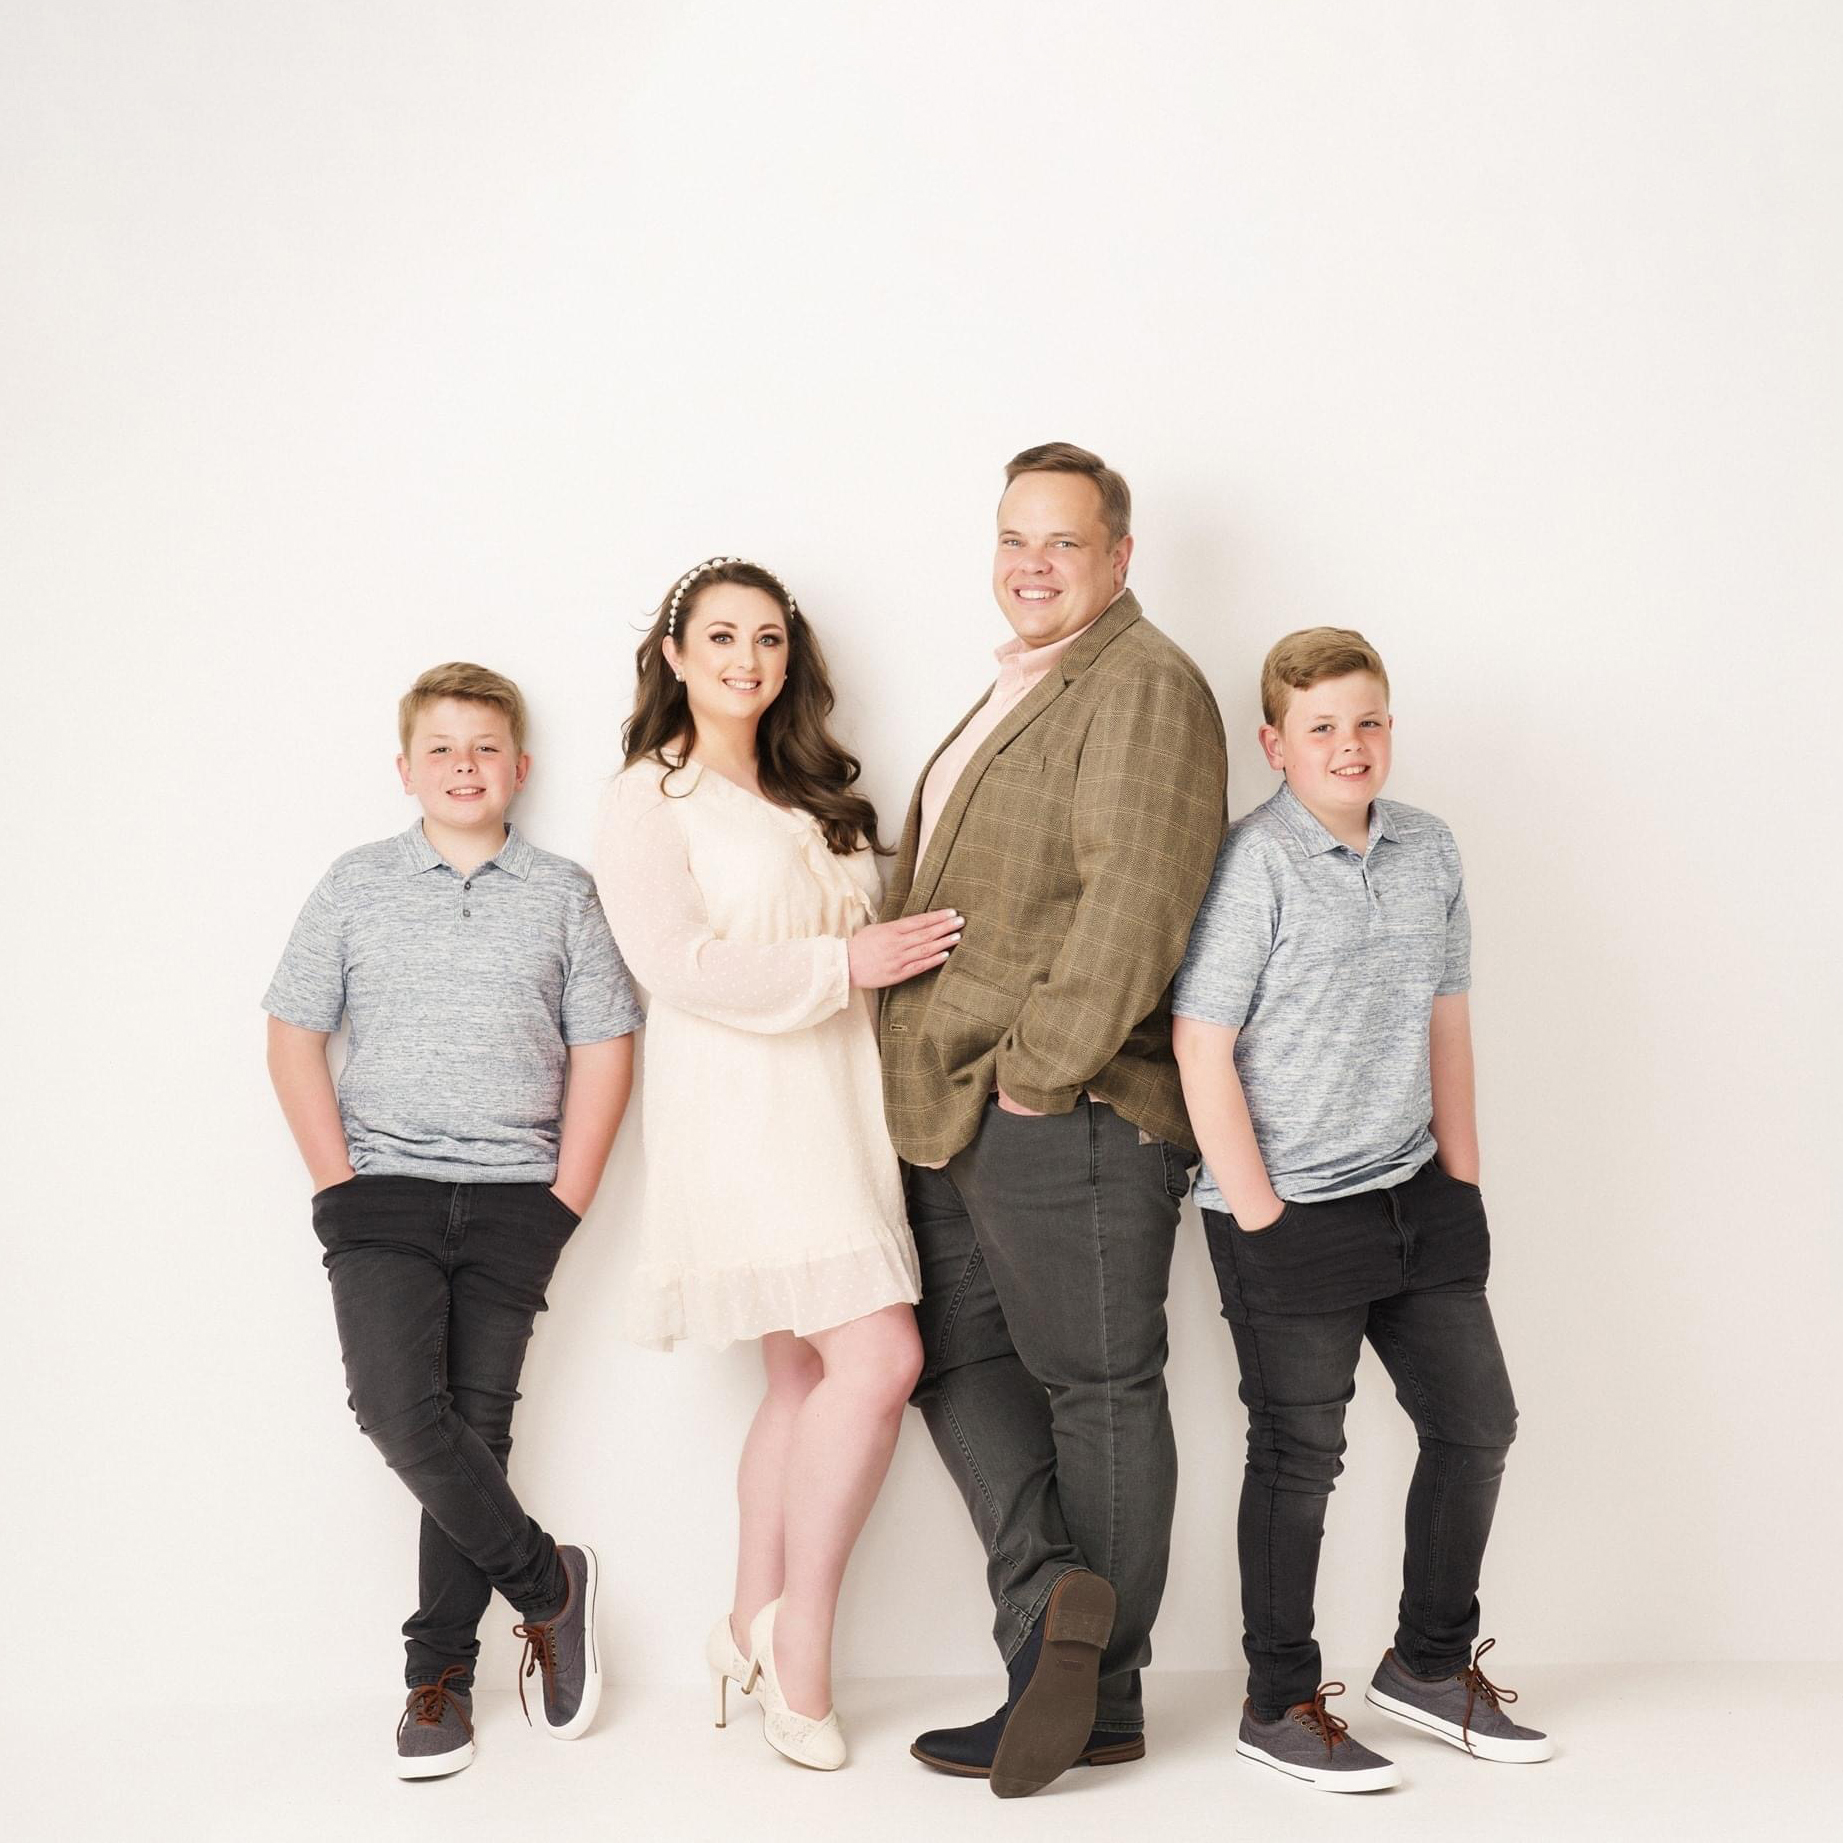
Outfits is a biggie. I love seeing matching or complimentary tones in images, but it is up to you. Again, for the reasons I put above, you are making an investment in time and money to have these images taken and the art on your walls, make sure you can live with them. Another thing to think about is will they match the décor in the room you wish them to hang? Talk to me about this and I will make sure we can come up to clothing colours and I’ll suggest studio background colours that will compliment to create a great image. If in doubt then neutrals like creams and beige are always great, I love denim with plain white and black. Greys work well on both light and dark but if you want bright colours, they can also work well as long as it compliments.
What about my arms?!
Sleeve length is another thing that people worry about. Quite often I find people don’t like their upper arms, if this is the case then go long sleeved, it works well if all are in the same but don’t worry too much if you have different sleeve lengths, it’s my job to make it all work in a portrait.
Feet and faces!
Footwear is a personal choice but it’s one I can help you to decide on. In my experience, shoes on or shoes and socks off work but it has to be the same for everyone in your group. Bare feet for everyone are timeless and won’t draw attention in an image. White trainers in an image of all black or dark colours will stick out like a sore thumb! If you have a more formal portrait in mind then you should encourage everyone to wear dark, smart shoes.
That’s enough of me talking about what to wear, but have a think about things like haircuts and nails etc. Mismatched nail varnish isn’t going to look great, the same as a brand-new hair style that you haven’t settled with yet. I want you to be comfortable in your images so don’t worry about all the little details, that is my job.
Which family members to include in your family portraits?
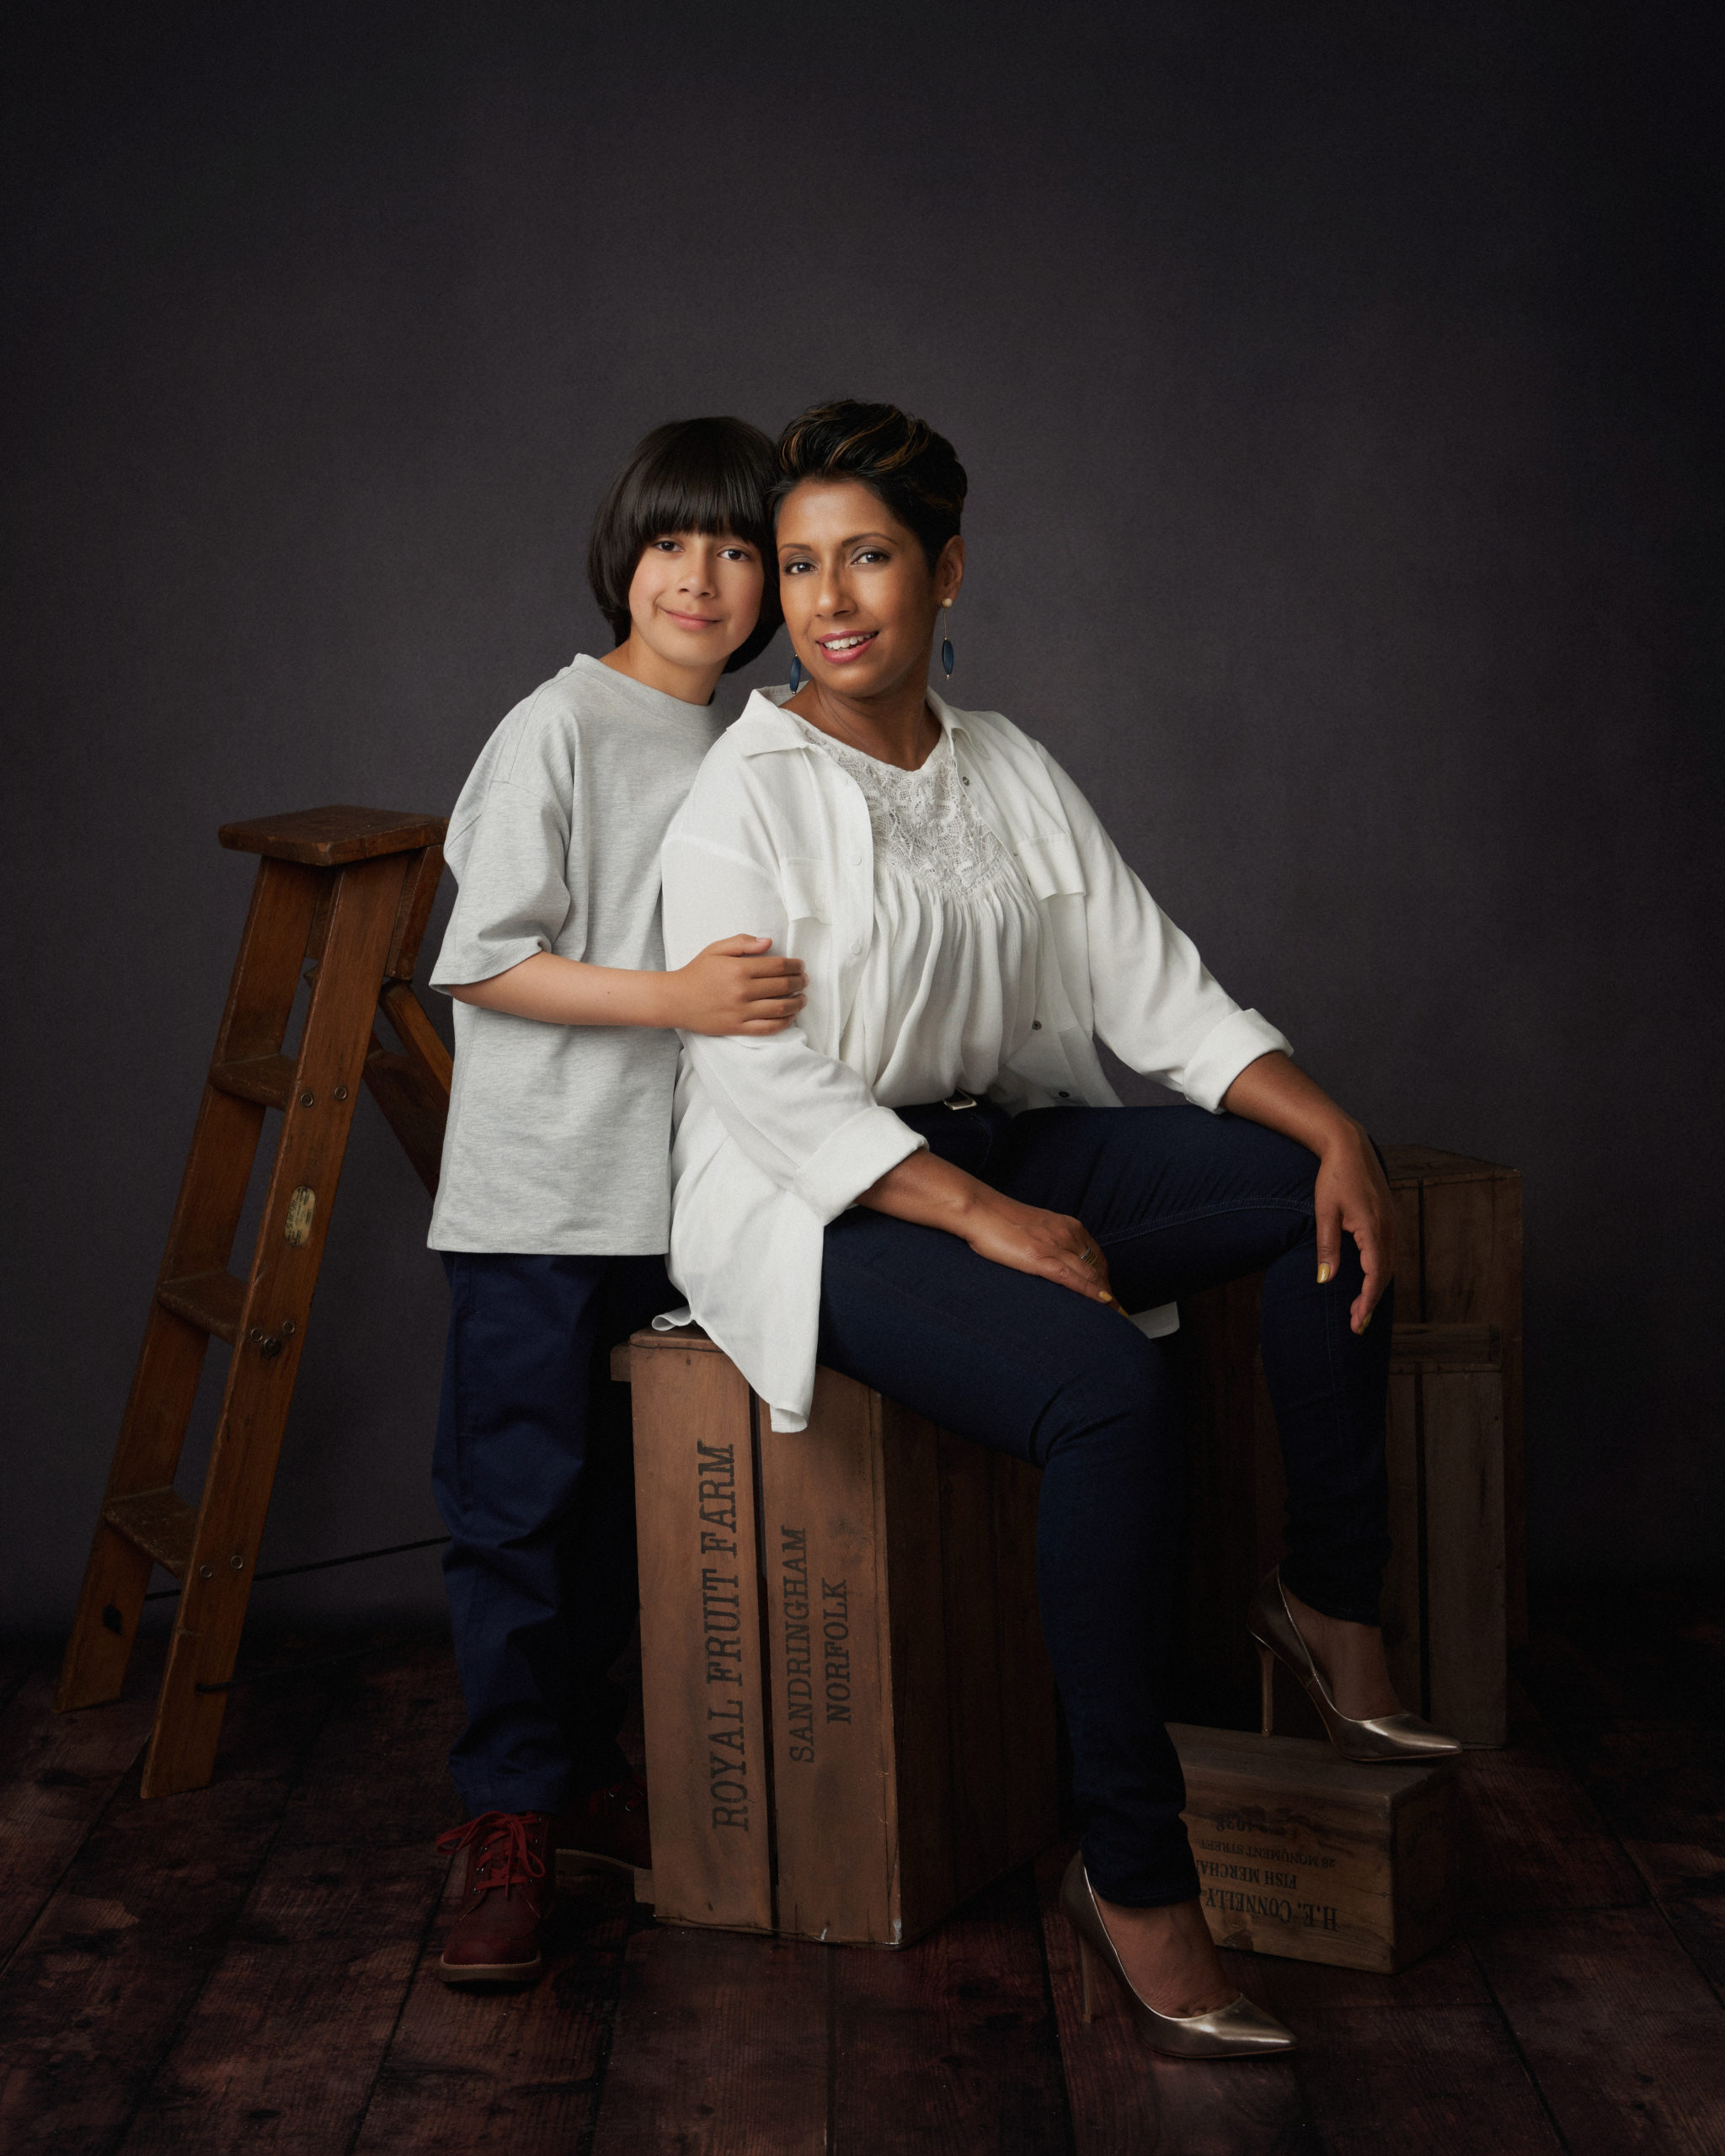
Last thing I really want to talk about it a little more personal, I often have parents, grandparents etc coming in with children for a shoot but not wanting to be in the images themselves. I hear all the excuses, wrong clothes, too much or too little make up, not lost weight or too thin… all the excuses as to why. Forget all that, It is about existing in portraits for years to come, to build that legacy behind you so that when the time comes when we don’t look like we do or in fact, we are no longer here for our children then we are still there for them in these lasting images.
If in doubt, get in touch and I will talk through things with you because, at the end of the day I want you to have the best portraits for your family at the studio in Preston, Lancashire.
How Important Are Family Photographs?
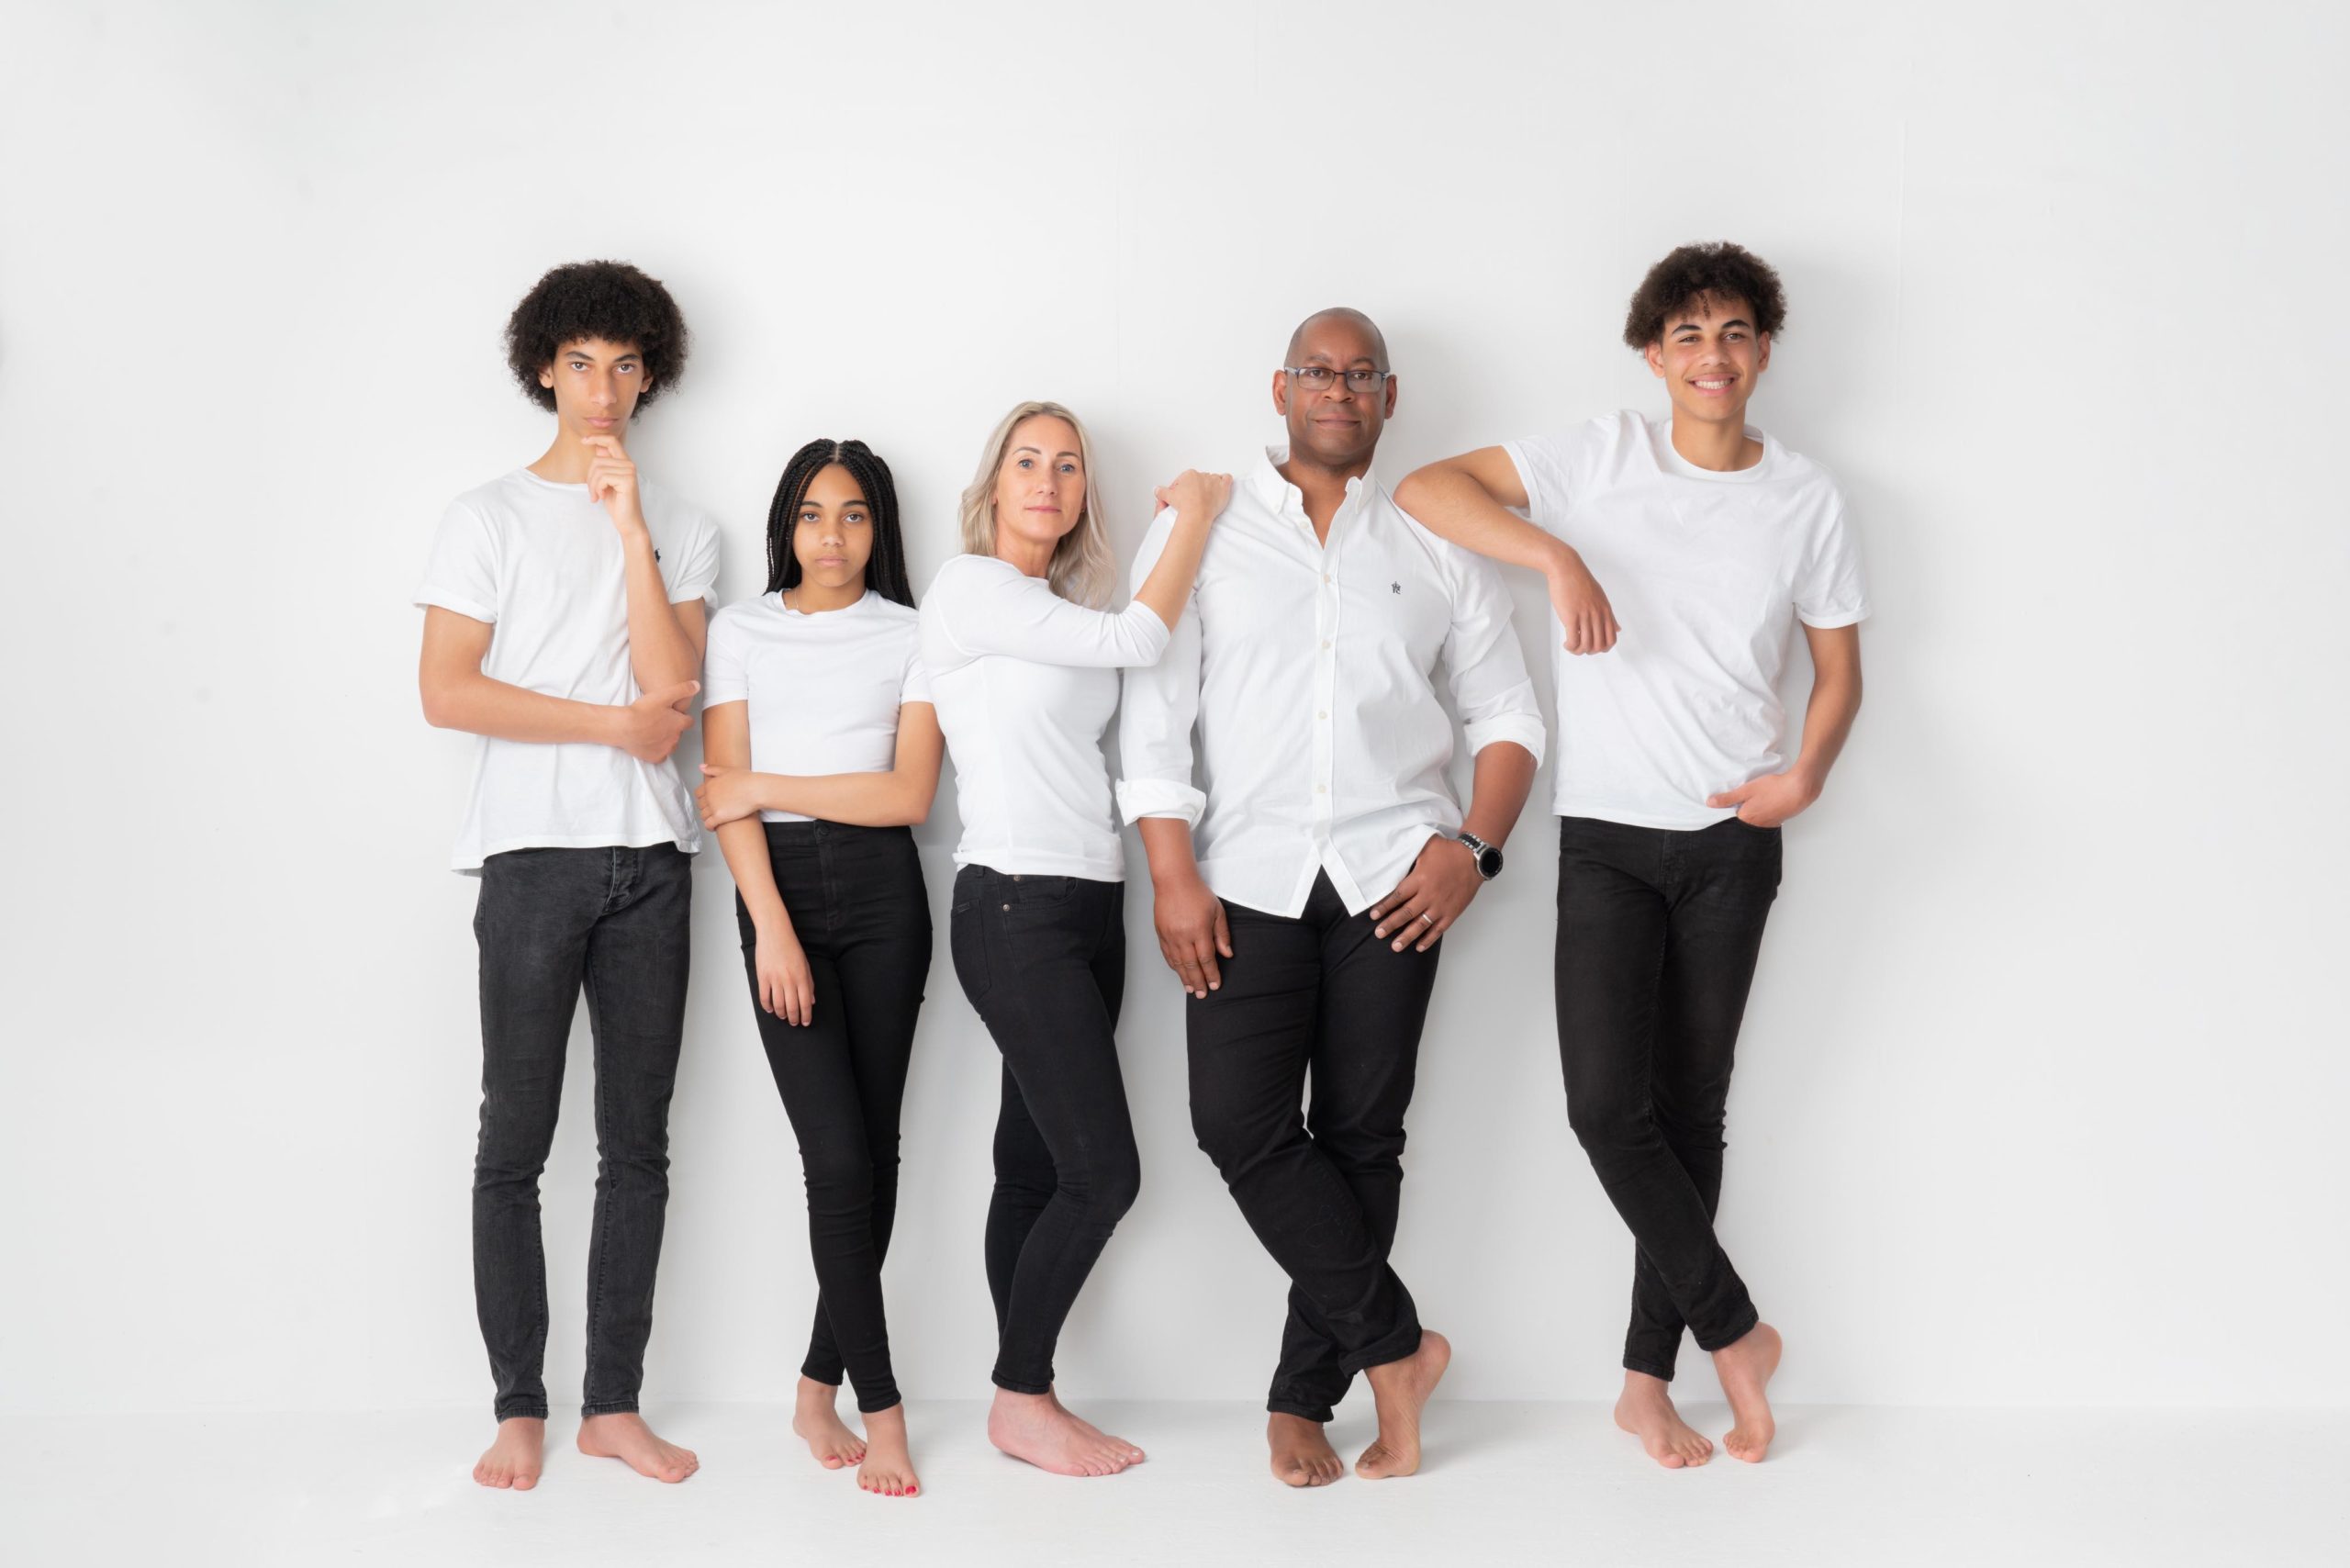
When Should You Have Family Photographs Taken?
We often have milestones in our lives, something that is important to us and we celebrate or make memories for that. In the UK we tend to have a more conservative approach to having family photographs taken than in other parts of the world. Take the USA as an example; baby portraits, child portraits, family portraits yearly, seniors’ portraits (teens), marriage, pregnancy and the cycle continues. These are all very standard for American families. In the UK, weddings, babies and perhaps one family portrait is what UK families tend to celebrate and record with photographs and in particular, professional photographer portraits.
Now as a photographer, obviously I want more and more people to have professional portraits taken. I want to encourage that and I want people to know why I say that. Of course, it’s my job, But beyond that I care about your memories because of my own experience.
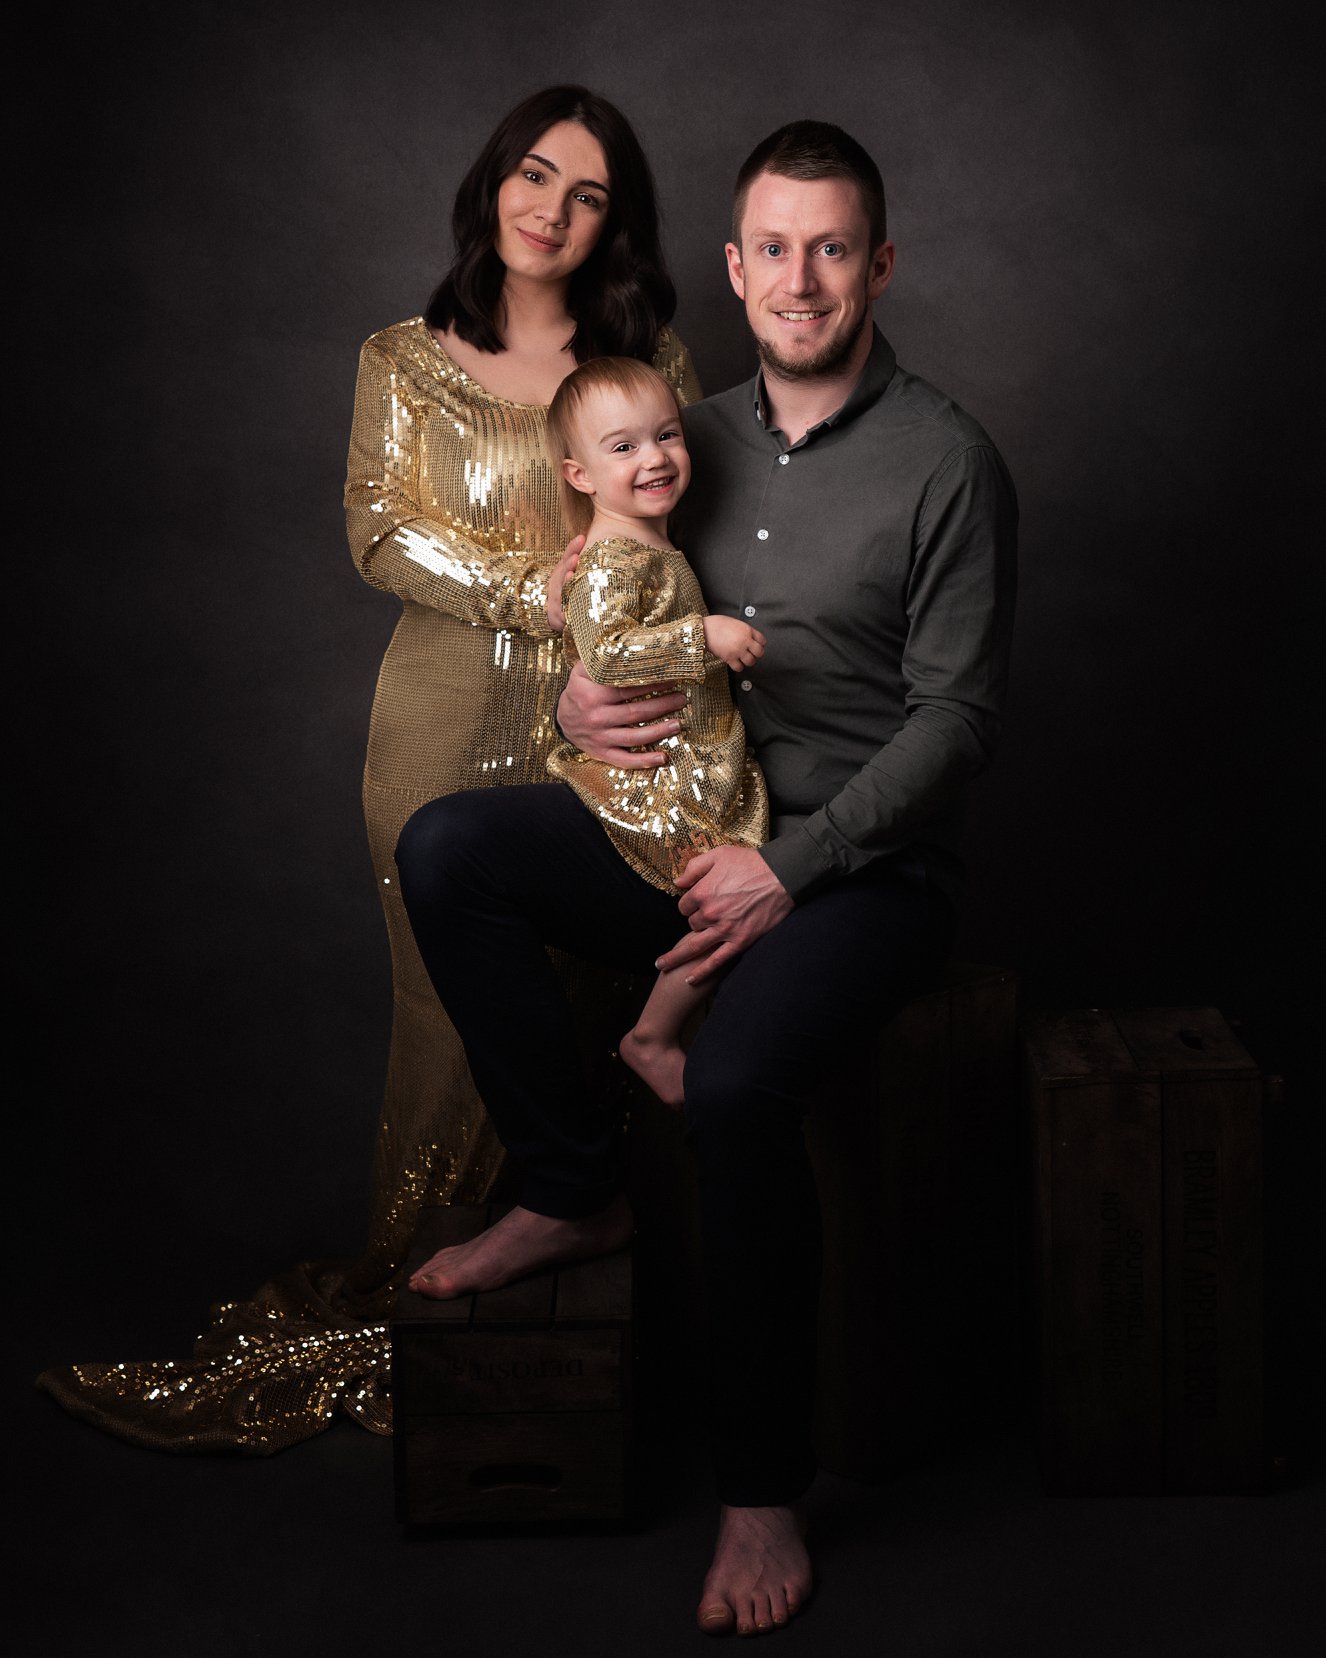
I wish I had more family photographs…
I come from a large family, had the most incredible parents who loved us so dearly. My Father was my best friend growing up, he did everything he could to support me. I was 17 when I lost that best friend suddenly, leaving a huge void in my life. The only things I have left of him are those precious years of memories and photographs. I have ONE photo of my Mum and Dad together, it was taken at a family members 18th Birthday and it’s a small, blurry print. It is so important to me that I have it scanned, backed up to dropbox, on my phone and on three hard drives. The original sits in a padded envelope and is well looked after. I cannot replace that and it means the world.
I understand that you might be reluctant to get into the photo, but it’s so important.
I always do my upmost to get parents involved if they come into any portrait session. If I am photographing their child, I get a portrait or two with them. I hear all the protests, my hair isn’t right, make up isn’t perfect, I need to lose/ gain weight, my clothes aren’t right. I don’t photograph well, I have heard them all… What I say and what I say to you reading this is this, whilst portraits are important for now, what is really important is that those portraits are here in the future to support those memories we all have, to remind us of those stages in life. Let me tell you this, no child or parent of someone who is no longer with us, looks back on a photograph and says, wow, so and so didn’t have their hair done, make up right, hadn’t lost weight, when looking at that image of a loved one. They cherish the fact that they have that printed image to look back on, to remember them. THIS is what makes family portraits so important.
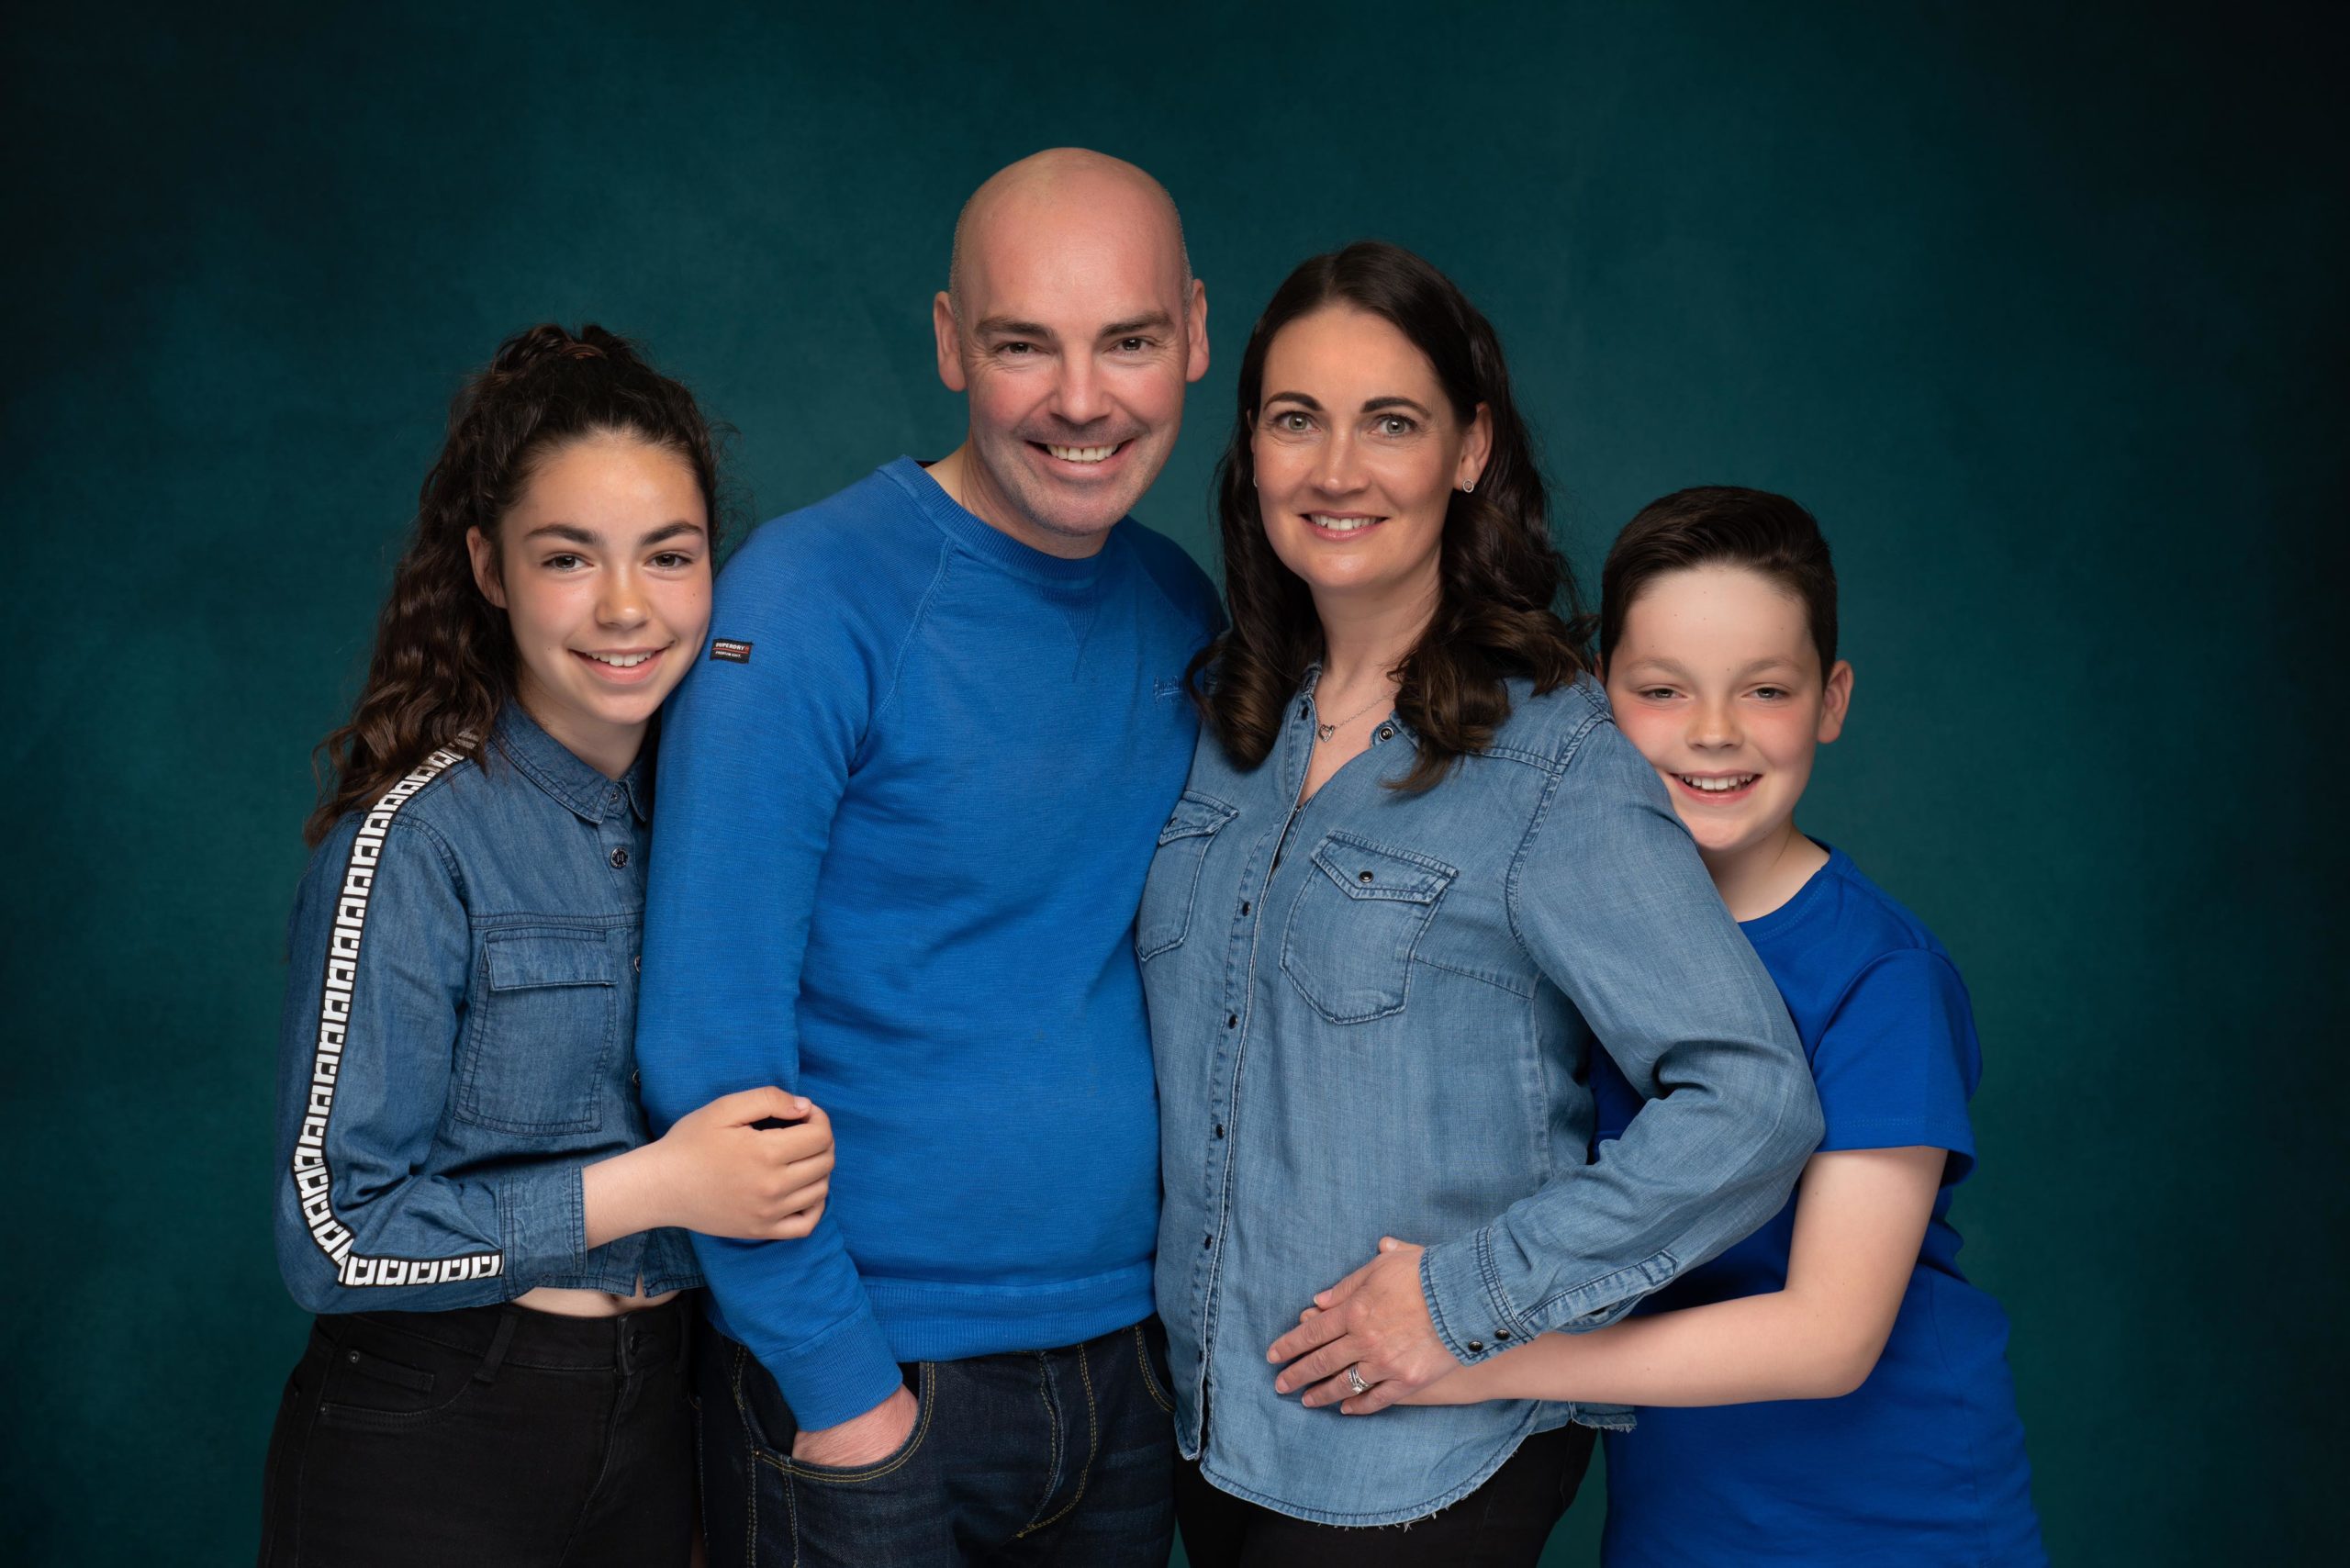
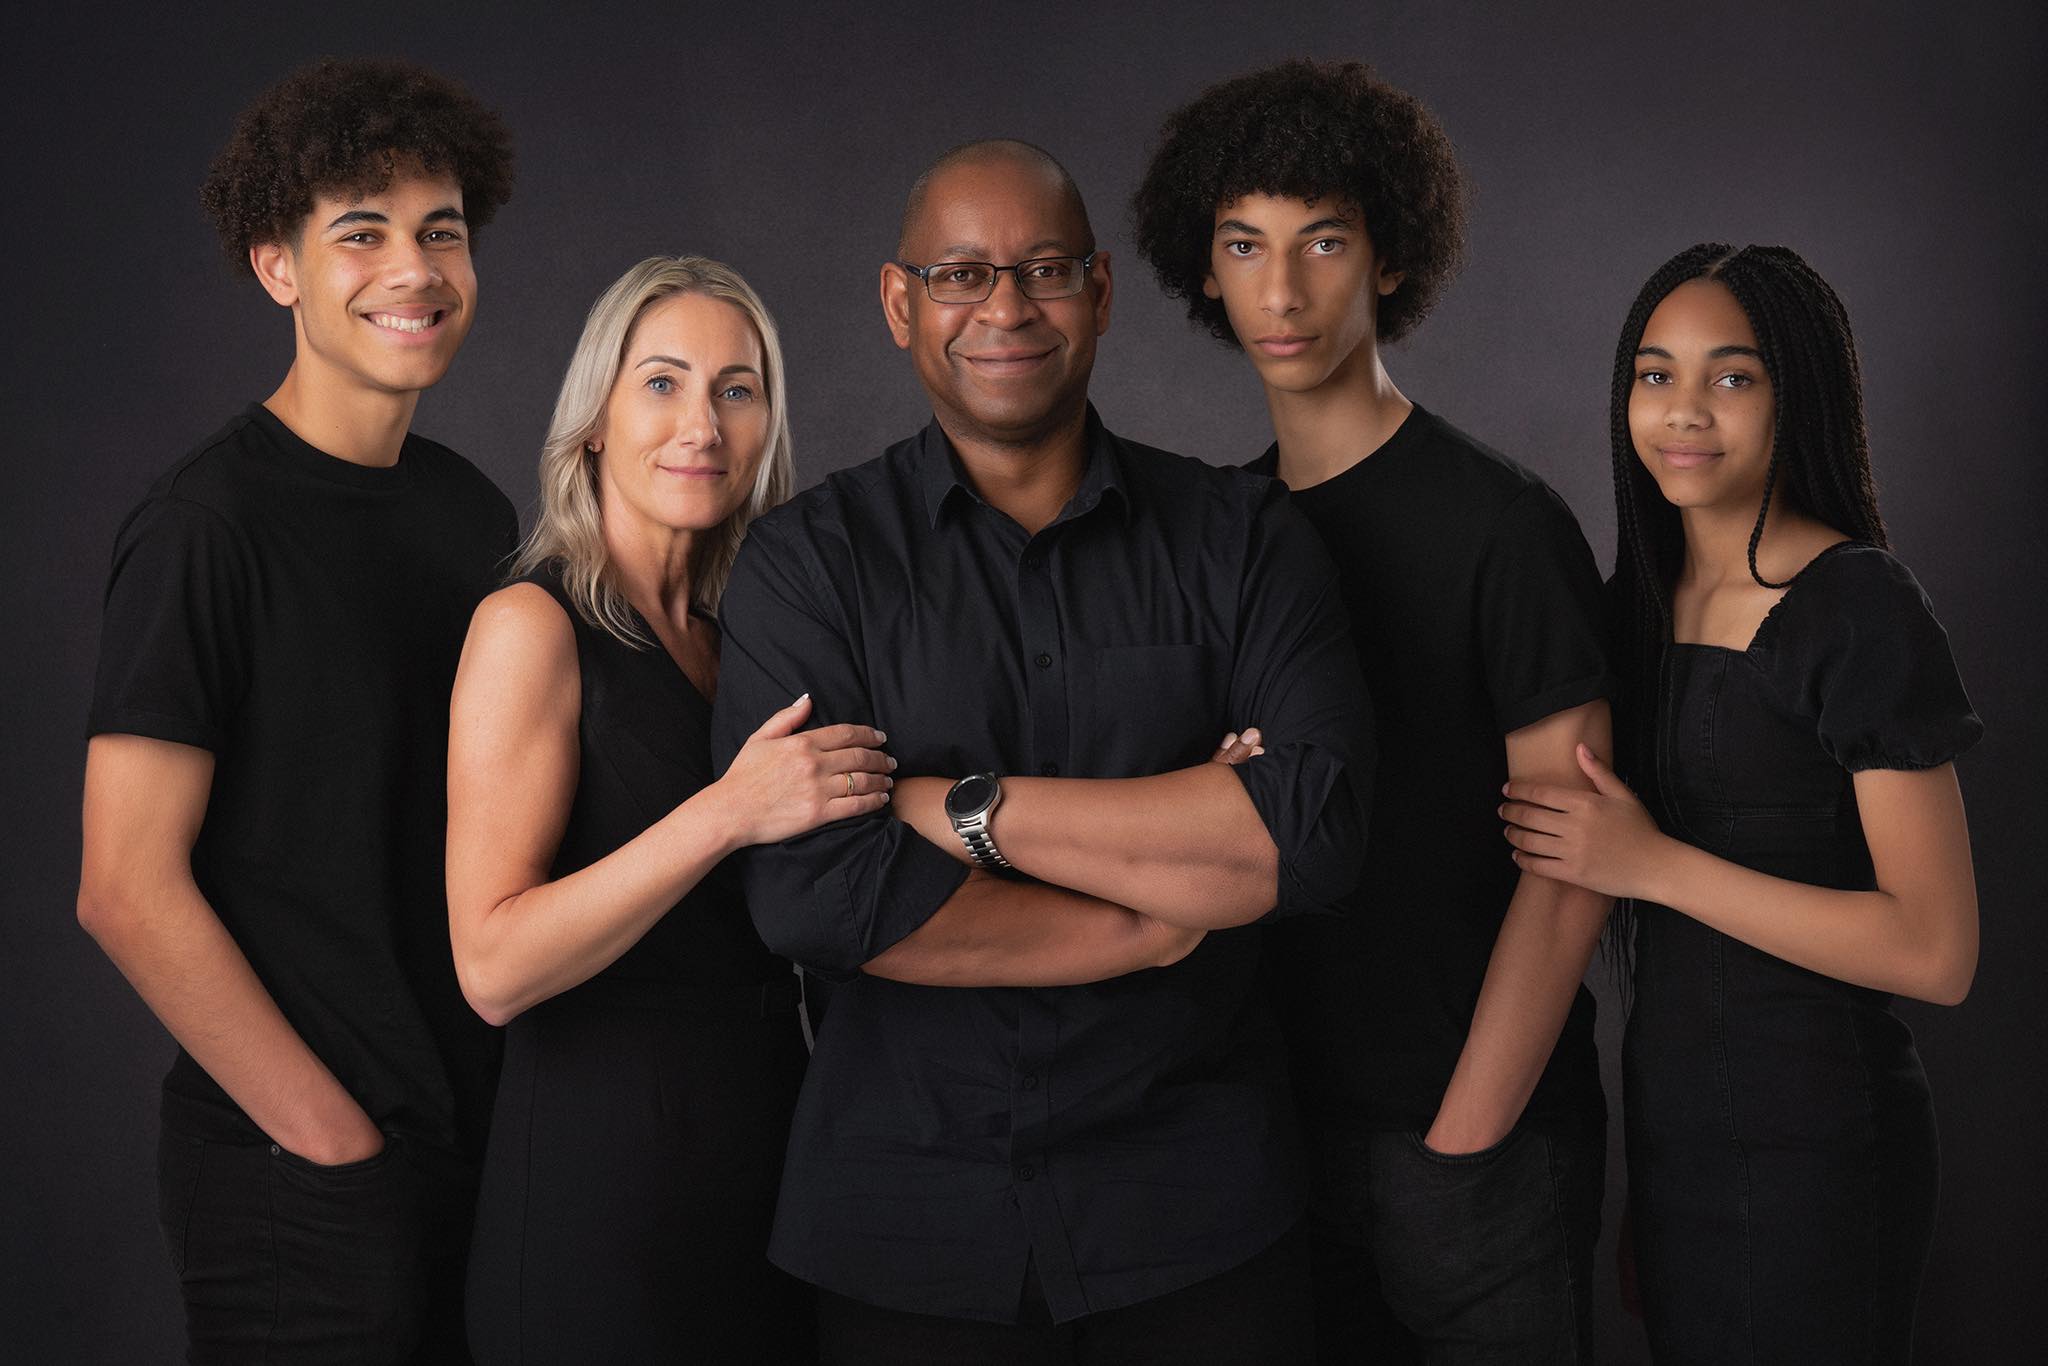
Family photographs are something you will treasure for years.
Yes it is an investment, time and money but, they will be there long after that latest iphone is obsolete, that fancy car is in the scrap yard, so please, make those memories for people who mean so much to you and get those portraits booked in. They don’t need to be formal, they can be casual and fun, my own style is posed but relaxed and most of all, timeless and cherished.
Don’t wait… book now
When you choose Art of the Portrait as your family photographer, you are deciding to book a multi-award winning photographer, who trains other photographers. Art of the Portrait is chosen by MANY professional photographers as their own family photographer – a testament to the quality of the images you will receive and the memorable experience that comes with it!
Take a look at some more examples of my family portraiture in the gallery, and do get in touch if you’d like to book. I have very limited weekend availability so if you have a special date in mind then book early.
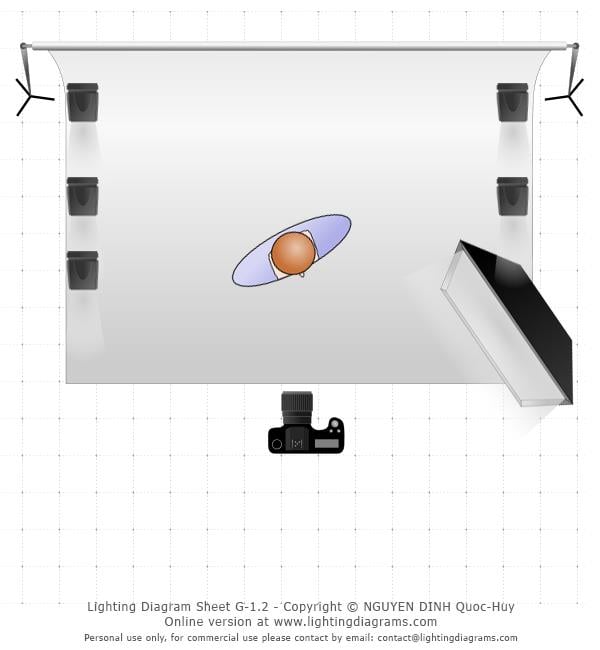
How to light this portrait - Location Portrait
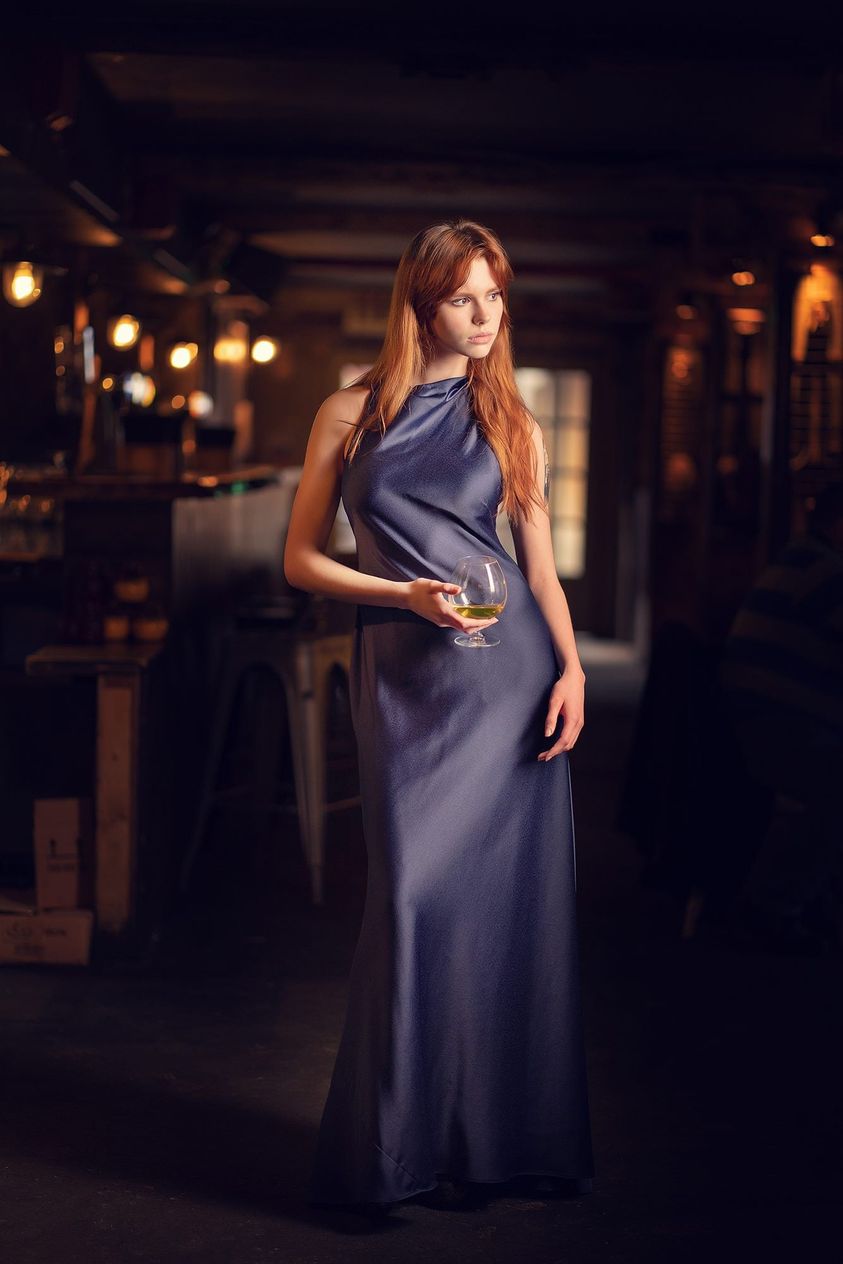
How to light location photography – Belfast. This location is Belfast’s oldest bar. I did a quick shoot while over there offering photography training, to do something a little different. the model is from an agency and her styling is her own. This place was DARK , the background exposure is iso 200, f2 at 1/10th of a second. So set up for that to render the bar lights as is and the rest dark. I couldn’t move the customer sat at the table so had to keep those dark. The key light is a studio strobe in a large softbox, feathered to give a gentle loop pattern with the dark wall camera right acting as subtraction to give me modelling and contrast. The glass was added with coke in to give the impression of a drink within the bar and to add a little storytelling and context. The exposure was set at F3.2 which was the lowest I could get from the light and it’s position, this meant that the background went dark and the lamps didn’t over power the scene. You can see other lighting diagrams with explanation on my blog. How to Light Location Photography - how to pose and light this image
How did I create this?
Editing Tips for Photographers
In the old days, you took an image, the film got developed and unless you really knew what you were doing that was that. Yes, retouching did take place but most of the time it was for high end photographers and for magazine publication.
How to Edit a Portrait to Create a Great Image
Fast forward to 2021 and my phone has apps that can retouch better and faster than I could ten years ago. We have to accept that retouching, usually meaning photoshop, is part and parcel of daily life as a photographer. Clients know what is possible, and they expect it! So if you want to be up there with the good ones, you have to retouch.
I’m running an online editing workshop to demonstrate how to edit well. You can find out more about this, and book your place, in my online shop.
1. Skin Retouching
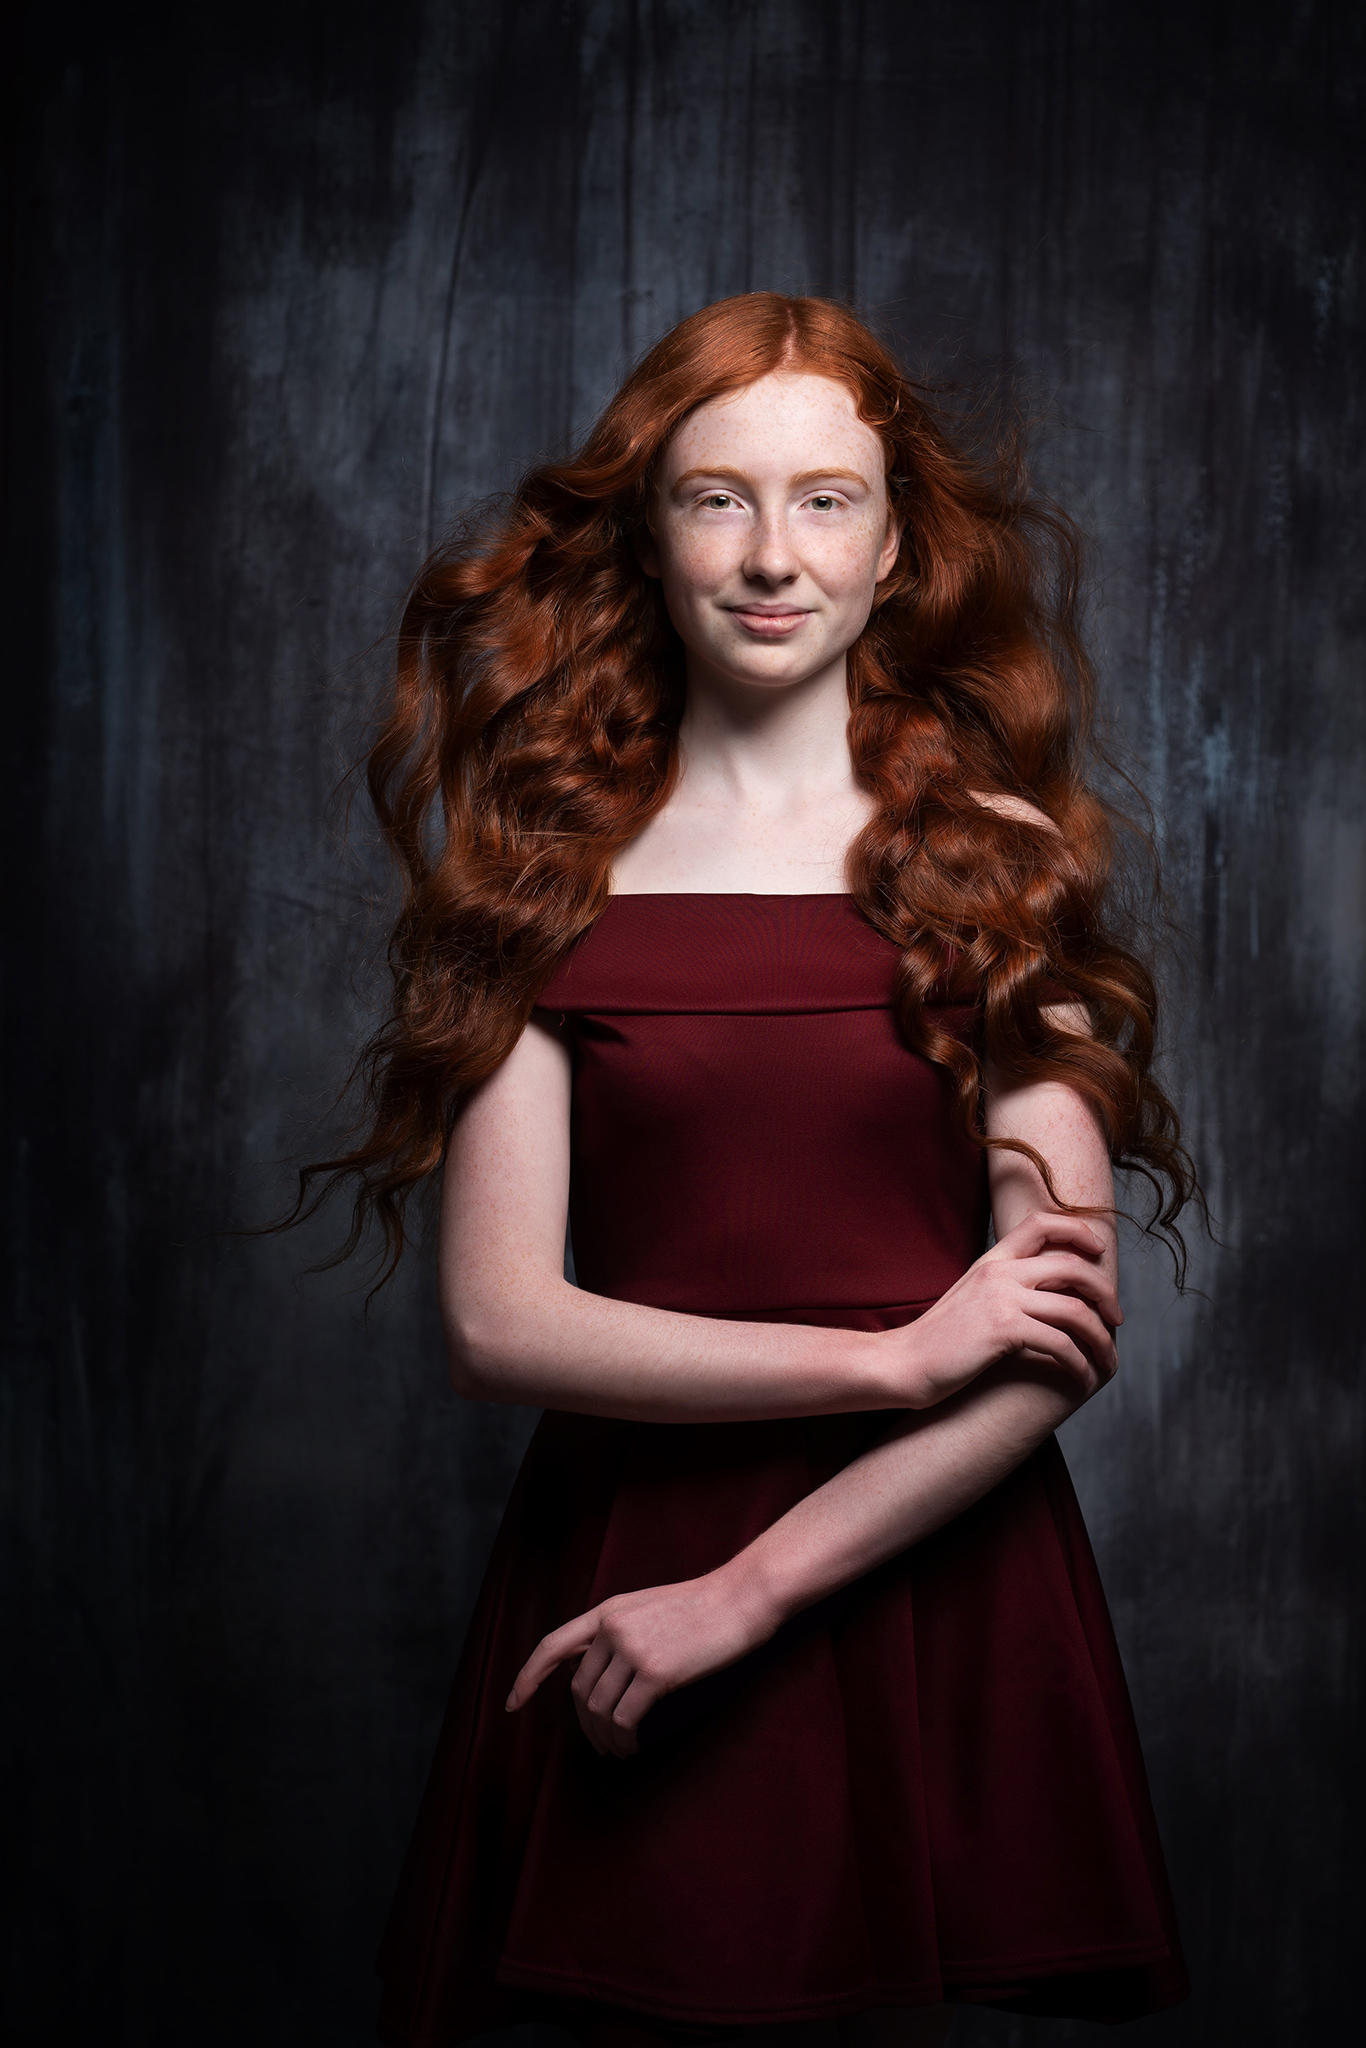
I always say that a good retouch is one where you don’t know what the retoucher has done. There should always be skin texture in the final edit. Yes we smooth skin and remove imperfections, but guess what – people have pores, they have wrinkles, they have texture. We can soften them but they shouldn’t be removed completely. As a judge in photographic competitions and qualification panels, I will mark down any image that doesn’t allow me to see texture in the skin. So, be sympathetic with the skin work but leave it looking realistic.
2. Use Liquify Carefully
About 4-5 years ago ( I’m old so I forget how long things have been around) Adobe added face featured liquify into photoshop, where it automatically selects the parts of the face and you can liquify them easily. This led to a lot of googly eyed people, massive eyes photoshopped to death and un natural looking ‘fine art ‘children images. Honestly, if the eyes are bigger than half the face, it’s not normal. Unless you are aiming for a surreal effect, your subject should look like themselves, with naturally proportioned features.
Liquify certainly has its place and believe me, the fact I can add to a smile has saved me a few times with a difficult child in a session. I also use it to rectify clothing creases and too tight underwear. Using big brushes in liquify means I can smooth clothing without leaving puckering.
3. Be Gentle with the Paintbrush!
The painterly look is another thing. It’s become a part of the ‘fine art’ genre and people think it can be achieved by using the oil paint filter, stacks of dodge and burn ( usually with a neutral grey layer which leads to my biggest bug bear, saturation issues in skin) and over use of textures.
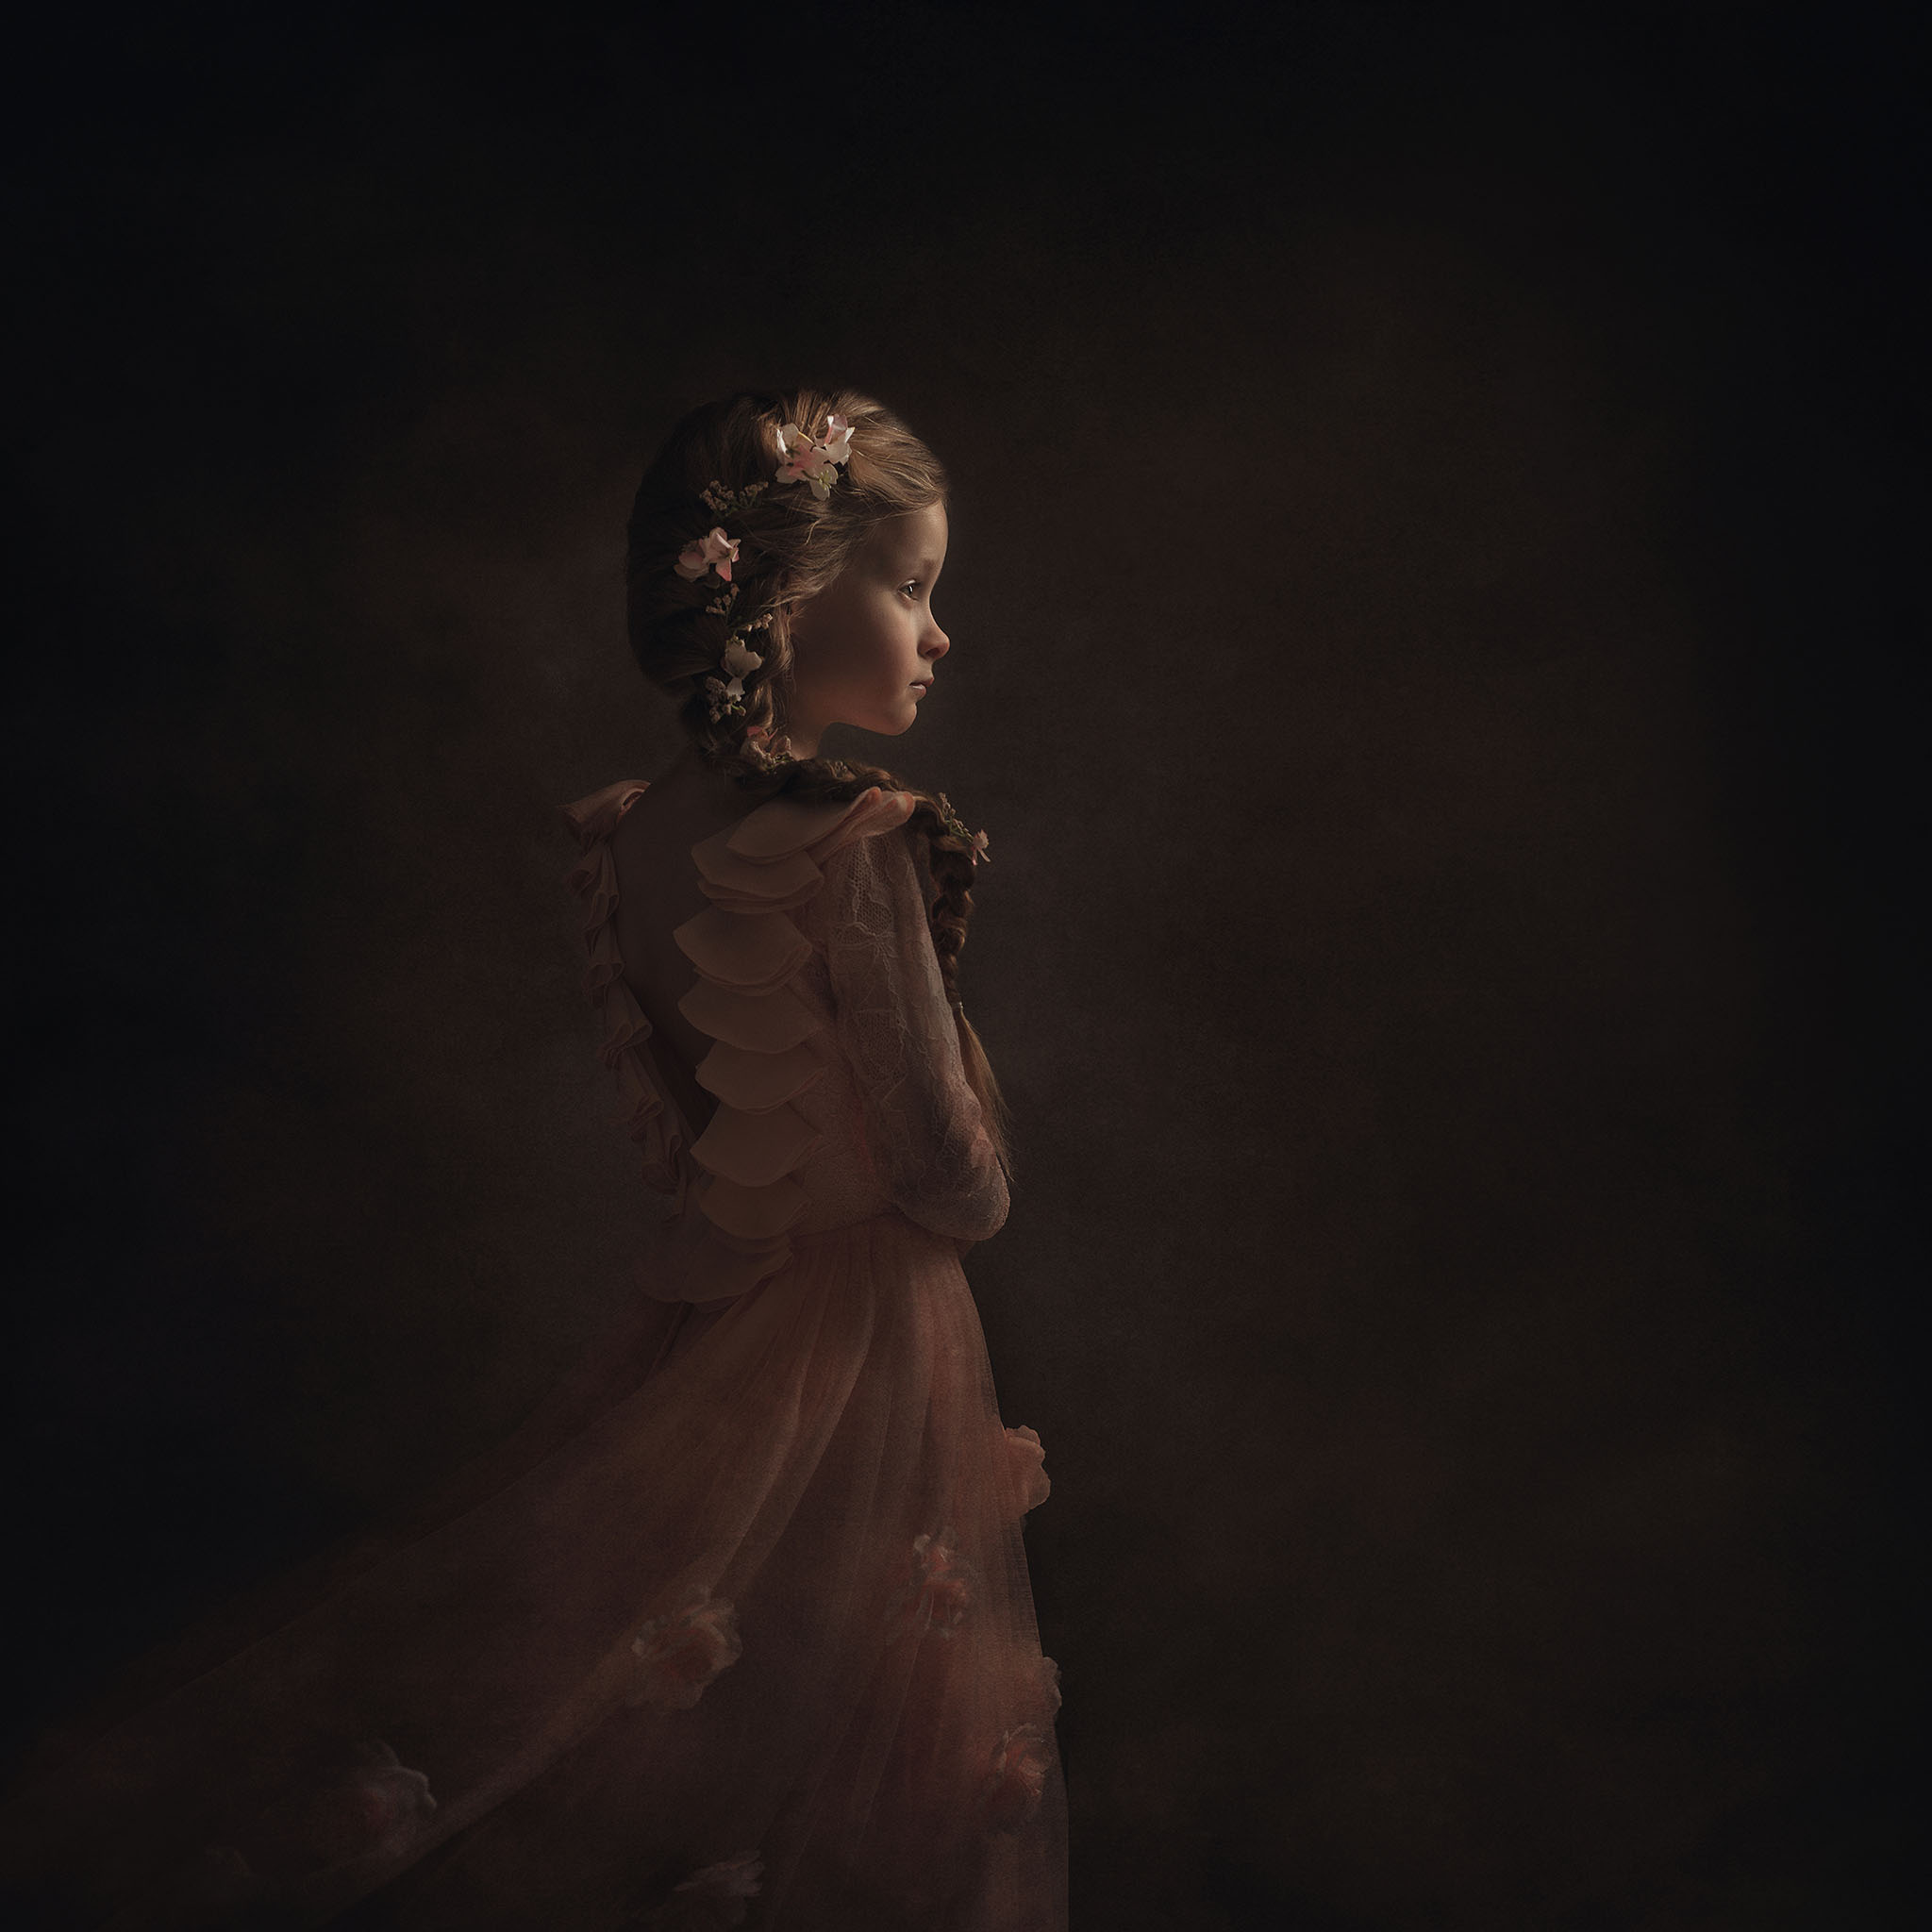
What fine art really is, is an understanding of colour theory, of styling and the use of colour to create tonal harmonies, most of which can be achieved in camera rather than in the edit. Fine art is not making hair look like it is carved out of wax, or faces that glow due to over lightened cheeks.
4. Adding Texture to Enhance a Portrait
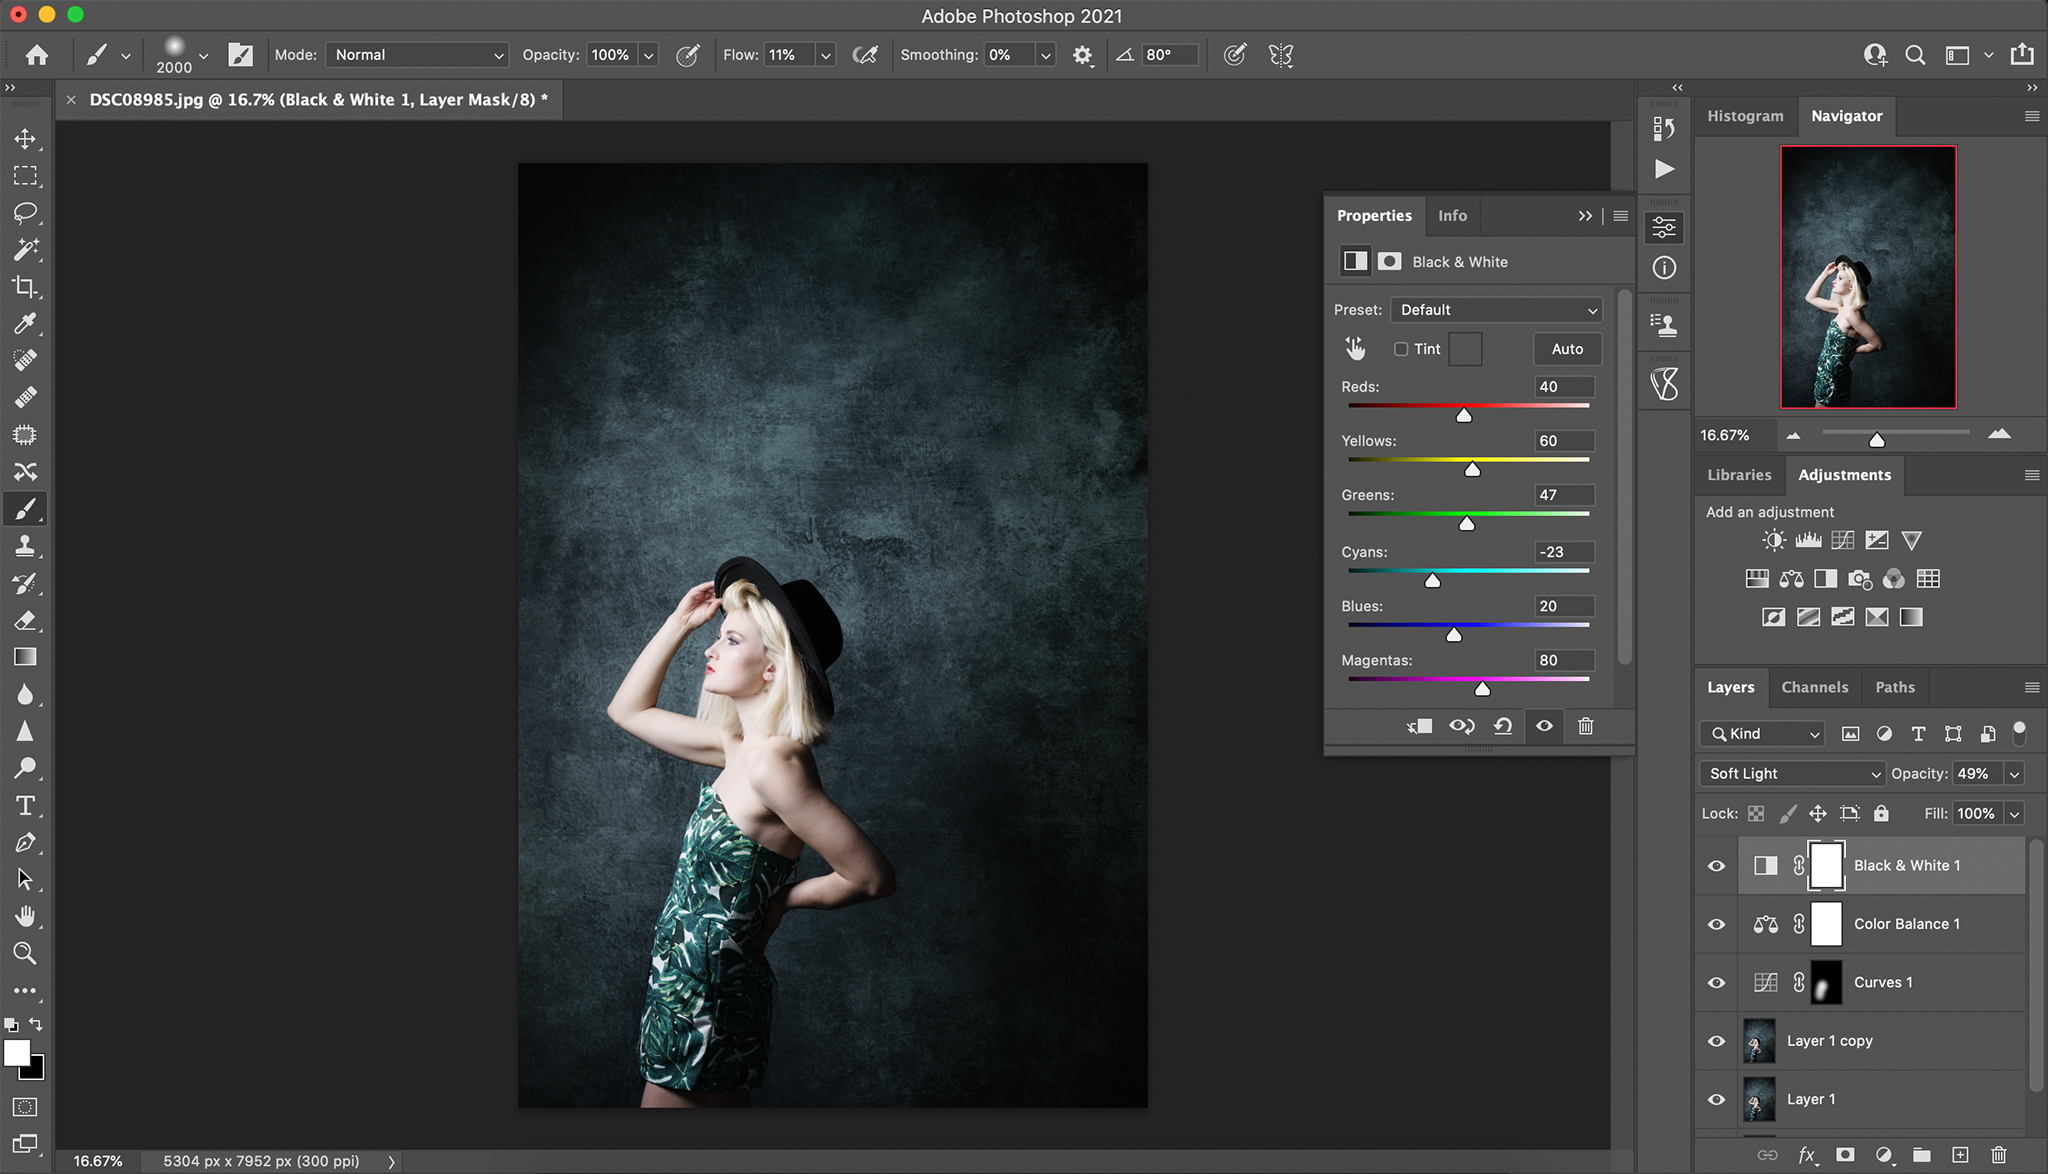
I love the use of textured backgrounds, which is why I have created a range of studio backdrops for Click Props Backdrops. Using a backdrop with a texture means one less thing to do in retouch!
I do still add textures in edits, and Lauren at LSP Actions makes the best I have used (check out her photoshop actions too). If you add a texture, please make sure that you remove it completely from areas you don’t want it to be! Leaving a texture on an elbow or prop where there shouldn’t be, it stands out massively. Also while we are at it, consider depth of field when using textures. I love shooting shallow, so do others. But don’t have hair going out of focus on a portrait but then a super sharp texture in the background, it just doesn’t work that way. I often add my texture then blur it to match the depth of field in the image. Like I said in a good retouch you shouldn’t know the texture wasn’t there originally.
These are just a few things I see time and time again when mentoring or judging, guess what, I have made those mistakes too and that’s why I wrote this to try and point them out. I love a good retouch and love seeing others transforming images with great retouching, So just pay attention to details and enjoy making great imagery.
How to light this portrait - The Dancer
How to Light Dance Photography - how to pose and light this image
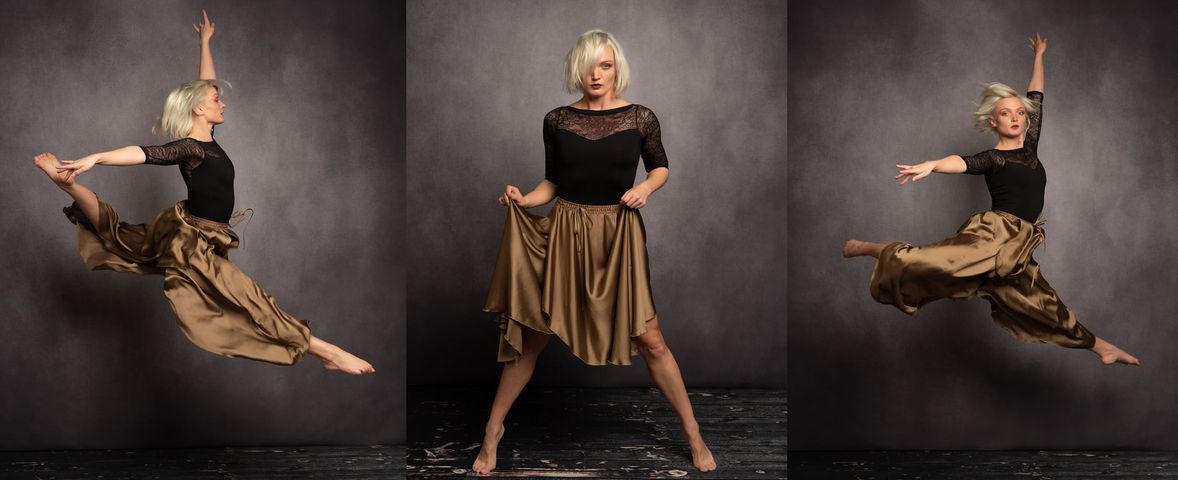
The aim of this portrait was some simple dance shots to show off the new backdrops down at Click Props. This is the awesome Silver tones, I actually designed this one. i’ve added in a vinyl floor just to give it a floor.
Katie is a modern dancer, and this is a guide on how to light dance photography. Katie is used to the stage but unfortunately she doesn’t have any work at the moment. However she is also a great model and has been fabulous on our content days at the Click studios in Watford,
How did I create this?
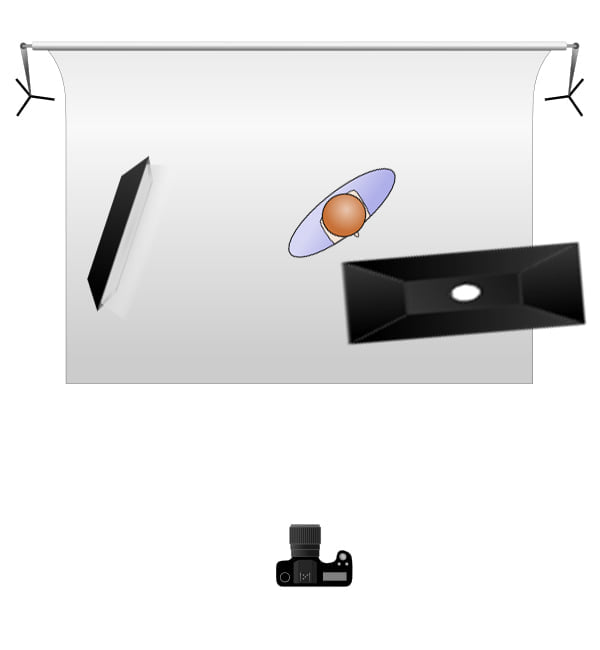
It’s actually much more simple than you would think. I used a 150cm octobox boomed overhead slightly camera right and feathered across onto Katie. I also added a strip box accent light camera right behind in a usual feather position to separate the back leg.
Lots of timing to get the jump mid air, I think these two took jumps took 6 frames altogether. Fast flash freezes the movement even at 1/125th. F8, Iso 100.
The triptych was a different way of presenting a series of shot.
You can find more lighting diagrams elsewhere in my blog.
What does it take to become an award winning photographer?
I’ve heard that I am, once again, an award winning photographer. A couple of weeks ago I was awarded my second international Photographer of the Year title, this time in the Commissioned Portrait category, with the Societies of Photographers. In 2017 I was also awarded international Child Photographer of the Year with them. Both of these came after a lot of hard work. I started entering competitions in 2010 or 11, very early on in my career. The reason for this is that I like a benchmark, I like to see where I stand and if I am good enough. Now in my eyes I’ll never be good enough, but this is the passion that drives me, I want to always be better, to spot more details and make better imagery. At the start I had some early success, in fact I still think with regards to number of Gold awards etc those first two years were probably my greatest. But I entered so many images – I was mega keen and not too critical – and I think by sheer weight of numbers I did well.What does it take to become an award winning photographer?
Being creative is as important as being technically correct.
A couple of years later I found I wasn’t being as successful. At the time I blamed the judges, everyone else and moaned a lot – how could I go from hero to zero? I got the odd Gold award, a few silvers and nearly stopped entering. Every time the results came out, I would have a hissy fit and tantrum and well, blame everyone BUT me. The facts were, I was actually getting better, but I was becoming too critical and stopped being creative. The technical aspects were getting better but in return I was losing that spark that made my images different. I was so hung up on getting it right and I was missing the impact I had been showing before. A good bit of time with a great friend, Paul Haley, got me back on track and before long I was doing ok again. Since then, I have had 8 or 9 POTY nominations and the two wins, won the Open Category at the Newborn and Portrait Show and had runner up, over 75 Gold Awards, passed my Fellowship and Master Craftsman qualifications and been lucky enough to judge nationally and internationally. Now I’ve bored you to tears with my back story I’ll get to the point…
My tips for winning awards
Firstly, learn, learn and practice. For the first five years I picked my camera up and shot something EVERY day, experimented, tried, learned from it and tried again, I became able to change settings without thinking about it, knew where light was going to fall from a flash without having to test it and most of all practiced people skills to get the most out of my models. I also discovered that it’s ok to get things wrong! My brain hates this, but to get better you have to fail. I sat there at the Societies Awards night in 2018 (when 2017 results were given out) with my good buddy Cass Davies of Cass Davies Photography when I was expecting to get another runner up and saying to her, I would be getting my bridesmaid dress out again (never the bride) when my name was called. I thought I had been set for another runner up, but the fact was, those failures (whilst not really being failures) had pushed me to nail everything to the best of my ability and also, to accept that if it is not meant to be, it just won’t happen. So, when I dusted myself off, I looked why others had won and learned from every single winner and runner up. I worked harder and nailed more correct details.
Practice, practice, practice.
The other thing I still do (when not in Lockdown), is I make time to shoot for myself, 1-2 sessions a month, to try things, to hone areas and just to keep trying to get better. So many photographers I speak to don’t do this and then wonder why their creativity is waning or they are shooting the same stuff all the time. Look outside the box, art galleries, street art, fashion magazines and build your own ideas.
As a judge I get sick of hearing, well, It ‘has to be’ fine art style on a textured backdrop to win. Trust me, it doesn’t. It is just that people see one photographer or style doing well and then all copy it and submit. Some do it well and end up scoring high, a lot don’t. As judges we love to see something different so don’t think you have to adhere to a style to win, any style will win if it is done well!
Which style will win?
The other thing I still do (when not in Lockdown), is I make time to shoot for myself, 1-2 sessions a month, to try things, to hone areas and just to keep trying to get better. So many photographers I speak to don’t do this and then wonder why their creativity is waning or they are shooting the same stuff all the time. Look outside the box, art galleries, street art, fashion magazines and build your own ideas.
As a judge I get sick of hearing, well, It ‘has to be’ fine art style on a textured backdrop to win. Trust me, it doesn’t. It is just that people see one photographer or style doing well and then all copy it and submit. Some do it well and end up scoring high, a lot don’t. As judges we love to see something different so don’t think you have to adhere to a style to win, any style will win if it is done well!
Learn all the time
I average between 30-50k of images a year, first few years probably closer to 70k, so I reckon over three quarters of a million images. It is practice and attention to details that will make you a winner so please, get educated, go practice and be inspired. Don’t get bogged down in trends and most of all, have a lot of fun.
If you would like to learn from me, I run group workshops and do 1:1 mentoring for photographers. I can help you to improve!
How to light this portrait - Maternity
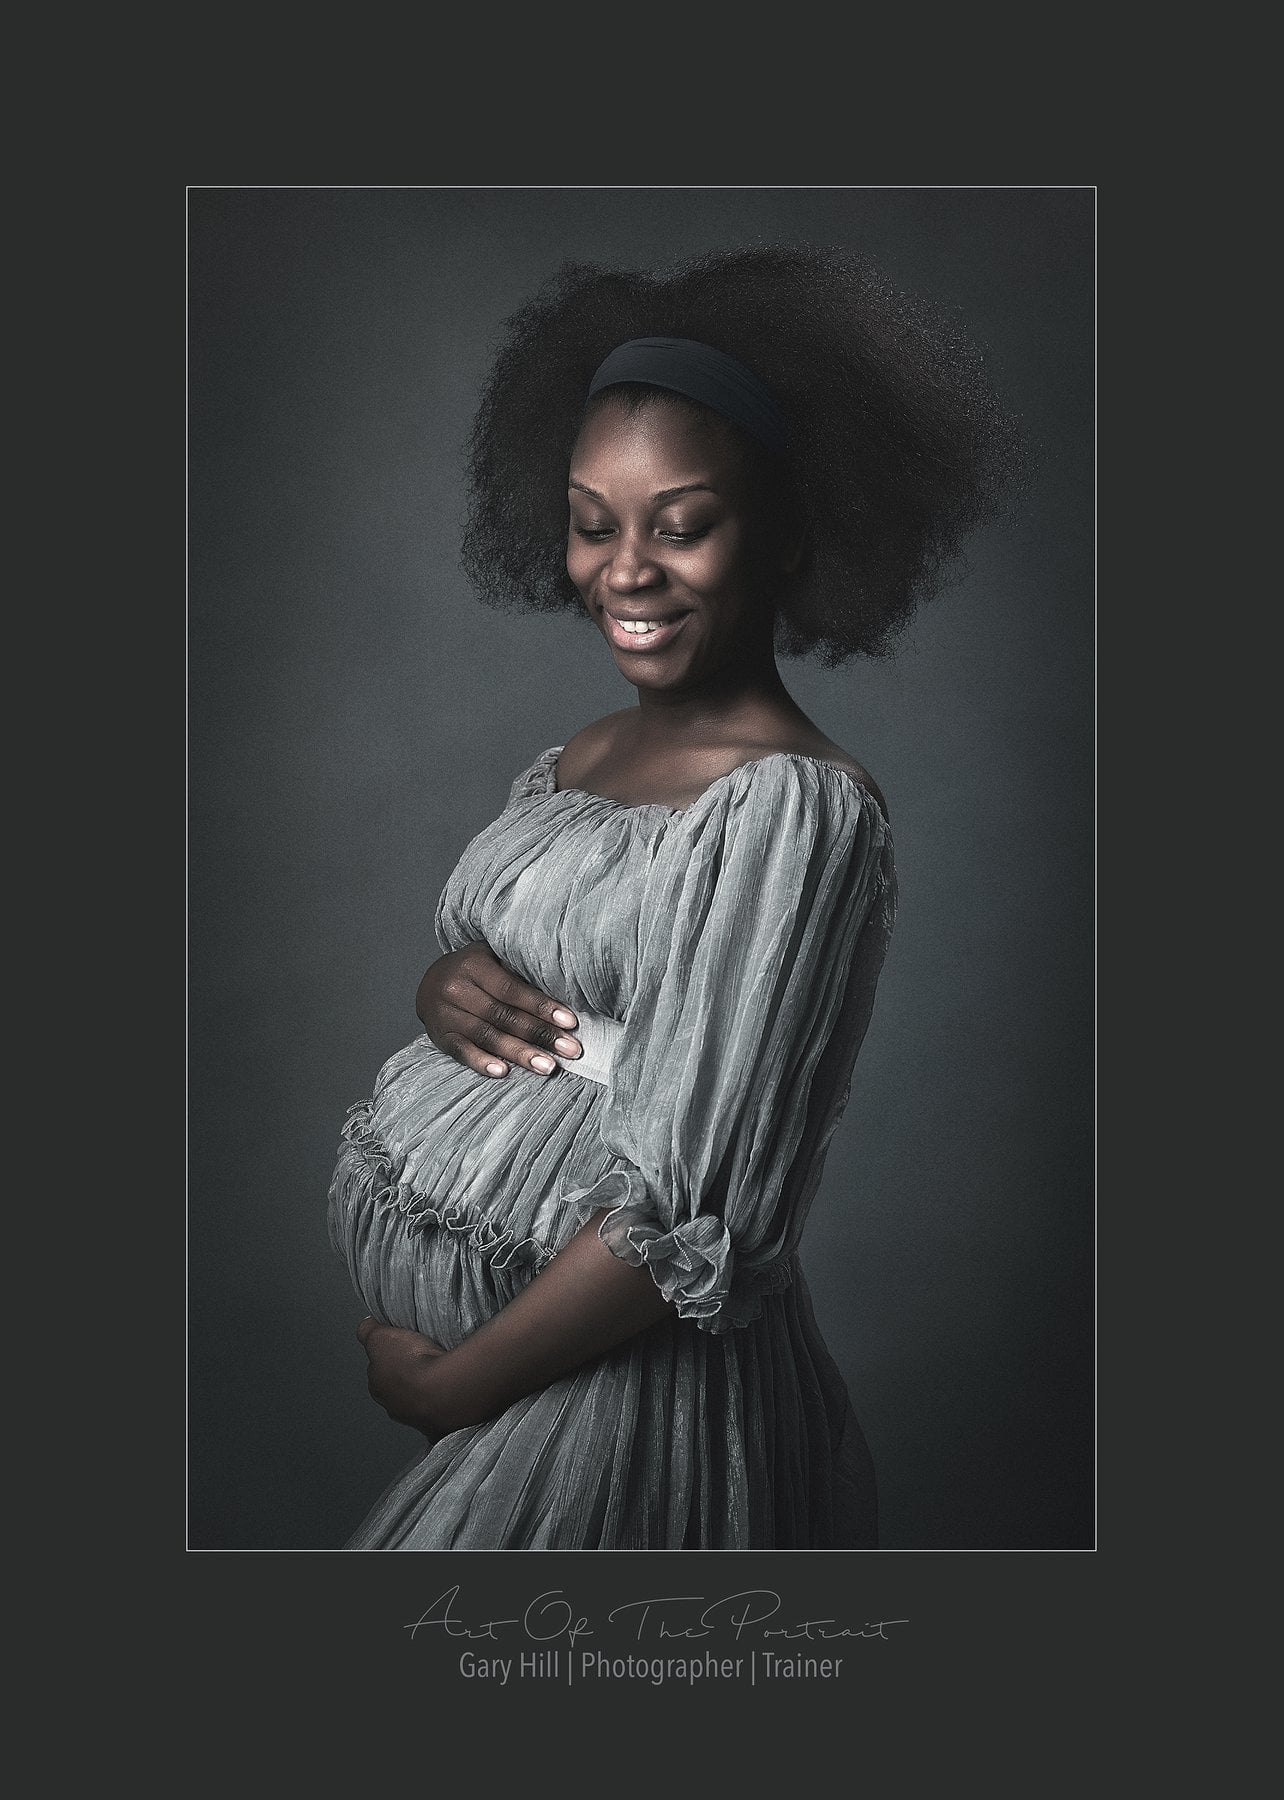
This is the gorgeous Tianna Jarrett-Williams, a fellow photographer, who I kidnapped to demonstrate how to light maternity when there was a training session going on at my studio in Preston, Lancashire. This was created and shot literally in a five minutes. So the how is very simple, feathered 135 octobox as key light, 70 deep box as an accent. The ratio would be smaller one at 1 stop less, in hindsight a 1/3 rd less than that would have been even better. The feathering on the key is to just graze that soft light across the front of the bump and also pick out those gorgeous cheekbones, the accent is to prevent total loss of hair against the dark grey background. Camera height is halfway to prevent any distortion and shot on the 85mm at f5.6, iso 50.
How to Light Maternity Photography - how to pose and light this image
How did I create this?
Why I shot it like this
I am going to talk about not just the shot but to the whole final image presentation.
The pose is very simple, the dress was a touch as it was not for maternity, so wouldn’t fasten at the back. This meant I was a little limited as to what I could do. Keeping it very simple with a top and bottom bump hand set up , cheeky angle on the head just looking beyond bump to prevent neck compression then probably said something cheeky to get the expression (Tianna and I are friends so I can get away with it, judge your client before trying it!). The crop is just a simple half length as the dress fit better that way.
SO, into PS after a simple raw conversion and then skin tidy , some dodge and burn to really pop the cheek bones and localised sharpening to bring out the details. Now this dress I have shot probably 20 times and try and make it different so popped it into alien skin to give a colour grading which you see here ( no idea which preset, probably a mix of 2 or 3 ). A vignette was added as I prefer to shoot with a large light source for the quality of light on subject which causes background spill which I can then pull down with a curves vignette. That was the retouch finished but I liked the tones and cohesive nature of this so felt the stroke line and border added to the final presentation, the colours of both are sampled from the image to make the tonal range flow through it all.
That’s it really. A simple but effective shot .
You can purchase exclusive access to maternity lighting and posing instruction videos, along with regularly updated content and ongoing support in a members only group.
How to use a light meter - video tutorial
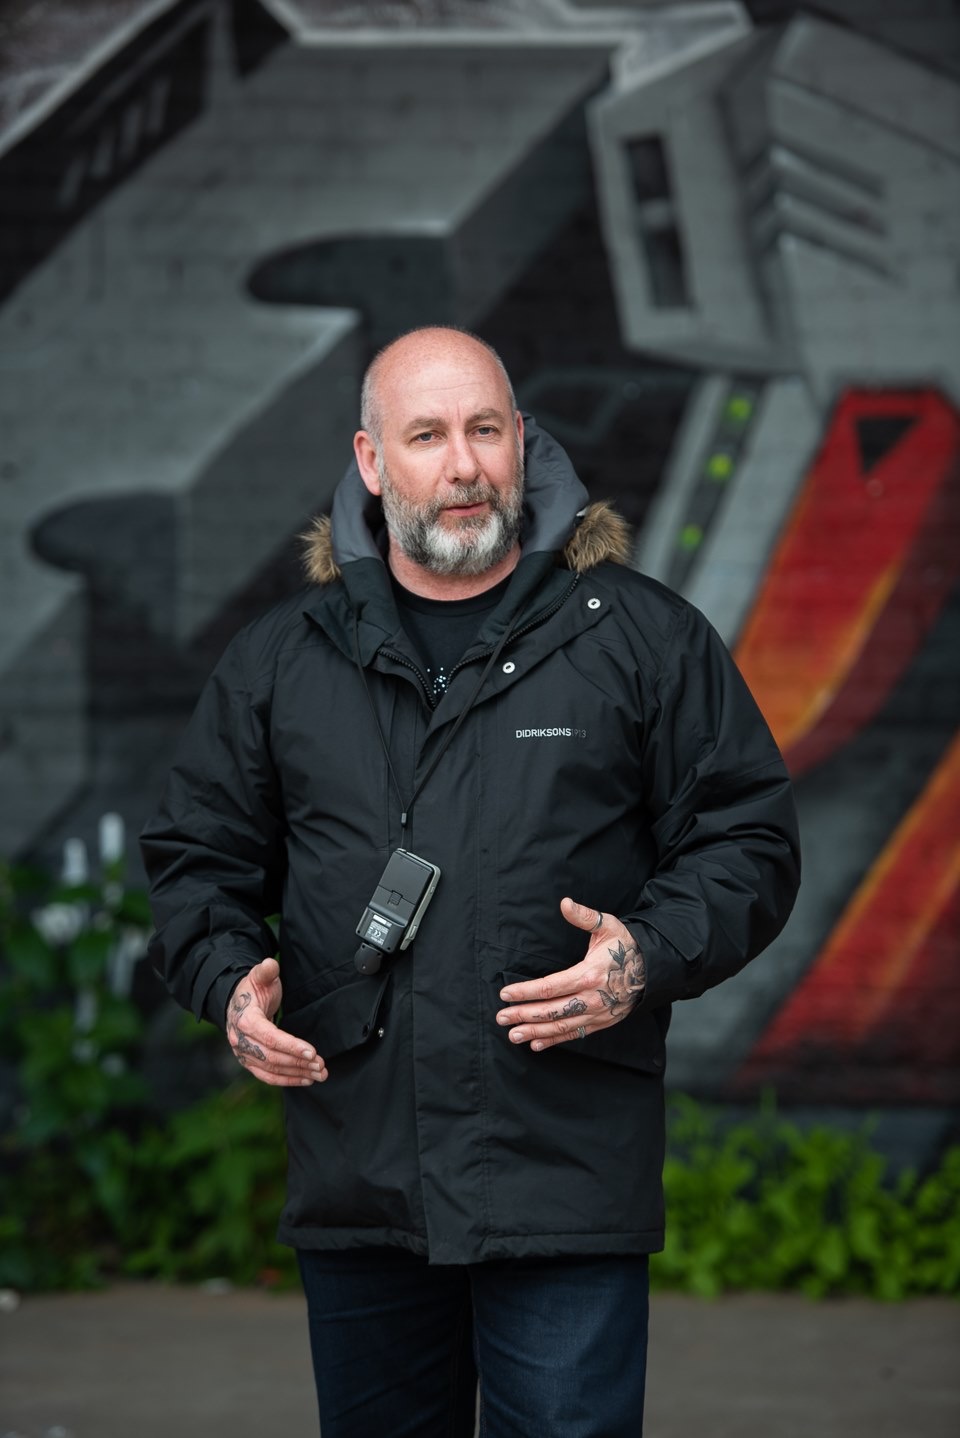
In a previous blog post, I explained WHY I use a light meter, and why you should, too. Now I’ll show you exactly how to use a light meter in this video tutorial. If you want to really improve your portrait photography and learn in person, take a look at my upcoming Studio Portraiture WorkshopHow to use a Light Meter
Why Use a Light Meter?
As everyone who has had photography training with me will attest, I am a little obsessed with my light meter. It is one of the most important bits of my kit bag and I would feel lost without it. Let me address the excuses I’ve heard for not using one; I don’t need one. I can judge it in the back of the camera. Digital is free so I just adjust and re shoot until I get it right. Close enough will do, I can fix it in post…
Camera screens are all over the place, I can take the same shot on ten different cameras and review on the screen, they will all be different. Firstly, they are all displaying the embedded jpeg, not the raw file – I assume you are shooting raw so will have applied some processing to the file. Whatever your picture style set up is, will affect the jpeg preview. So, in essence it isn’t accurate. Secondly, everyone has their screen set up differently. My own preference to set my camera screen is to load up an image onto the computer (on a calibrated screen), then pop the card back in the camera and pull it up on screen. I then adjust my screen on the camera brightness until it is as close as I can get it to the calibrated screen. That gets me the best preview I can. The same with the histogram, it is read in the camera from the jpeg so isn’t totally accurate.
Why you should ALWAYS use a light meter in portrait photography
I can use the back of the camera
Digital is free, I’ll fix it later…
Digital is free right? Well, it isn’t going to cost you more to shoot 50 images over ten in money, but it will cost you time. time reviewing, time loading into the computer and time culling, time is money to a professional so it does cost.
Fixing it in post, again, takes time and time is money and secondly, any exposure changes is going to degrade the file, so getting it right in camera is better for the final product, always.
How do you use a light meter?
Ok, so what do you do with it? Once you have your meter, have a read of the manual, learn how to change modes, set shutter and iso. When you have done that, in available light, just point it towards the light source and then press the button. If it doesn’t give you the f stop you want, change shutter speed or iso until it does. Simples.
Using a light meter with a flash
With flash, it’s slightly different. Firstly you set it to flash mode, then on most meters you press the trigger button and it will make the flash sign blink, that means it is ready to receive a flash signal to read. You then point it from subject towards the light and then press the flash trigger. It should then give you a f stop (set iso to what you want and shutter speed on meter to 1/125th of a second). The number it gives you tells you how much light is being measured. You then decide if it is what you want to shoot at. Think of it like a measuring jug. If you say decide you want to shoot at f5.6 and the meter is saying f4, you need to turn the light up until when you test it on the meter it gives 5.6, if it said f8 then it needs turning down, just like filling or emptying a measuring jug.
If you want to learn in person studio lighting, take a look at my upcoming workshop which will cover light meters, lighting patterns and much more
It helps you to be precise
The meter also allows me to measure individual lights to control the relationship or ratio between them. If I want an accent light to blend seamlessly with my main or key light then it needs to be at least one stop less as light from the rear appears one stop brighter than it really is. Only using the meter can I measure this accurately. It’s this precision I love the meter for.
Last reason I like it is that it makes me look professional. I often get asked what it is with clients, I tell them and show them what it does, they understand then that I care about precision and getting things right. I also, as an educator, often get asked to speak at conferences to train photographers. I love the fact that the meter allows me to, under pressure, set up a lighting set on stage, shoot tethered to the projector and have it straight on screen out of the camera and get it right. It builds people’s confidence in my skillset.


